Use Cases
.png)
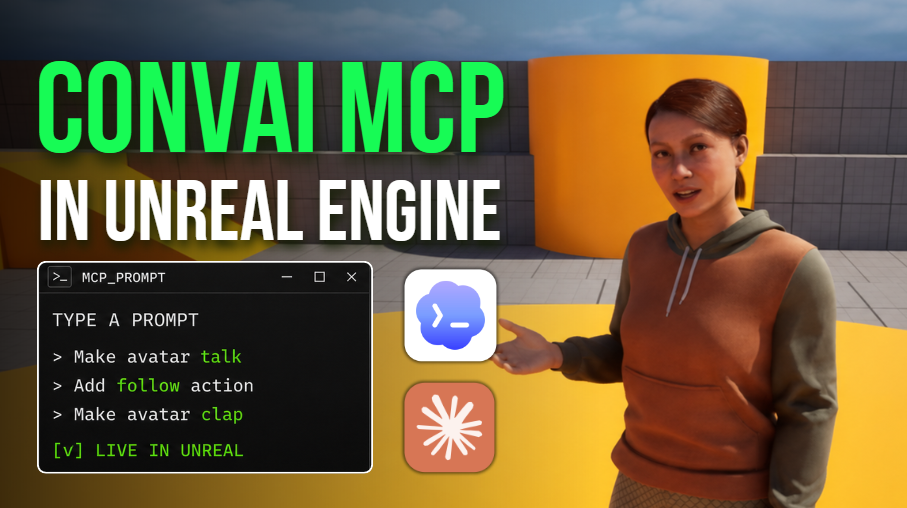
Convai now supports MCP in Unreal Engine; so you can build AI characters by prompting an AI coding agent like Codex or Claude Code instead of wiring everything by hand. With Convai MCP, you describe what you want in plain language and the agent connects a Convai AI mind to your avatar, makes it conversational with real-time lip sync and facial animation, and adds actions and gameplay directly inside your Unreal Engine project.
This is vibe coding for embodied AI: prompt the agent, let it make the changes, then test the AI character in play mode. In this guide we start with a basic avatar, make it conversational with a Character ID from the Convai Playground, then progressively add a proximity greeting, navigation, a clapping animation, and a simple coin-collection mini game — all through the Convai Model Context Protocol (MCP) integration.
▶ Watch the full walkthrough below:
Also, you can grab the Convai Unreal Engine plugin on Fab!
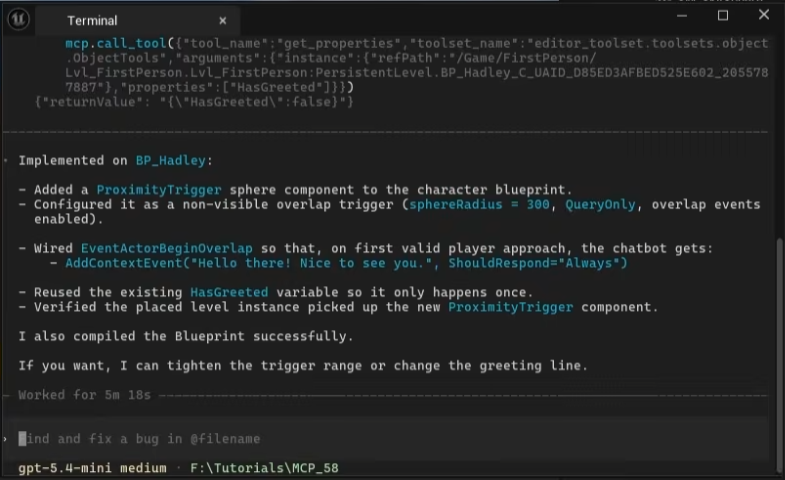
Convai MCP is a Model Context Protocol integration that lets an AI coding agent build Convai AI characters directly inside Unreal Engine. Instead of manually adding components and editing Blueprints, you prompt an agent like OpenAI Codex or Anthropic Claude Code, and it makes the required changes in your project ie. connecting the Convai mind, enabling conversation, adding actions, and setting up gameplay behavior.
MCP (Model Context Protocol) is the open standard that lets AI agents talk to tools and applications. Convai's MCP exposes the Convai Unreal Engine plugin to your coding agent, so the agent understands how to connect a Convai character, enable real-time conversation, and call the plugin's actions and animations. The character's brain, which includes language, voice, choice of LLM, and personality among other things, stays hosted on Convai, while the agent handles the in-editor wiring.
The slowest part of building a conversational AI NPC is the plumbing: adding components, pasting IDs, hooking up triggers, and testing. Convai MCP collapses that into a conversation with your coding agent. The payoff is speed and iteration: you go from a static avatar to a talking, acting AI character in minutes, then keep prompting to layer on behavior.
It also lowers the barrier to entry. Designers and solo developers who aren't fluent in Blueprint or C++ can still ship interactive AI characters, because the agent translates intent into working changes. You refine the result the same way you'd refine any prompt: clearer instructions, a richer character backstory, and features like Dynamic Context for responses that react to live game state.
You need the Convai Unreal Engine plugin installed first. If you haven't done that yet, follow the Convai Quick Setup Guide for Unreal Engine. Once the plugin is installed, the Convai icon appears in your toolbar then complete the steps below.
Click the Convai icon, and under Settings choose Setup AI Coding MCP. This is where you connect your coding agent to Unreal Engine.

You'll be asked which AI agent you'd like to use. This tutorial uses Codex, but Claude Code works the same way. Configure these options:
Enable the settings and restart your project. After it reloads, you'll see a confirmation that your agent (for example, Codex) is running. Go to Tools → Terminal to launch the coding agent inside Unreal Engine. You're now ready to prompt it.
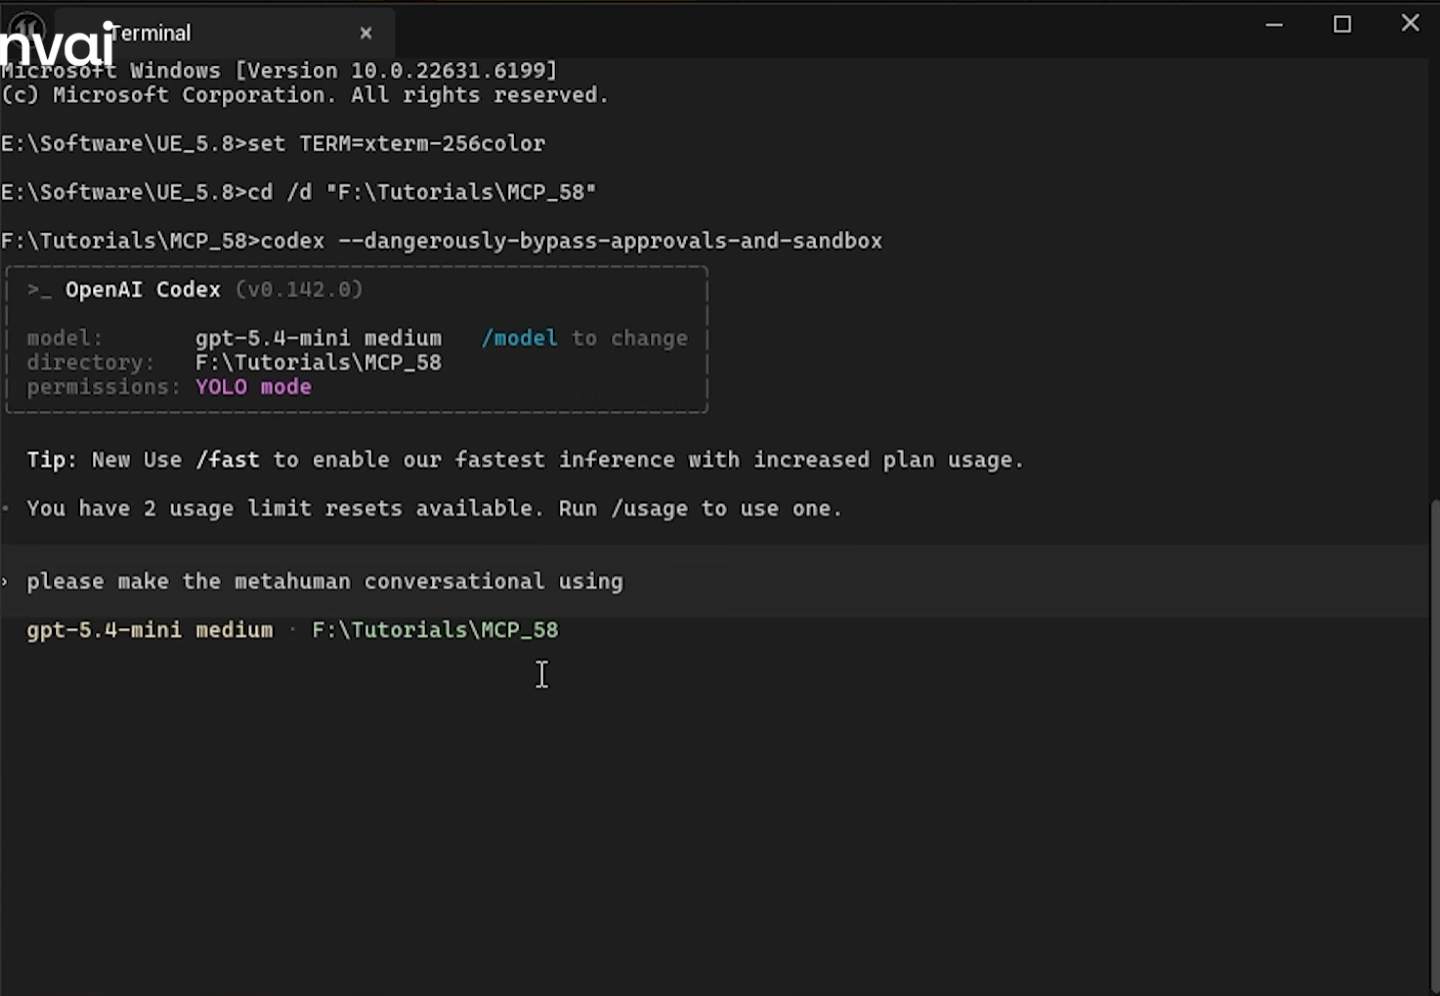
Ask the agent to make the avatar conversational — but it still needs the Character ID of your Convai character. To get one:
The agent connects the Convai mind to your avatar, typically in a minute or so, and confirms when it's done. Hit play and talk to your character. In the demo, a simple "Hey, how's it going?" returns a natural, in-character reply with real-time lip sync and facial animation powered by Convai's NeuroSync model. That's a fully conversational AI character with zero manual Blueprint work.

Once the character talks, keep prompting to add behavior. The tutorial layers on four examples, each a single natural-language request to the agent:
Convai ships several out-of-the-box animations with the plugin. You can find them in the MetaHuman folder under Animations → Motion. The agent wires these up for you when you ask for navigation and action behavior, so commands like "follow me" and "clap" map to real movement and animation in the scene.

The tutorial keeps the setup intentionally simple to show the core workflow: prompt your AI coding agent, let it make the changes, then test inside Unreal Engine. To go further:
Q:What is Convai MCP for Unreal Engine? Convai MCP is a Model Context Protocol integration that lets an AI coding agent like Codex or Claude Code build Convai AI characters directly inside Unreal Engine. You prompt the agent in plain language to connect a Convai mind to your avatar, make it conversational, and add actions and gameplay, and the agent makes the changes in your project.
Q: How do I set up the Convai AI coding MCP? Click the Convai icon in the Unreal Engine toolbar, open Settings, and choose Setup AI Coding MCP. Pick your agent (Codex or Claude Code), enable Setup Terminal, add Convai instructions to generate an AGENTS.md, then enable and restart your project. A confirmation shows the agent is running.
Q: Which AI coding agents does Convai MCP support? Convai MCP works with AI coding agents including OpenAI Codex and Anthropic Claude Code. You select your preferred agent during the Setup AI Coding MCP step.
Q: Where do I get the Character ID for my AI character? Open the Convai Playground, click Create Character, set its name, backstory, personality, voice, and language, then copy the Character ID and provide it to the coding agent so it can connect the Convai mind to your avatar.
Q: Do I need to write Blueprint or C++ code to use Convai MCP? No. The workflow is prompt-driven: you describe what you want, the AI coding agent makes the required changes in your Unreal Engine project, and you test the AI character in play mode. Refine results by improving your prompts, the character's backstory, and features like Dynamic Context.
Convai MCP turns AI character development in Unreal Engine into a conversation with your coding agent. Set up the AI coding MCP, drop in a Character ID from the Convai Playground, and prompt Codex or Claude Code to make your avatar conversational and add the behavior you want — proximity greetings, navigation, animations, and full gameplay loops. It's the fastest way to bring intelligent, fully interactive AI players to your virtual worlds.
Ready to build? Sign up at convai.com · Read the Unreal Engine documentation · Get the plugin on Fab · Ask questions on the Developer Forum.
Follow Convai: LinkedIn · Reddit · X/Twitter · Instagram · YouTube


