Use Cases


Creating AI characters with custom AI avatars in Unreal Engine can significantly enhance the immersive experience in your game. This guide will walk you through the process of integrating custom AI characters using the Convai plugin, ensuring that your characters are interactive, engaging, and bring your game world to life. Additionally, you can check out the video below to see the process of creating AI characters with custom avatars using Convai.
In the evolving landscape of game development, creating realistic and interactive AI characters is crucial for an immersive gaming experience. Using the Convai plugin in Unreal Engine 5, you can transform your custom avatars into AI NPCs (Non-Player Characters) that interact with players and the game environment. This blog will provide a detailed walkthrough, making the process accessible and straightforward for game developers, designers, and virtual world builders. But before we dive into the tutorial, let's look at some of the benefits of creating AI characters with custom AI avatars.
AI characters can respond to player actions, creating a dynamic and engaging experience. Custom AI avatars ensure that these interactions are unique and tailored to your game’s aesthetic.
Interactive NPCs can offer quests, provide hints, or react to the game environment, adding depth to your gameplay mechanics. With a great backstory, the AI characters can significantly uplift the overall experience the game has to offer.
Using custom AI avatars differentiates your game from others, giving it a distinctive look and feel that can attract and retain players.
Now that we’ve looked at some of the benefits of having AI characters with custom avatars, let’s dive into the step-by-step process.
To start, ensure you have Unreal Engine 5 installed along with the Convai plugin. Here’s a quick setup guide:
1. Install Unreal Engine 5: Download and install Unreal Engine 5 from the official website.
2. Get the Convai Plugin: Download the Convai plugin from the Unreal Engine Marketplace. Learn more in the documentation.
3. Create a New Project: Open Unreal Engine and create a new project using the Third Person Template for simplicity.
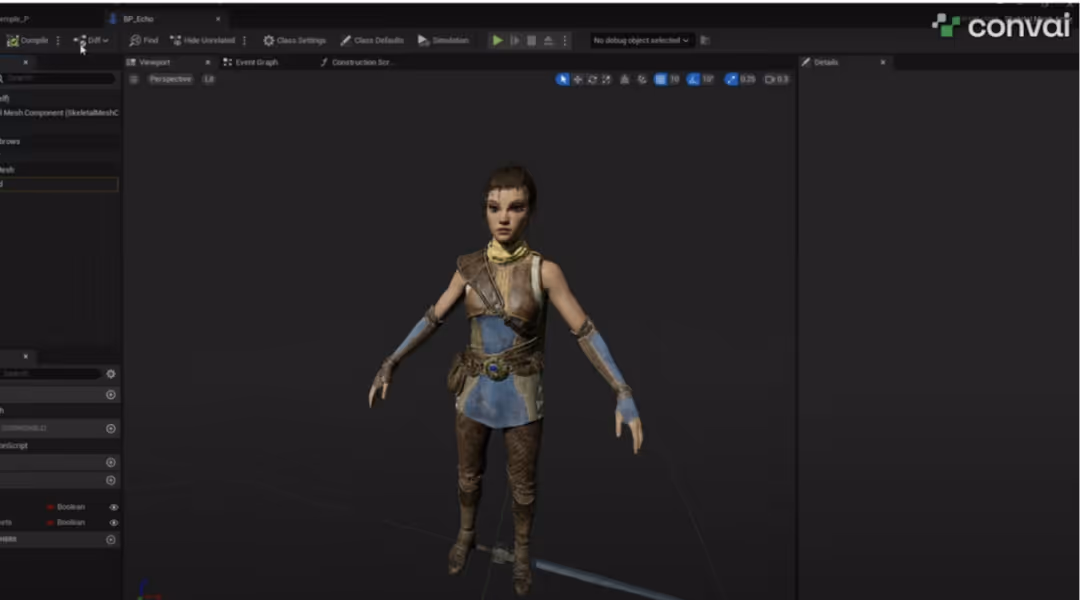
Import your custom avatar model into Unreal Engine. Ensure the model is rigged and skinned properly to avoid issues later on.
Create a new blueprint for your character (to create new characters check our the Character Creator tool):
1. Navigate to the Content Browser and create a new folder named `ConvaiIntegration`.
2. Create a new blueprint class and select `ConvaiBaseCharacter` as the parent class. Name it something like `BP_CustomCharacter`.
Add your avatar’s skeletal mesh to the blueprint:
1. Open your blueprint and add a `Skeletal Mesh` component.
2. Assign your custom avatar’s mesh to this component.

1. Download the Convai Reallusion Animation Blueprint from the provided link in the Convai documentation.
2. Extract the files into your project’s `Convai` folder and restart the project.
3. Open the animation blueprint and assign your avatar’s skeleton.
In the animation graph:
1. Add idle, walking, and transition animations. Ensure smooth transitions to avoid awkward movements.
2. Set up head rotation to make the character look at the player.
3. Assign bones for eye movements and facial emotions.

Convai uses viseme-based animations for lip sync. Here’s how to set it up:
1. Open Your Skeletal Mesh: Navigate to the morph targets section.
2. Map Visemes: Assign relevant blend shapes or bones for each viseme (e.g., `pp`, `ff`, `dd`).
3. Modify Curves: Replace the existing blend shapes node with a `Modify Curve` node and add curves for each viseme.
For characters using bones instead of blend shapes:
1. Locate relevant bones (e.g., jaw, tongue) in the skeleton tree.
2. Create `Transform Modify` nodes and adjust position and rotation values.

After setting up animations and lip sync, it’s time to import your character into the game world:
1. Drag and Drop: Drag your character blueprint into the scene.
2. Set Character ID: Assign a unique character ID for interaction purposes.
3. Test Interactions: Ensure the character responds correctly to player inputs and performs the desired actions.
Creating AI characters with custom avatars in Unreal Engine using the Convai plugin can significantly elevate your game’s immersive experience. This step-by-step guide has covered everything from setting up your project to integrating animations and applying lip sync. By following these steps, you can create unique, interactive NPCs that enrich your gameplay and captivate your players.
For more information, tutorials, and support, check out Convai’s official website and join the Discord community. Also, read our blog on popular AI gaming trends to get a deeper insight into the AI gaming landscape in 2024.
Happy developing!


