Build Immersive, Real-Time Lipsyncing Conversational AI Characters in Unity: Quick Setup Guide by Convai
By
Convai Team
March 23, 2026
Imagine walking up to a character in your virtual world and starting a conversation as naturally as you would with a person. You speak, and the character responds instantly—not with a pre-recorded line, but with a contextual answer that draws from your previous interactions and the environment around you. As they speak, their facial expressions and lip-sync move with the same nuance and emotional weight as their words.
This level of immersion is the new standard for spatial computing and gaming. With the launch of the new Convai Unity SDK, this level of immersion is no longer a distant dream; it is a plug-and-play reality. Powered by the WebRTC protocol and our in-house NeuroSync animation model, Convai allows you to bring fully interactive AI agents into Unity with unprecedented speed and realism.
Check out the detailed tutorial below to get started:
Why It Matters
In traditional game development, Non-player Characters (NPCs) are often the weakest link in immersion. They are typically limited by "dialogue trees" that feel rigid and predictable. For developers in XR training, Simulation, and Game Design, the goal has always been "Embodied AI": characters that can think, perceive, and react.
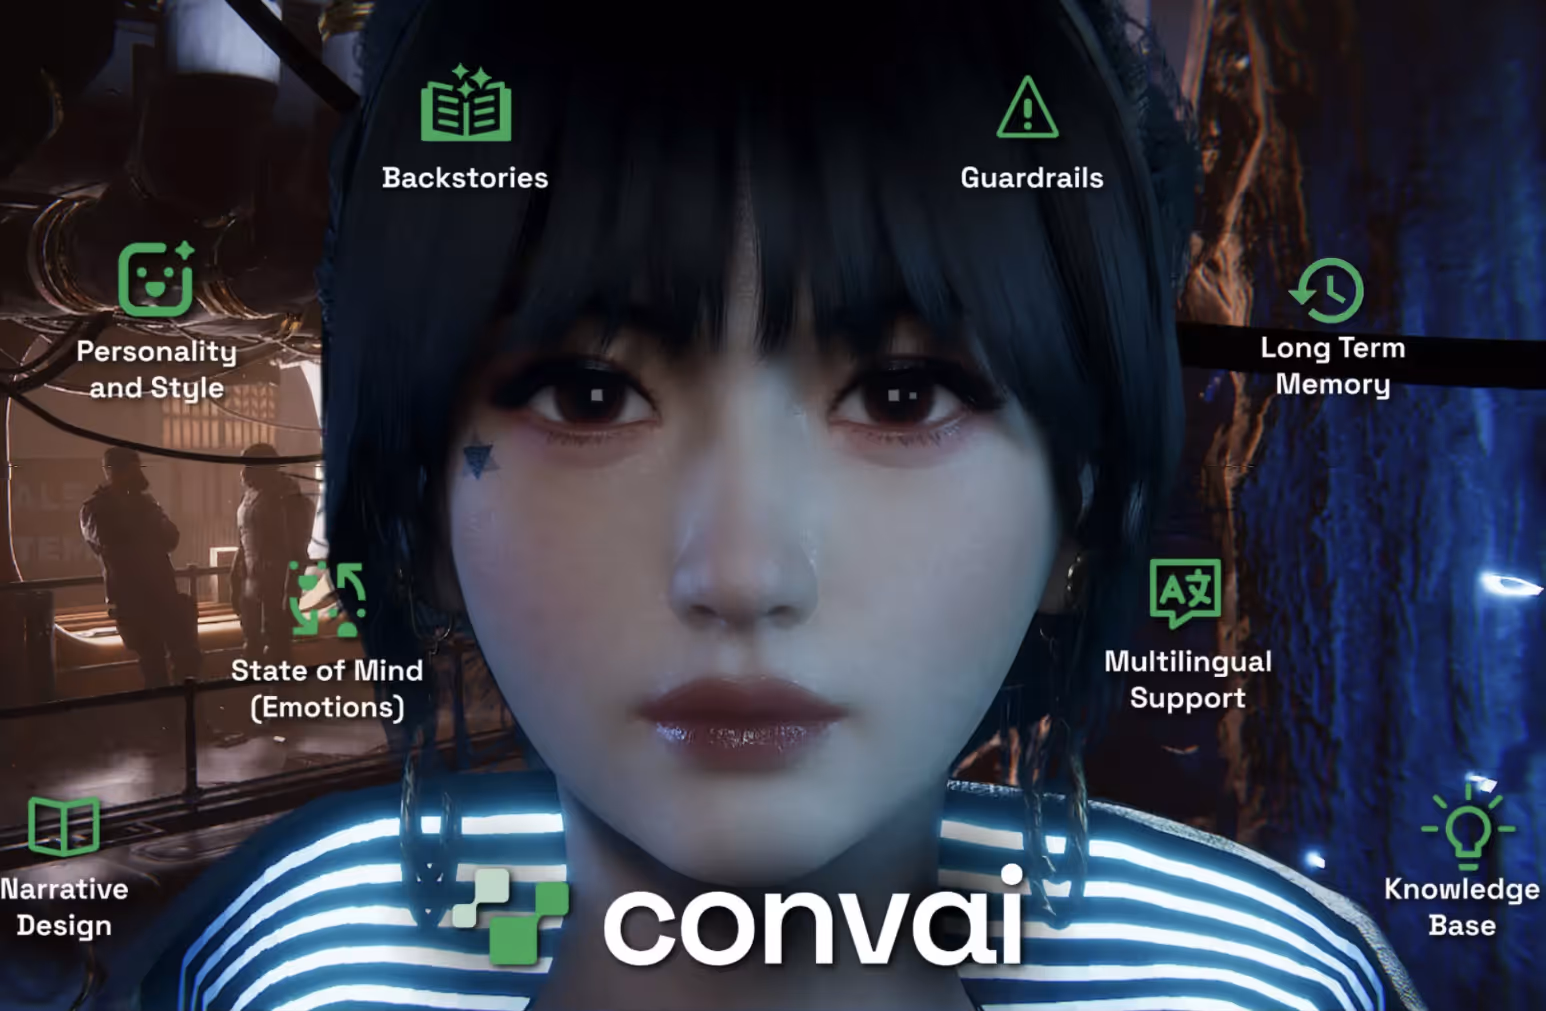
Convai’s new Unity plugin solves the three biggest hurdles in AI character development:
Latency: By switching to WebRTC, the delay between a user's voice and the AI's response is virtually eliminated.
Memory: Characters now possess long-term memory, meaning they can recall past conversations across different sessions.
Animation:NeuroSync automates the grueling process of lip-syncing by analyzing audio in real-time to drive blend shapes. (Watch the Unreal Engine Neurosync video to learn more.)
What the Upgrade Brings
The new Unity SDK is more than just a plugin; it is a full conversational pipeline. Here is what the upgrade brings to your Unity project:
WebRTC Protocol: Significant upgrades in response latency for snappier, more lifelike conversations.
Voice Activity Detection: Enables hands-free conversation: the character knows exactly when you start and stop talking.
Multimodal LLM Integration: Choose from a variety of LLMs and the characters draw from a knowledge base, long-term memory, and live game context to generate responses.
NeuroSync Lip Sync: Real-time analysis of AI voice output to drive highly accurate facial blend shapes (ARKit, CC4, and MetaHuman compatible).
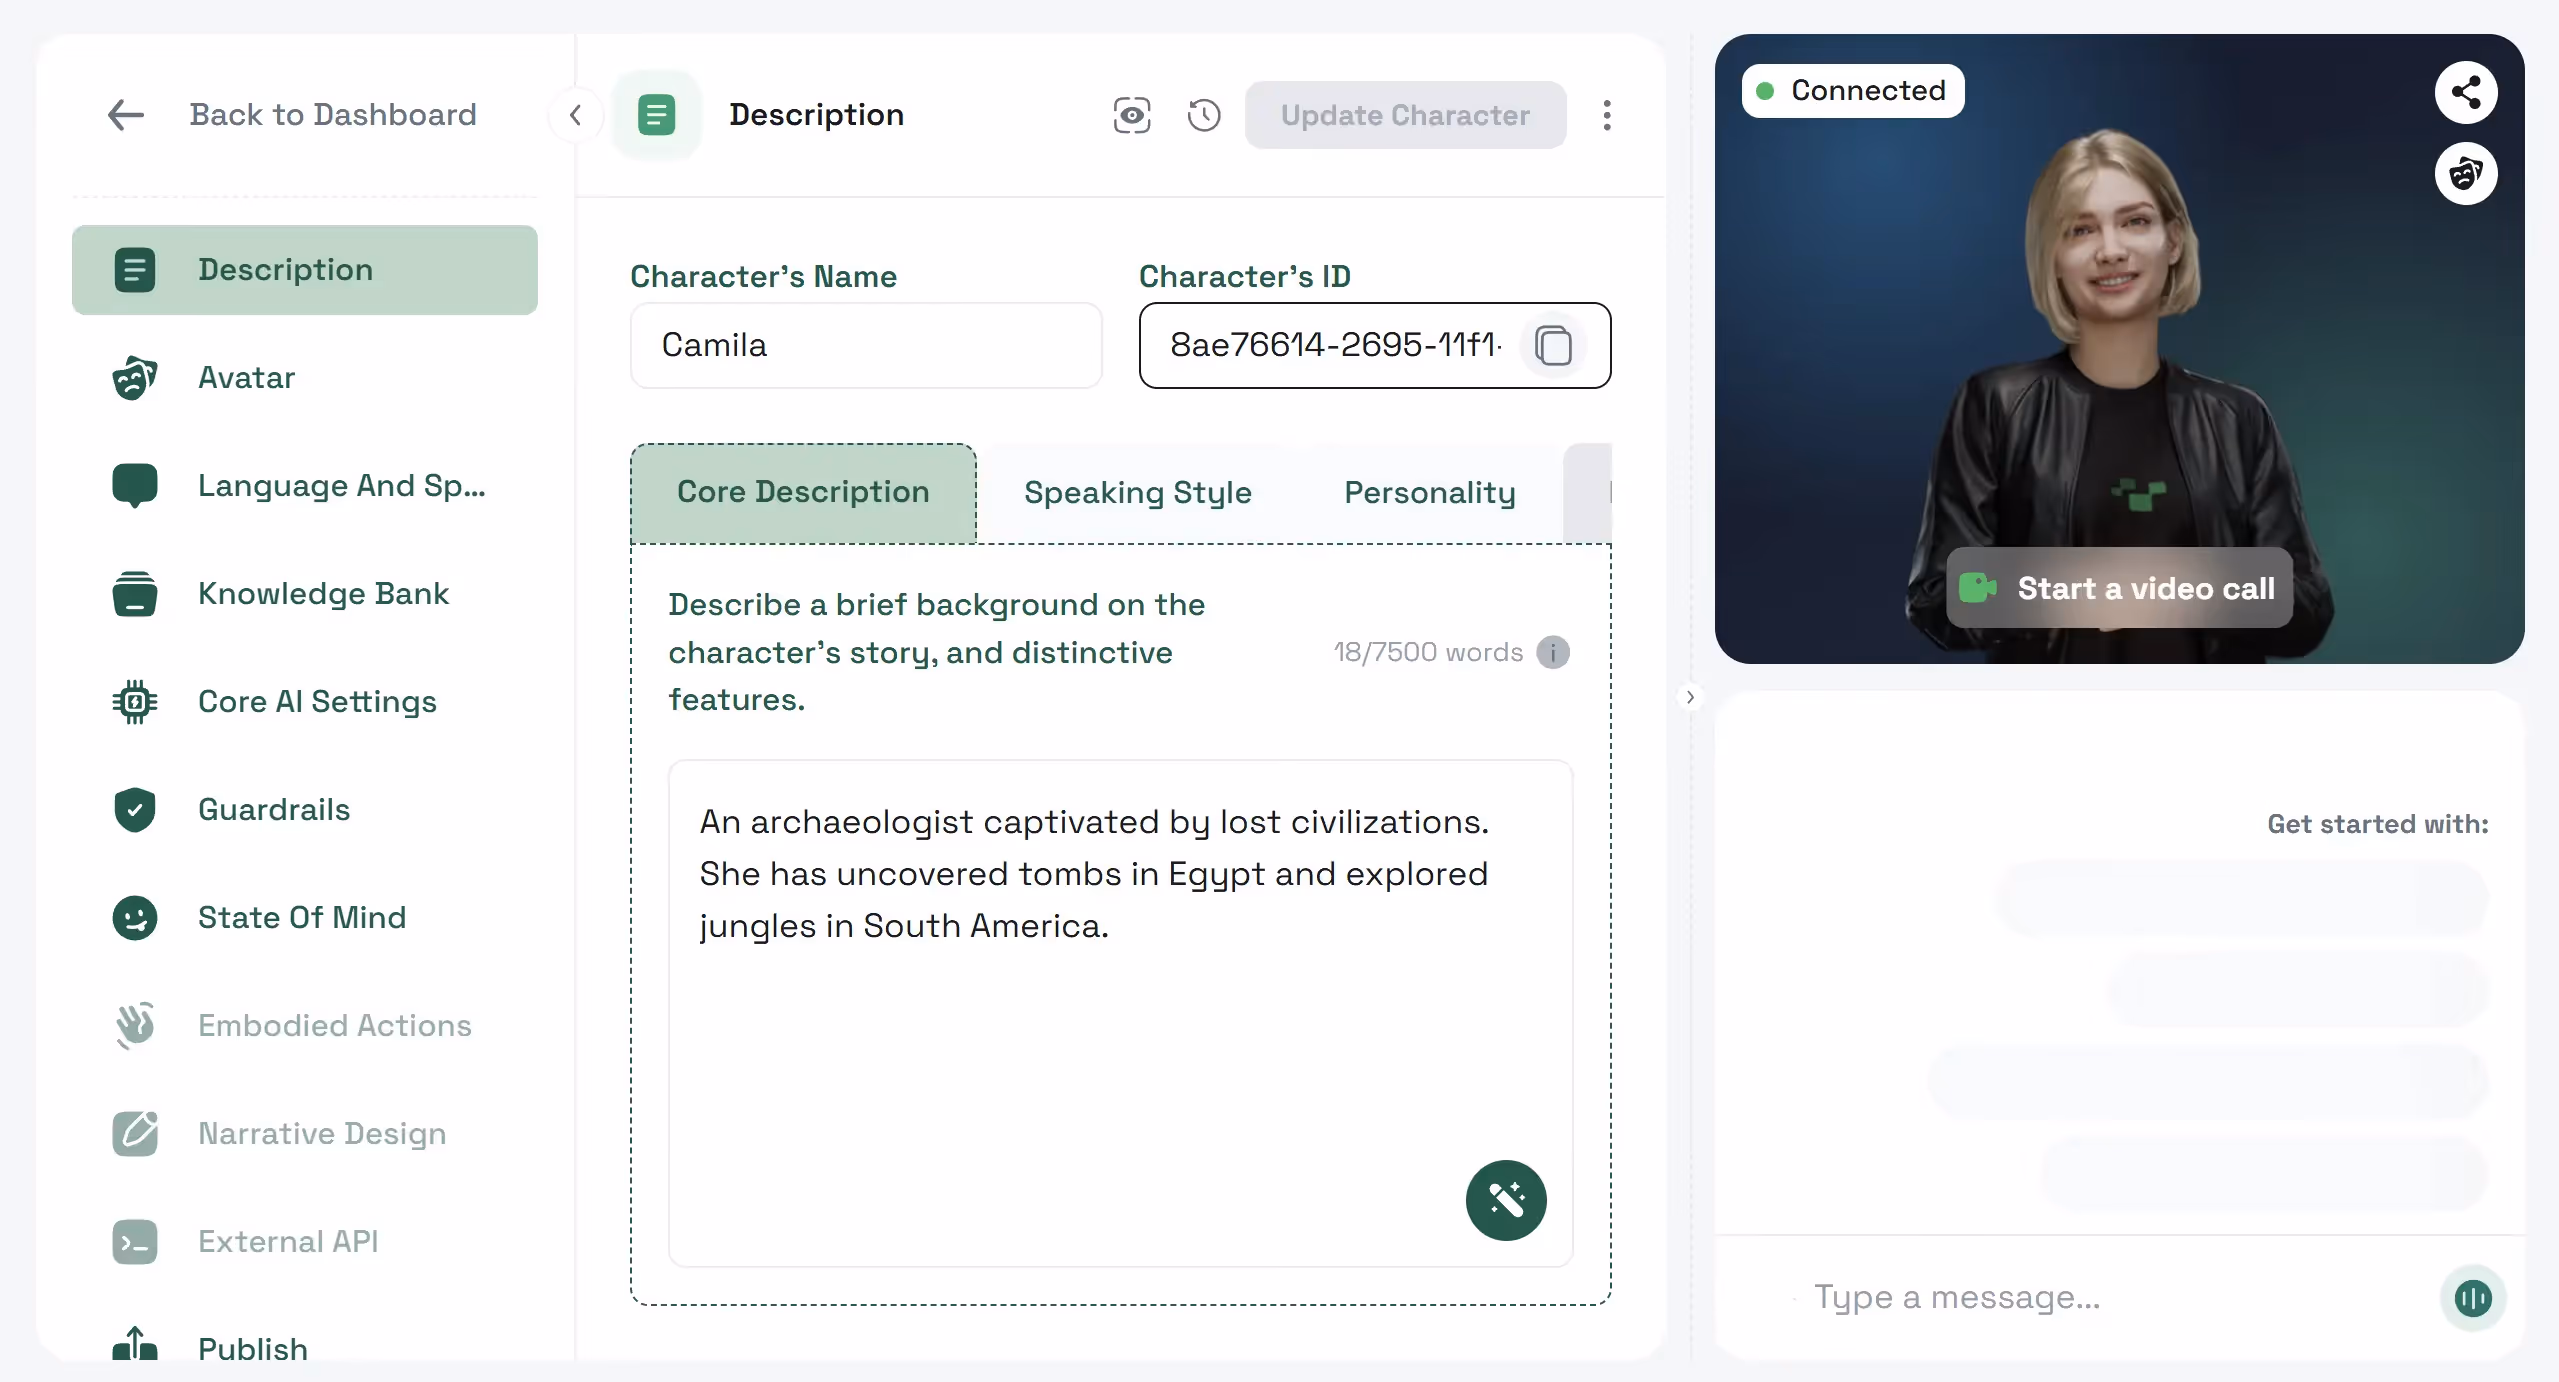
The Setup: Use a Reallusion avatar with the CC4 Extended blend shape profile.
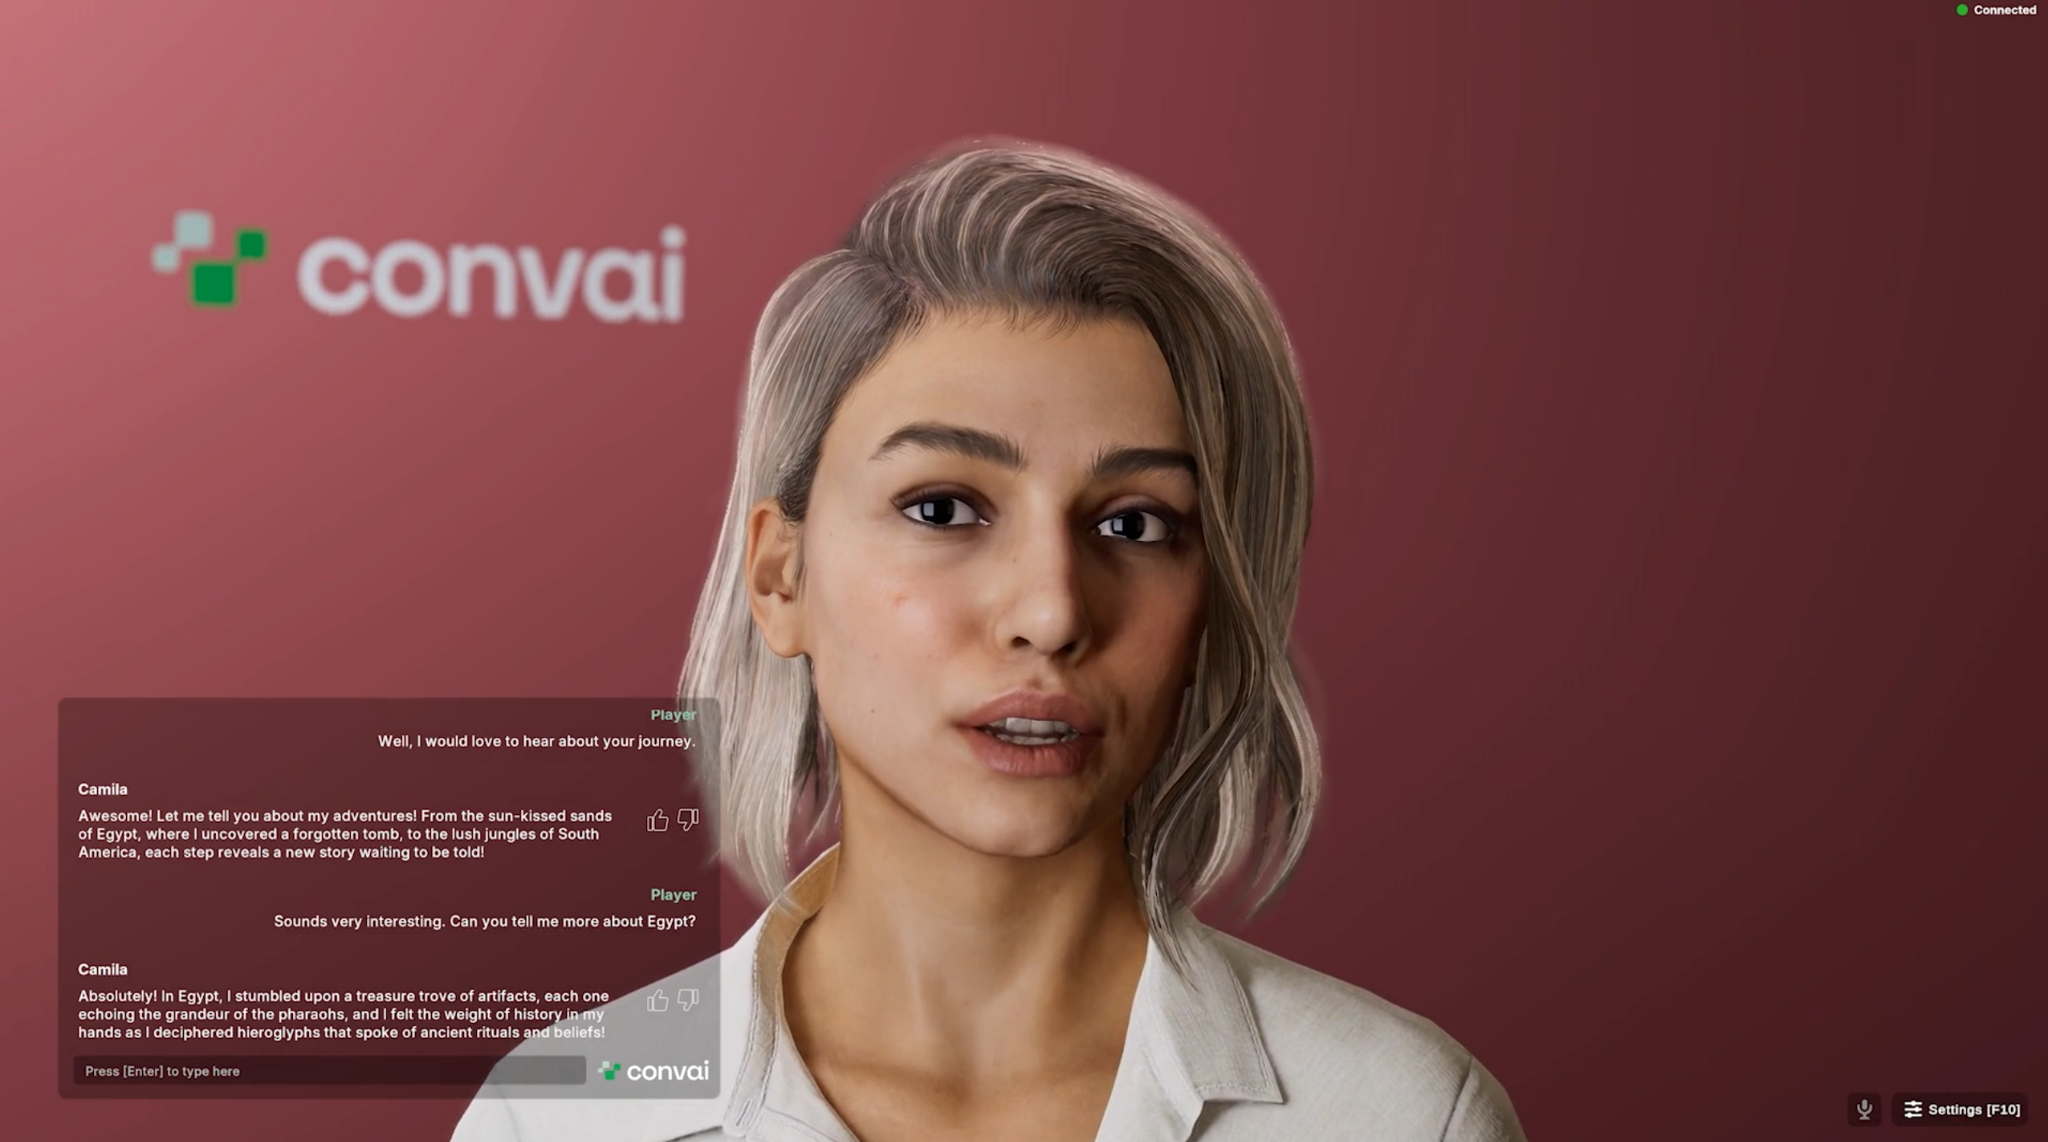
The Interaction: Ask Camilla about the various discoveries in Egypt. Because of Convai's Multimodal Knowledge Base, she can explain specific hieroglyphs and rituals with realistic facial expressions that mirror her passion for history.
2. The VR Training Mentor
Character Name: Michael Andrews
Backstory: A seasoned real estate trainer with 20 years of experience.
The Setup: Integrate Michael into a virtual office scene. Enable Hands-free VAD so the trainee doesn't have to hold a button while practicing their sales pitch.
The Interaction: Trainees can role-play a sales call. Michael uses his Long-Term Memory to remember the trainee's previous mistakes and provides personalized coaching in real-time.
A: Yes! By disabling "Push-to-Talk" and utilizing Voice Activity Detection, characters can listen and respond automatically when they detect your voice.
Q: Which avatar systems are supported?
A: Convai is avatar-agnostic. The Lip Sync component includes built-in profiles for ARKit, Reallusion (CC4/CC5), and more.
Q: Do I need to write C# code to get this working?
A: No. The core functionality, including the chatbot, facial animation, and player controls, is handled through pre-built Unity Components and the Inspector.
Q: Is the lip-sync processed on my local machine?
A: The analysis is handled by our cloud-based NeuroSync model and streamed to your project via WebRTC, ensuring high performance even on lower-end hardware.
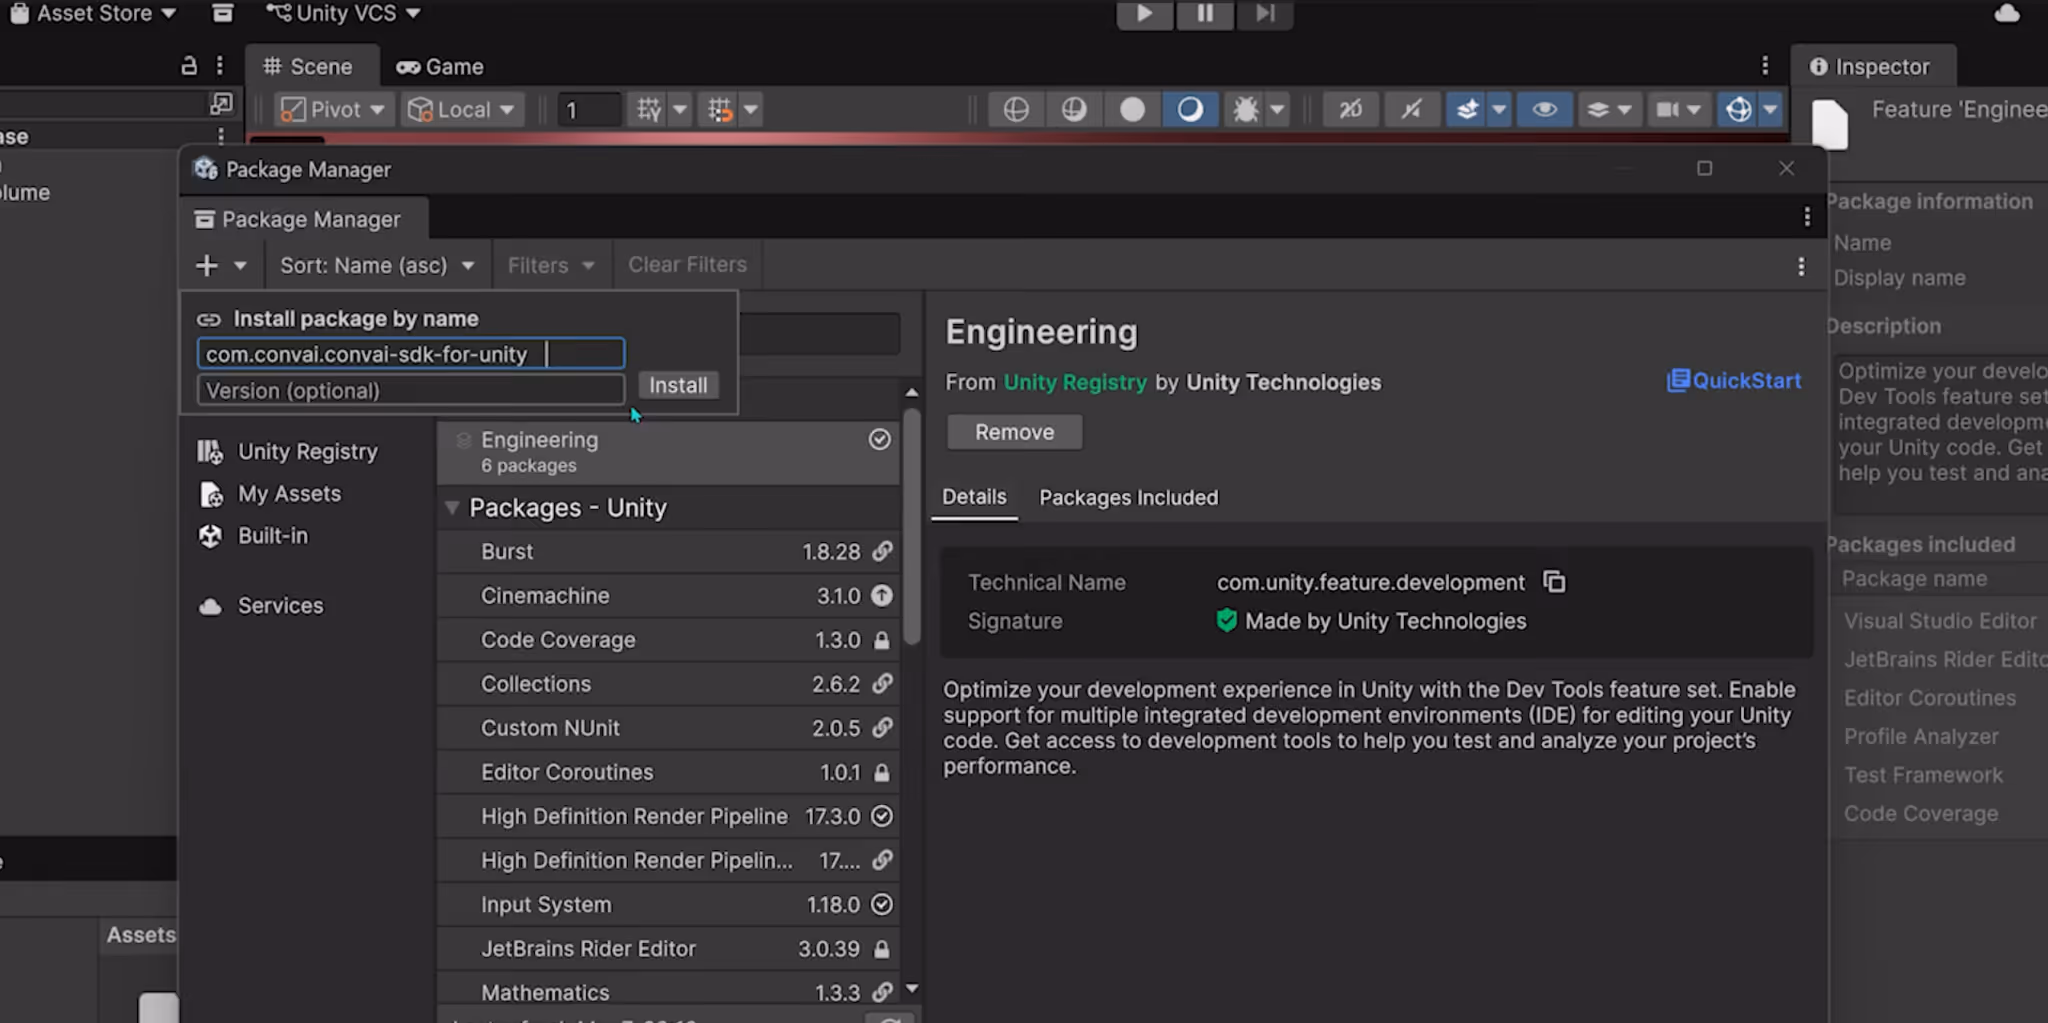
Q: How do I add conversational AI to a Unity project?
A: To add conversational AI to Unity, use Convai’s Unity SDK, which integrates WebRTC for low-latency voice communication and NeuroSync for real-time lip-sync animation. The SDK includes pre-built components that simplify setup without requiring extensive coding.
Q: Can conversational AI characters be used outside of gaming?
A: Yes, Convai’s conversational AI characters are ideal for applications beyond gaming, such as XR training simulations, virtual assistants, and educational tools. Their long-term memory and multimodal knowledge base enable realistic interactions in diverse scenarios.
Q: What is NeuroSync lip-sync and how does it compare?
A: NeuroSync is Convai’s gen-AI powered lip-sync model that analyzes audio in real-time to drive precise facial animations compatible with ARKit, CC4, and MetaHuman. Unlike alternatives like Wav2Lip, NeuroSync provides seamless integration with Unity via WebRTC for live interactive experiences.
Q: Does the Convai Unity SDK support hands-free conversations?
A: Yes, Convai’s SDK includes Voice Activity Detection (VAD), allowing characters to listen and respond automatically without users needing to push buttons, enabling natural, hands-free interactions.
Q: What avatar systems does Convai support for AI characters?
A: Convai is avatar-agnostic and supports popular avatar systems including Reallusion (CC4/CC5), MetaHuman, and ARKit blend shapes, with built-in profiles for easy lip-sync mapping.
Join the Convai Community
Ready to start building your own intelligent and fully interactive AI agents in Unity?
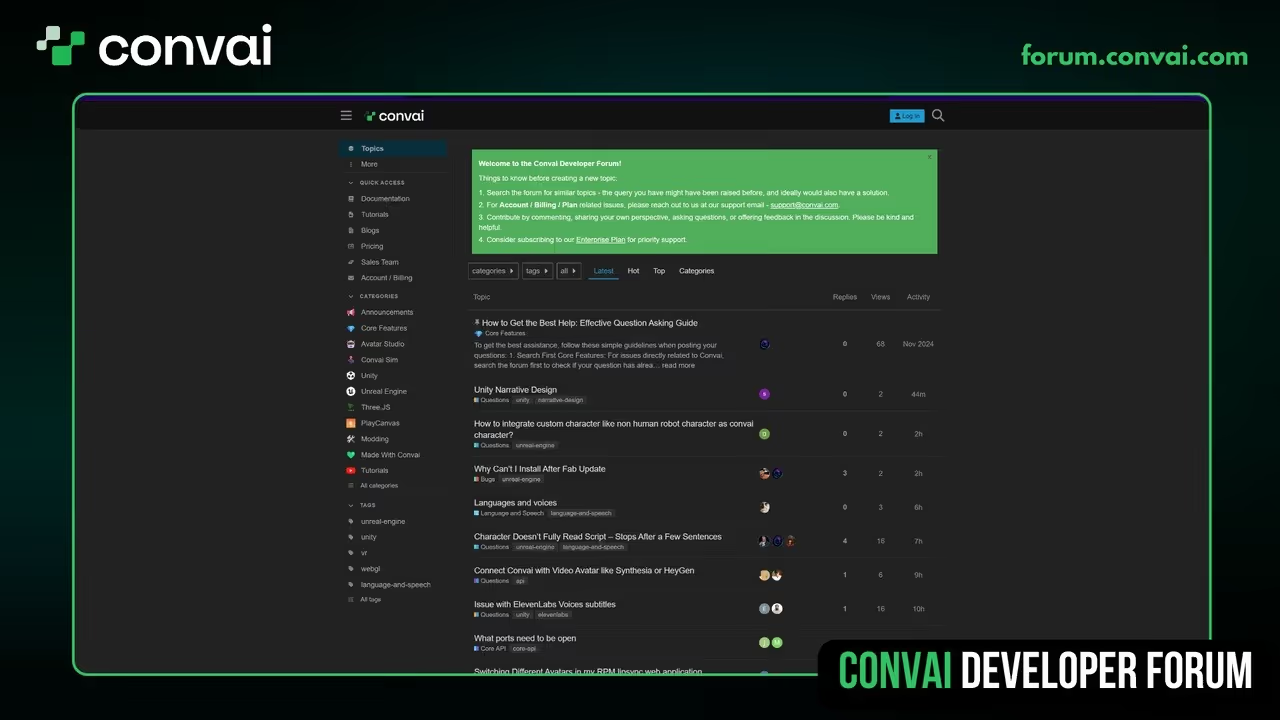
Get Support: Visit the Convai Developer Forum to connect with other creators and our technical team.
Don't forget to subscribe to our YouTube channel for the next video in this series, where we’ll cover adding custom animations and narratives!
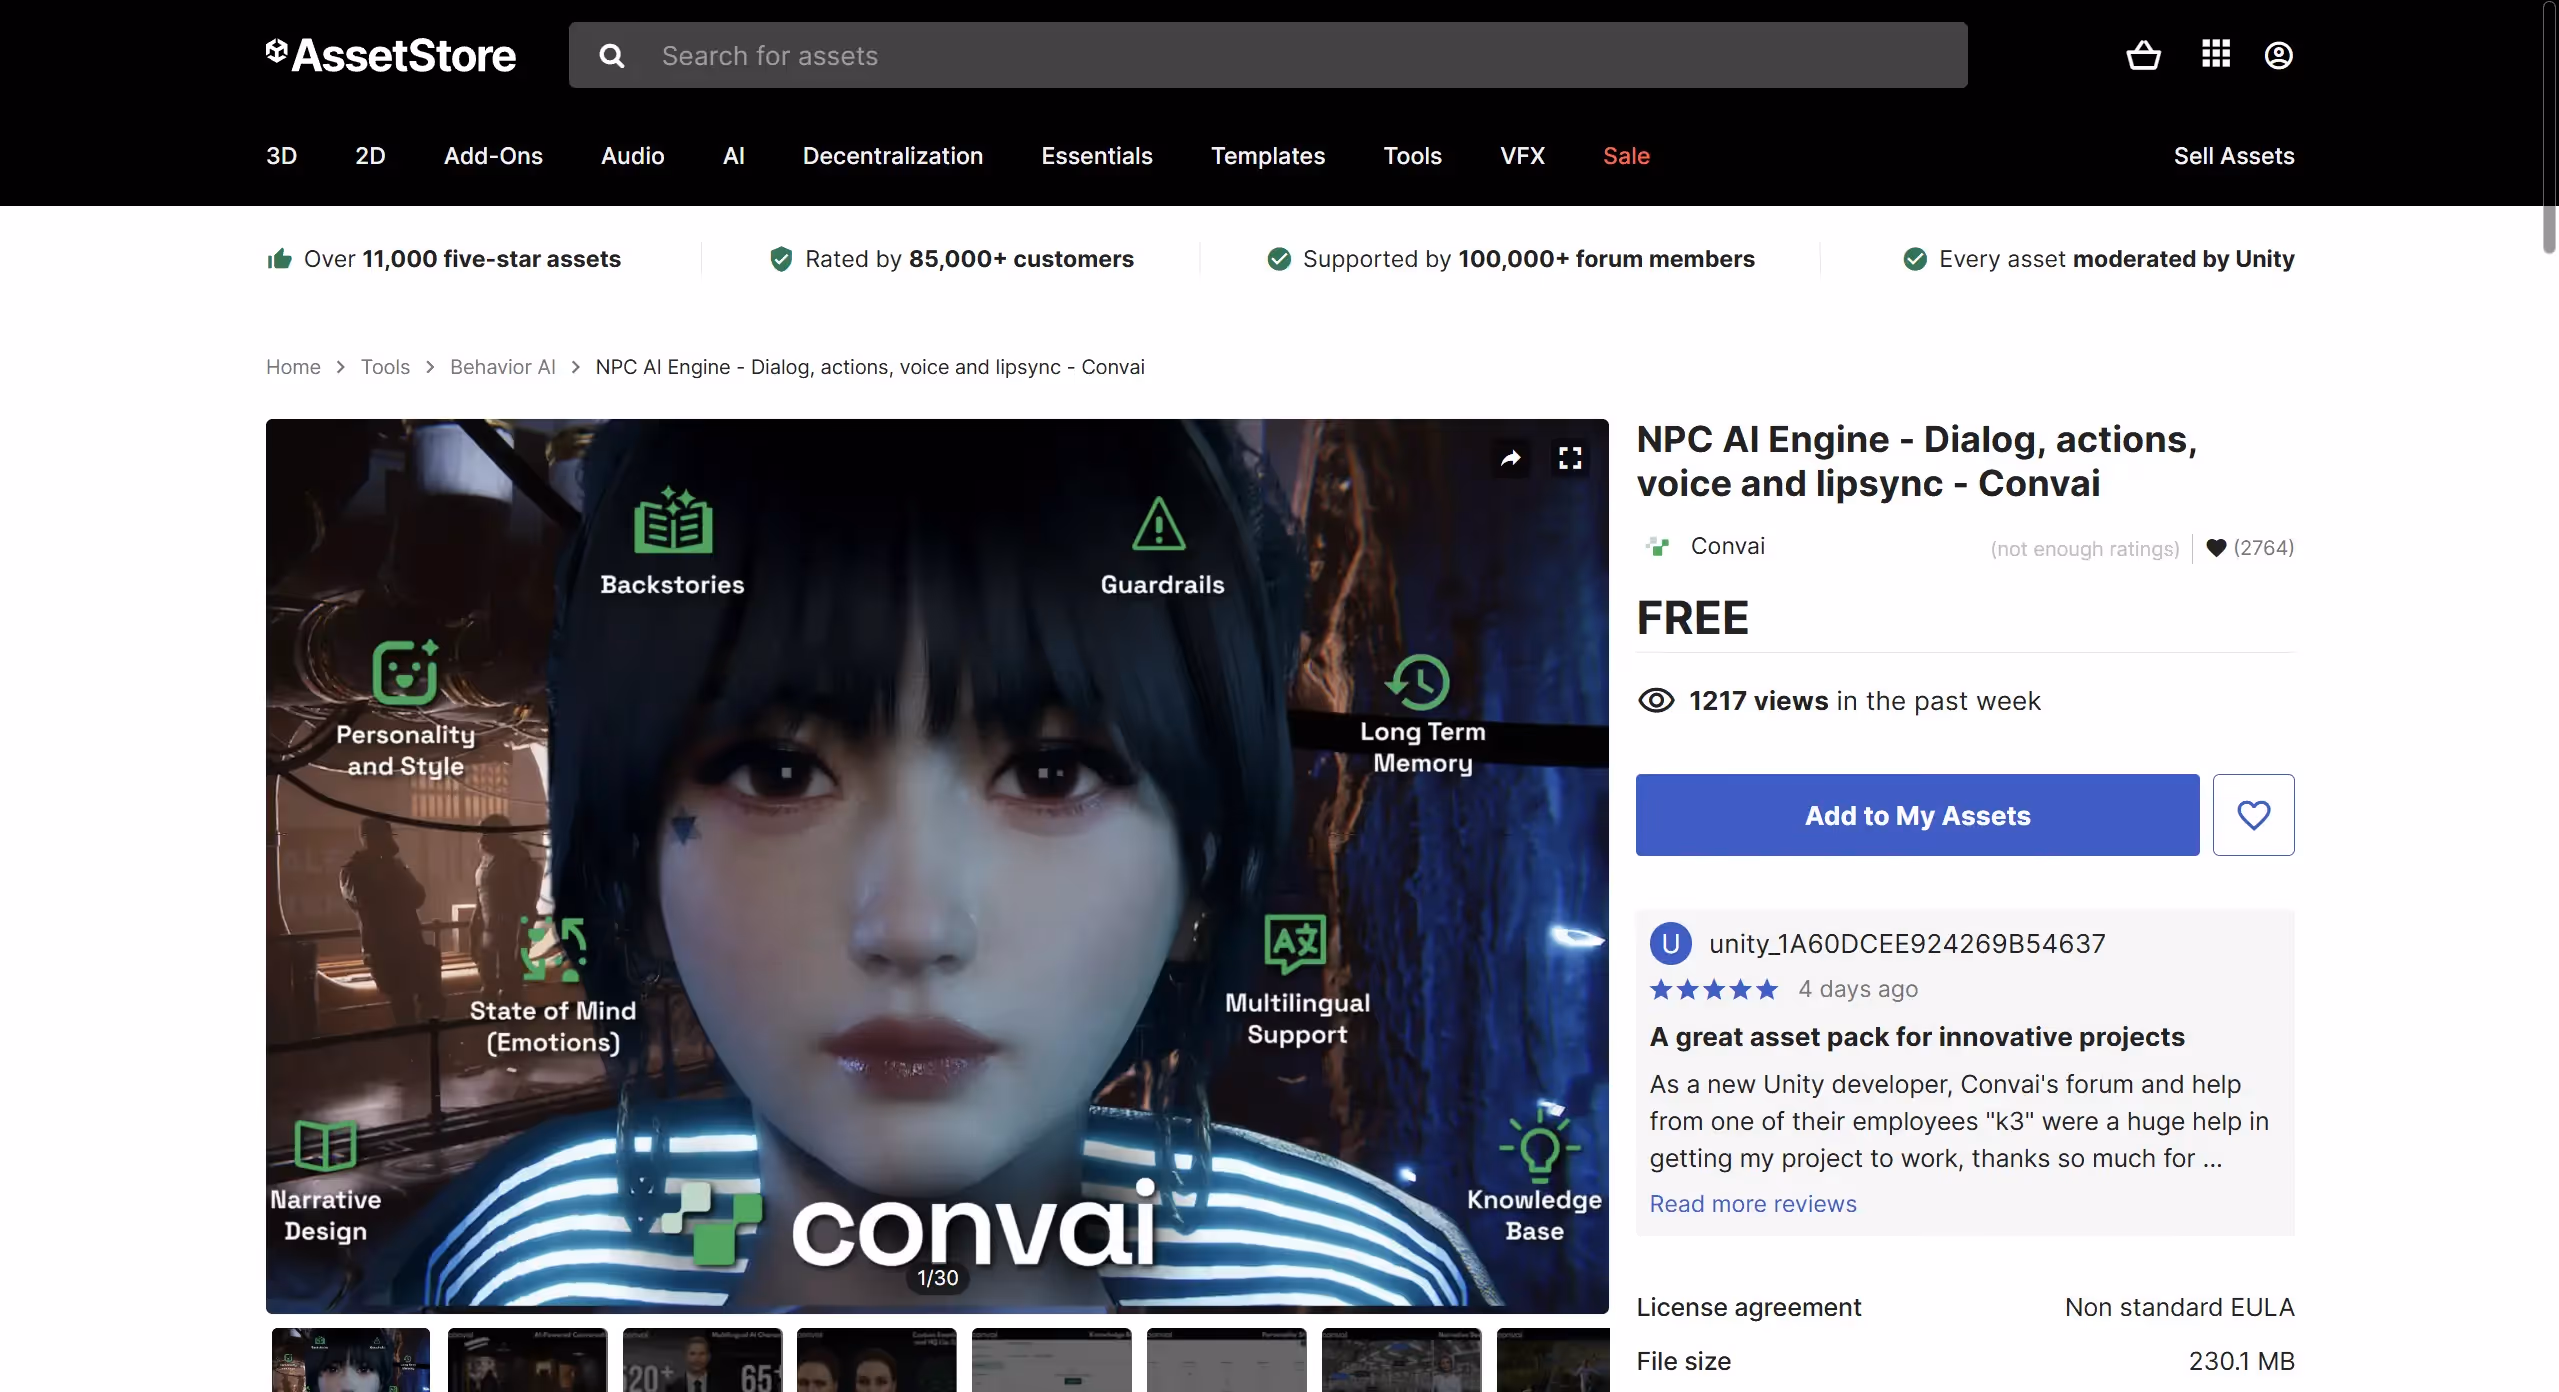
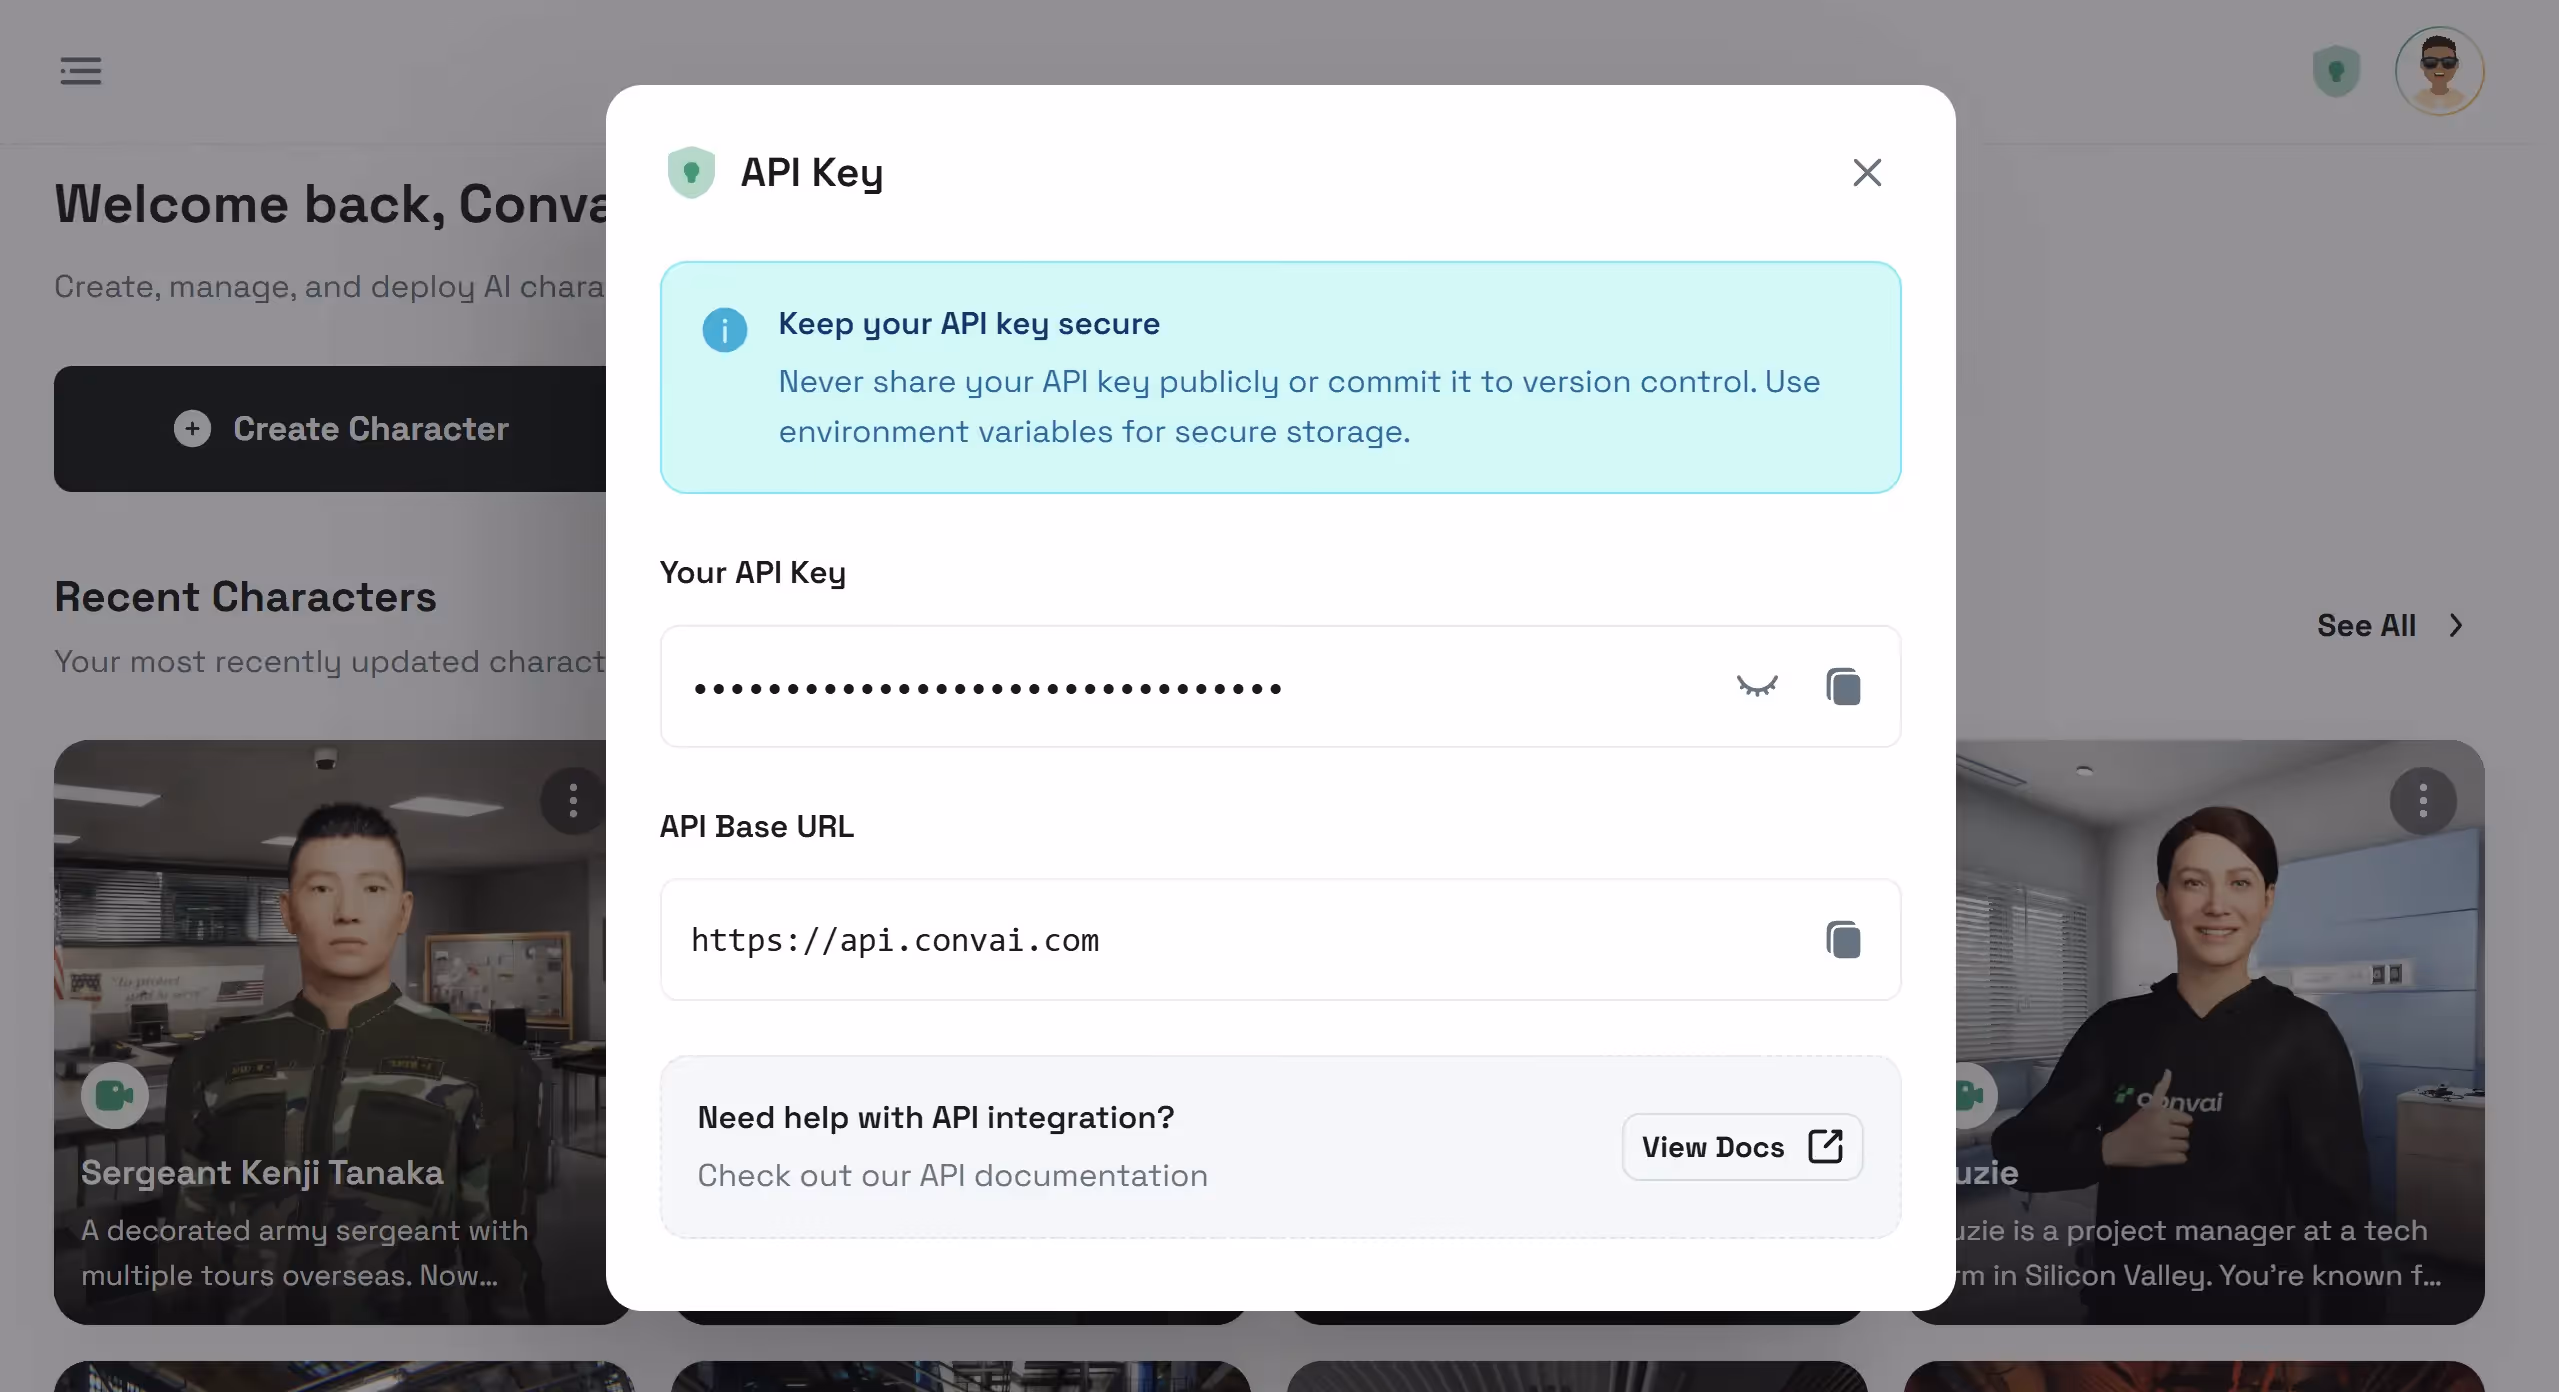
{ "@type": "Question", "name": "How do I add an AI companion to a Unity project with Convai?", "acceptedAnswer": { "@type": "Answer", "text": "Download the Convai SDK for Unity from the documentation page, import it into your Unity project, configure your Convai API key, and attach the Convai NPC component to your character. Your AI companion will be able to hold natural conversations, perceive its surroundings, and perform in-game actions." }
},
{ "@type": "Question", "name": "What can Convai AI companions do in Unity?", "acceptedAnswer": { "@type": "Answer", "text": "Convai AI companions can converse naturally with players using real-time voice, perceive virtual surroundings using streaming vision, remember conversation context across sessions with long-term memory, and execute in-game actions like moving, picking up objects, or triggering events." }
},
{ "@type": "Question", "name": "Do Convai AI characters work with custom avatars in Unity?", "acceptedAnswer": { "@type": "Answer", "text": "Yes. Convai's Unity SDK supports custom avatars alongside MetaHuman and Reallusion characters. The Convai Asset Uploader lets you import any 3D model and configure it as an AI character with lip-sync and facial animation." }
},
{ "@type": "Question", "name": "What Unity versions are supported by the Convai SDK?", "acceptedAnswer": { "@type": "Answer", "text": "The Convai SDK for Unity supports Unity LTS versions. Check the Convai documentation page for the current list of verified Unity versions and download the appropriate SDK package." }
},
{ "@type": "Question", "name": "Can Convai AI companions remember players across game sessions?", "acceptedAnswer": { "@type": "Answer", "text": "Yes. Convai's long-term memory feature stores conversation history per user using a unique speaker_id, so AI companions can recall previous interactions and build on them in future sessions." }
}