Use Cases

Traditionally, creating your very own high-fidelity virtual human or even AI avatar has been locked behind a massive hardware wall. If you wanted to run a real-time AI character with realistic animations and complex logic, you usually needed a high-end GPU, a powerful desktop system, and a heavy game engine like Unreal Engine or Unity. This created a significant friction point for users who just wanted to interact with an AI assistant or a virtual guide without downloading a multi-gigabyte application.
The solution lies in the browser. By moving the experience to the web, we can reach users on any device, from a high-end workstation to a standard smartphone. We achieved this much earlier with Avatar Studio and Convai Sim, both of which are no-code tools that allow you to choose from a rig of metahumans and various environments to build your own AI avatar led experiences directly in the browser.
However, with this alternate method, creating 3D AI avatars on the web is just as flexible and enables more use-cases, and in this guide, we will show you how to leverage the Convai Web SDK to bridge the gap between web performance and cinematic quality.
Convai's Web SDK lets you build a browser-based conversational AI avatar with real-time lip-sync (NeuroSync) and sub-200ms latency using Three.js and React – no game engine, no local GPU required. According to Statista, there are over 5.4 billion internet users worldwide, making the browser the largest accessible deployment target for AI avatar experiences.
Check out the video below to get started:
When deciding between a native game engine (like Unreal Engine) and a web-based setup (Three.js), it usually comes down to a choice between graphical ceiling and accessibility.
If your goal is widespread adoption and seamless user onboarding, the web is the clear winner. Easy AI avatars for web deployment allow you to reach your audience where they already spend their time: in the browser.
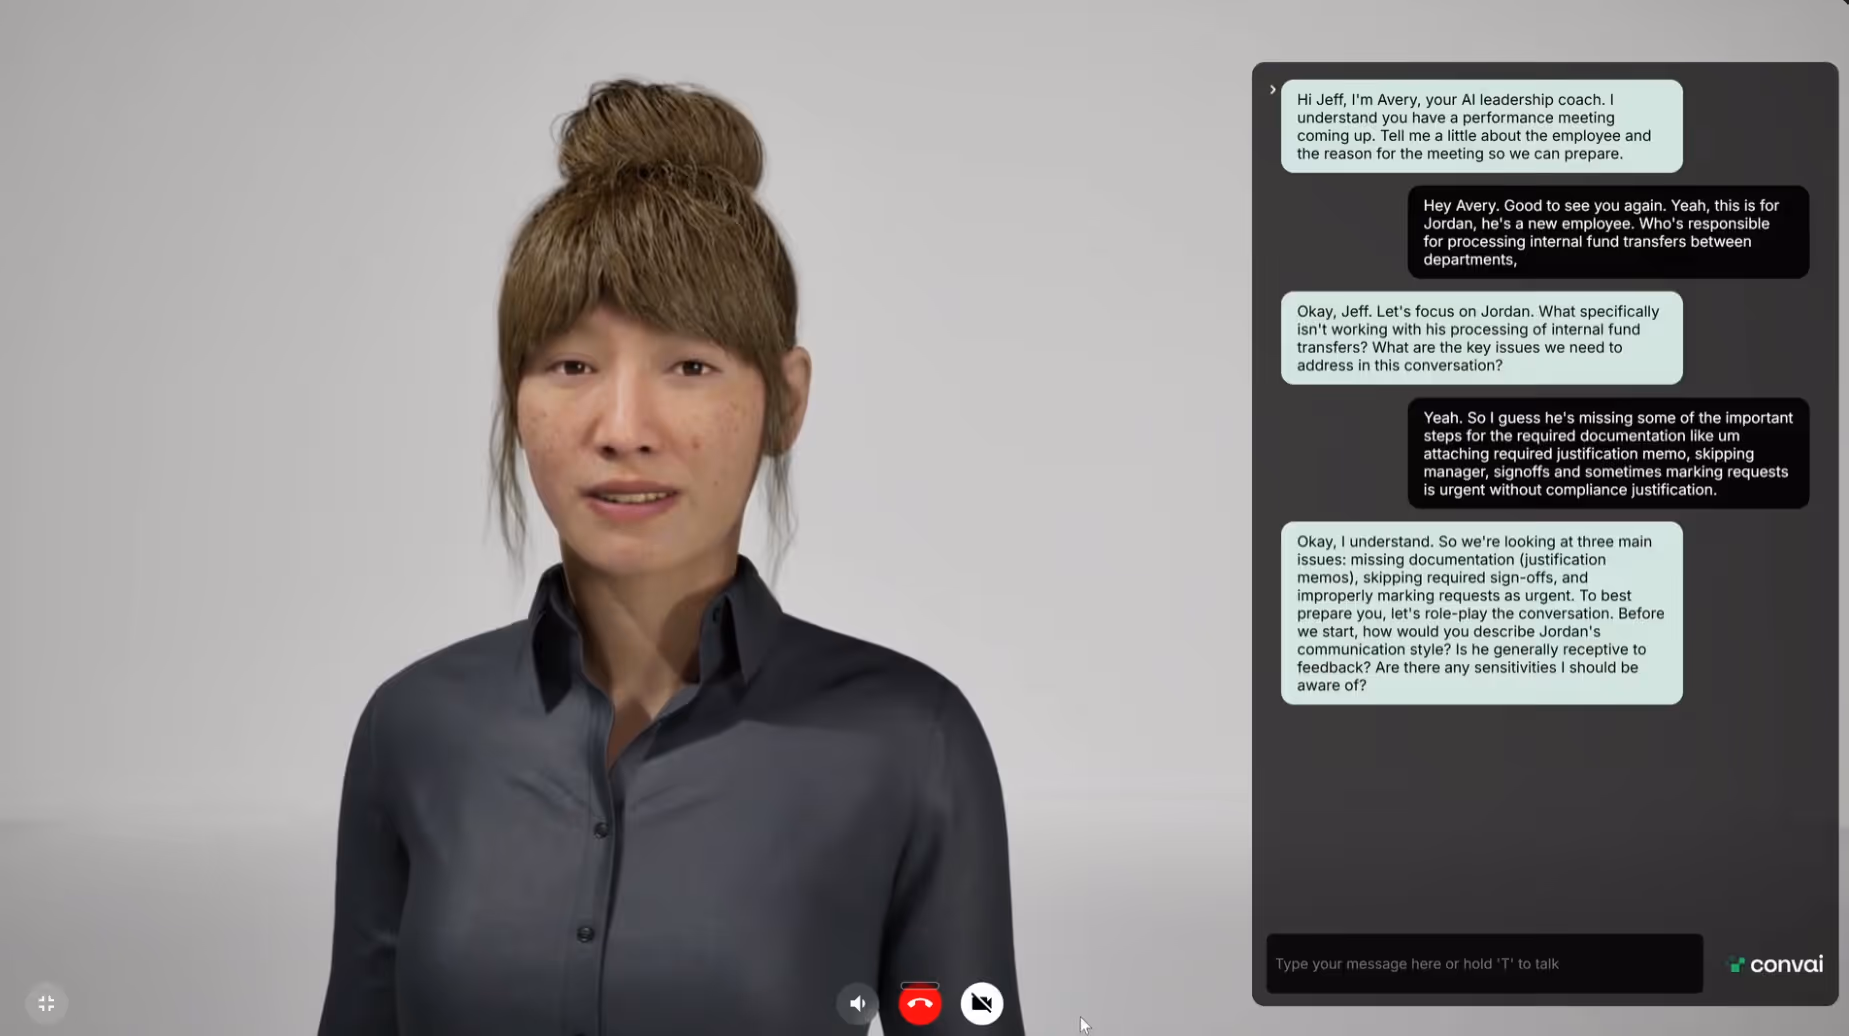
AI characters on the web are not just for games; they are powerful tools for conversion and engagement.
Read Also: Bring Your Unity Characters to Life: A Quick Setup Guide for Interactive Conversational AI
Building AI characters for the web involves a structured pipeline. We use React Three Fiber (R3F) to handle the 3D rendering and the Convai Web SDK to handle the intelligence and voice.
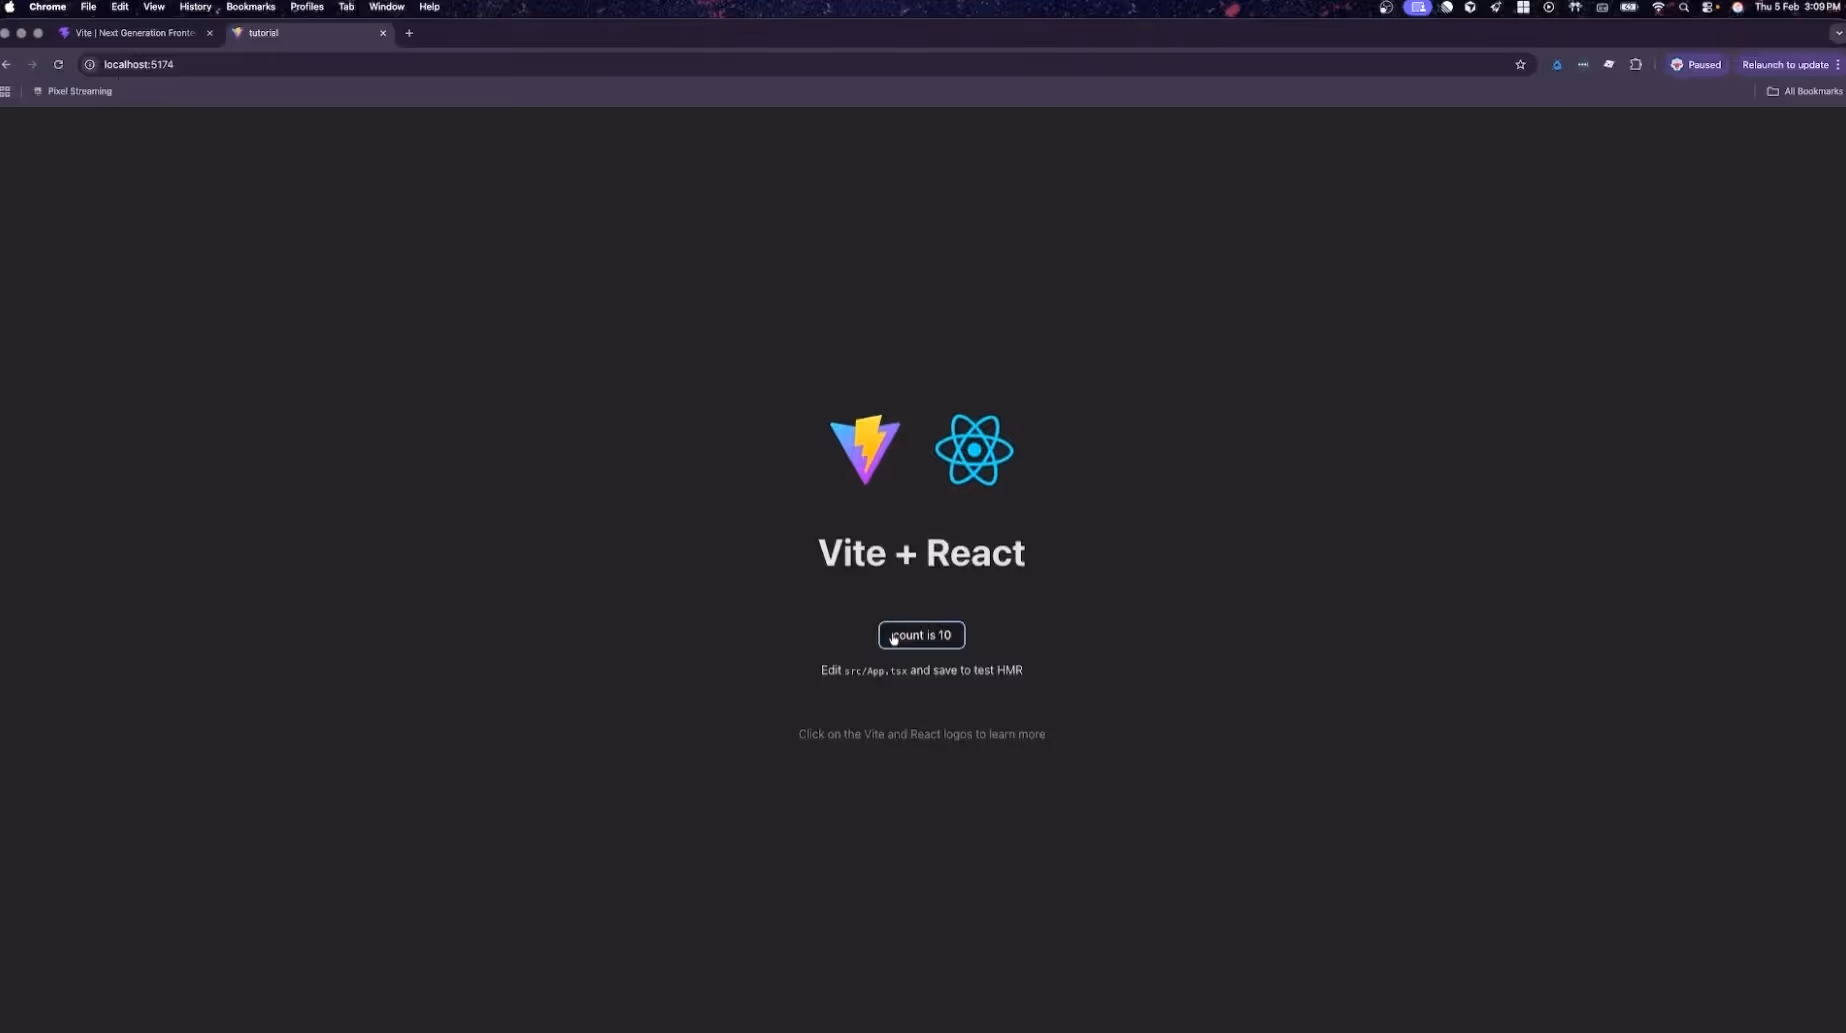
We start by setting up a modern React environment optimized for performance. We use Vite for its lightning-fast build times and TypeScript for robust type safety.
For a deeper dive into npm package requirements, refer to the Convai Web SDK Installation Guide.
# Create the React starter with Vite
npm create vite@latest . -- --template react-ts
# Install core dependencies
npm install three @types/three @react-three/fiber @react-three/drei convai-web-sdk

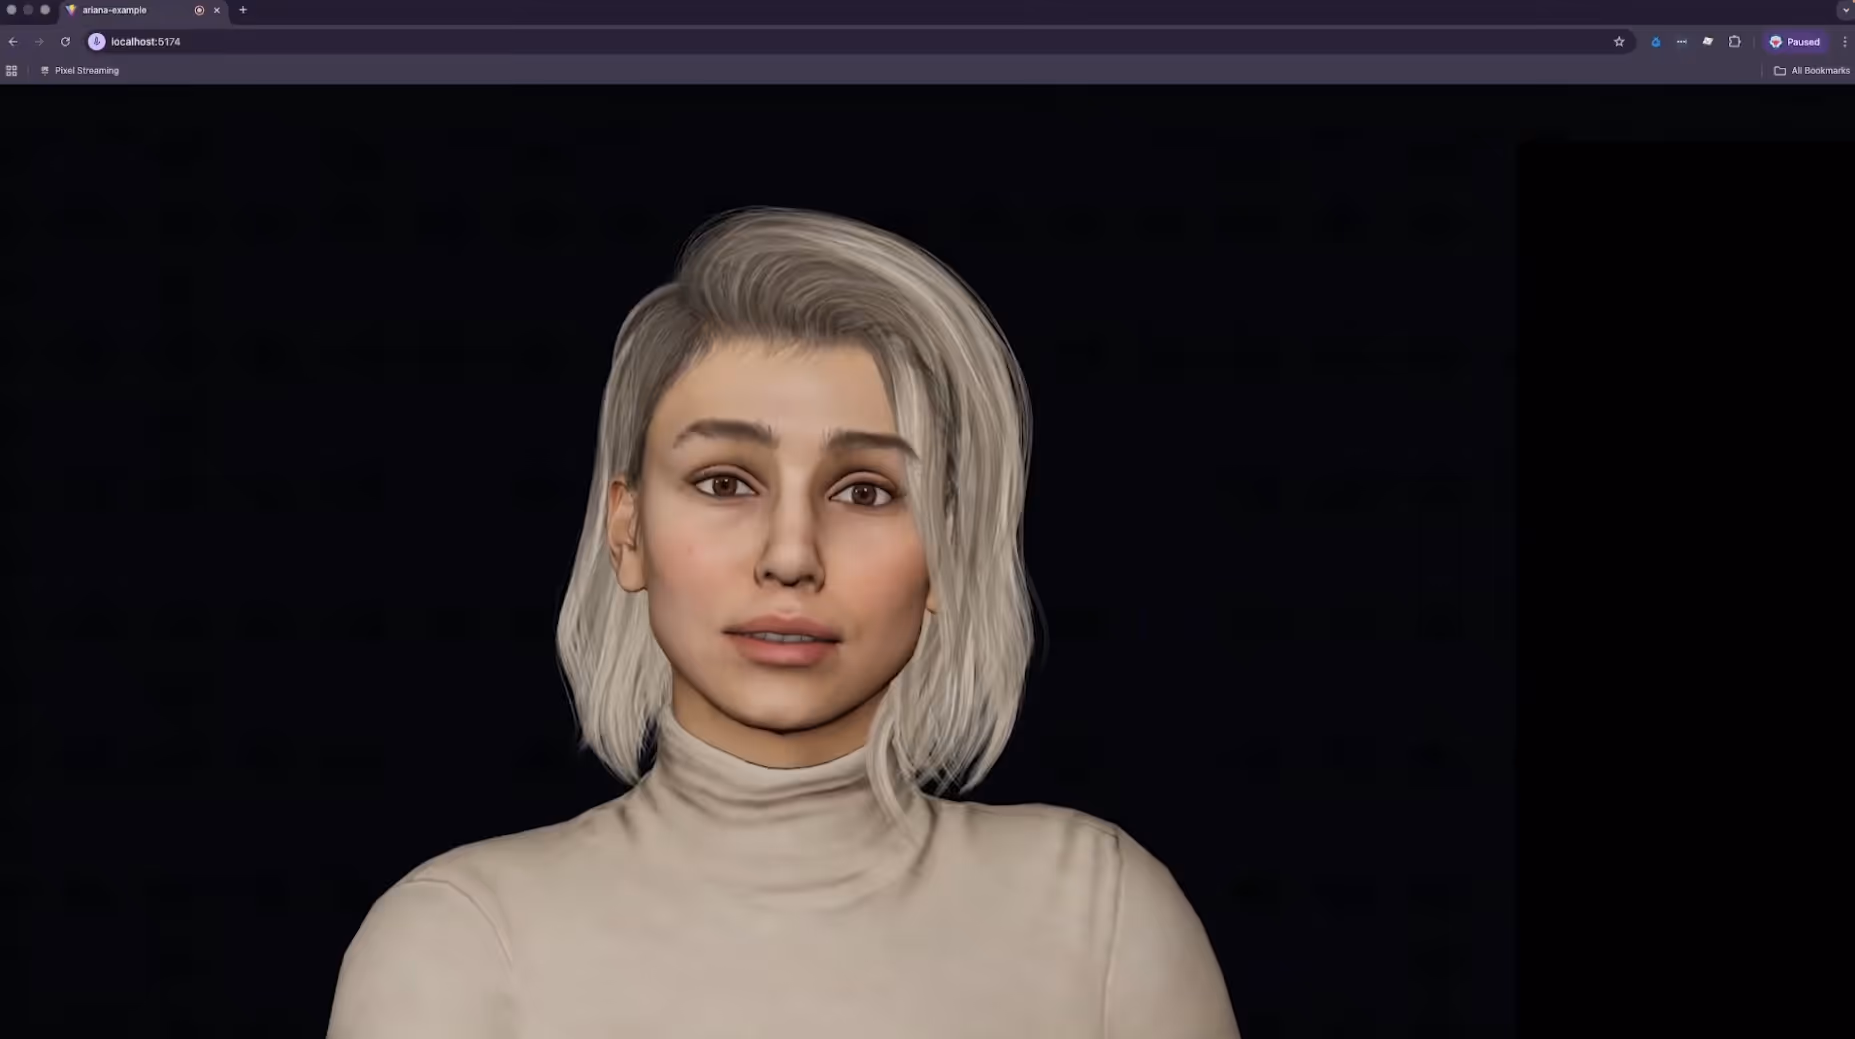
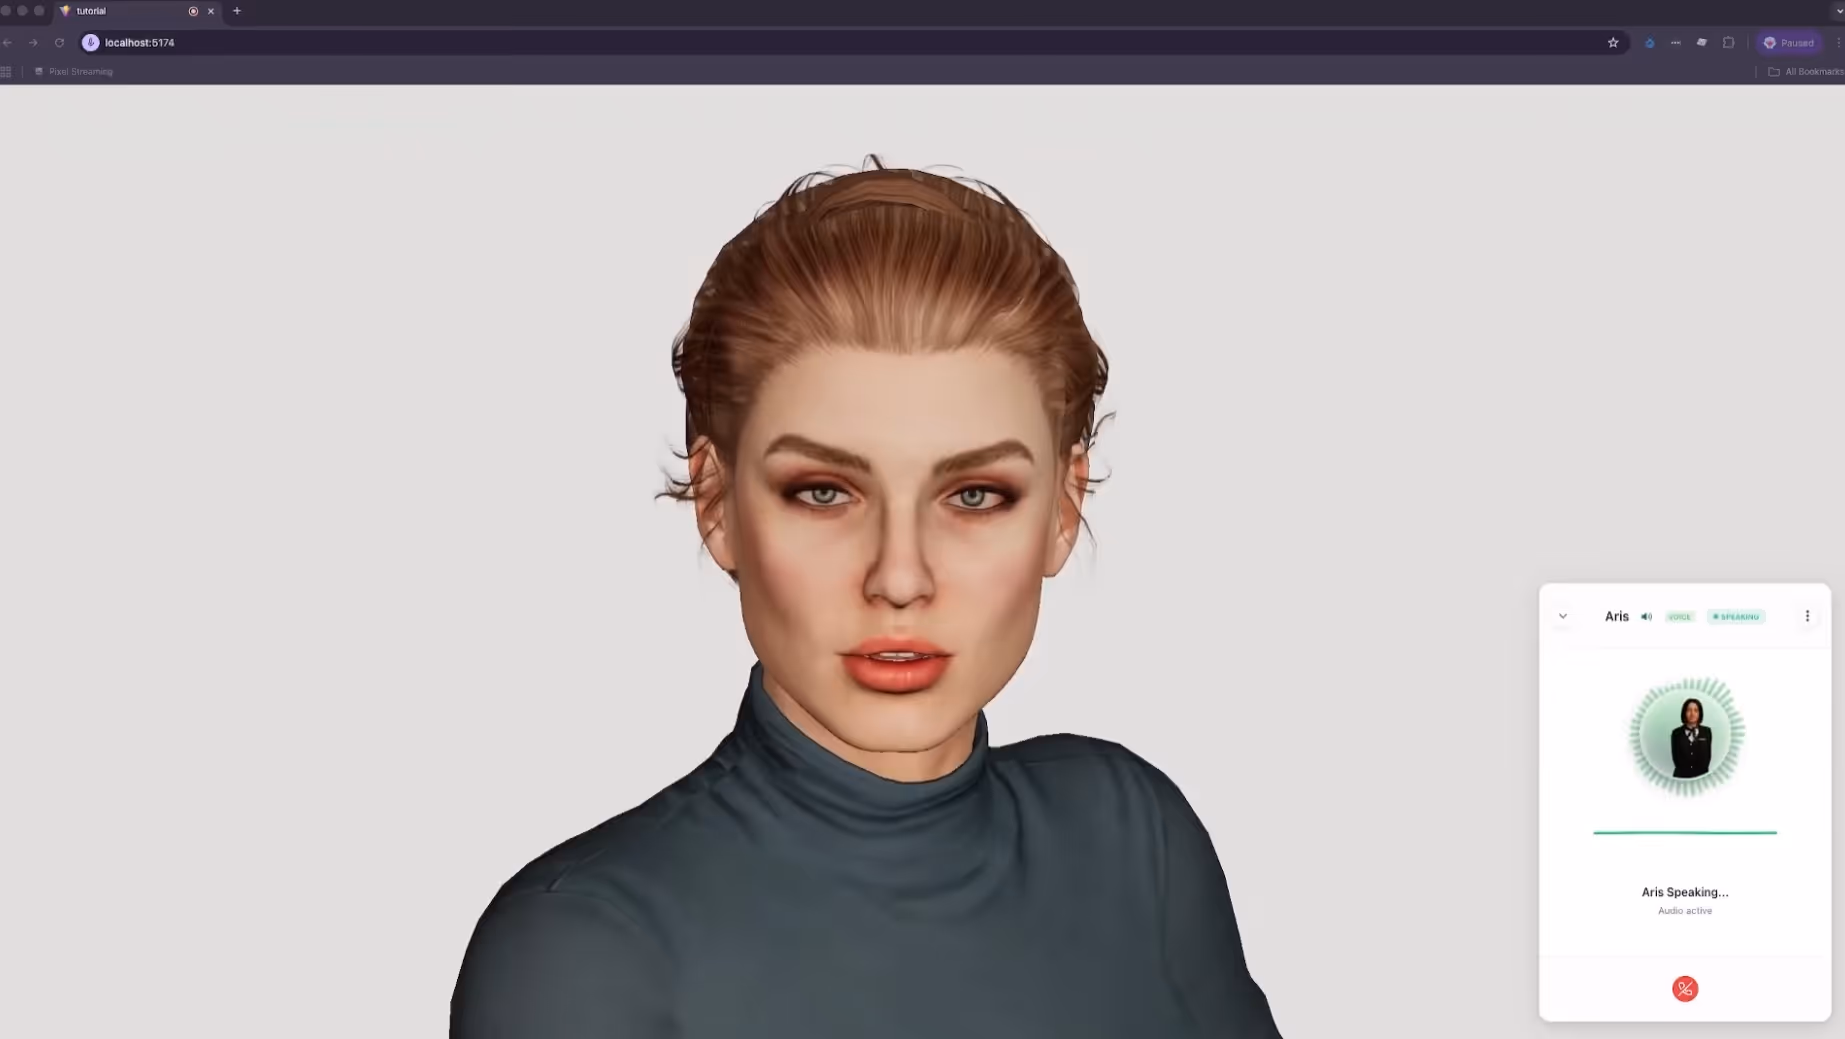
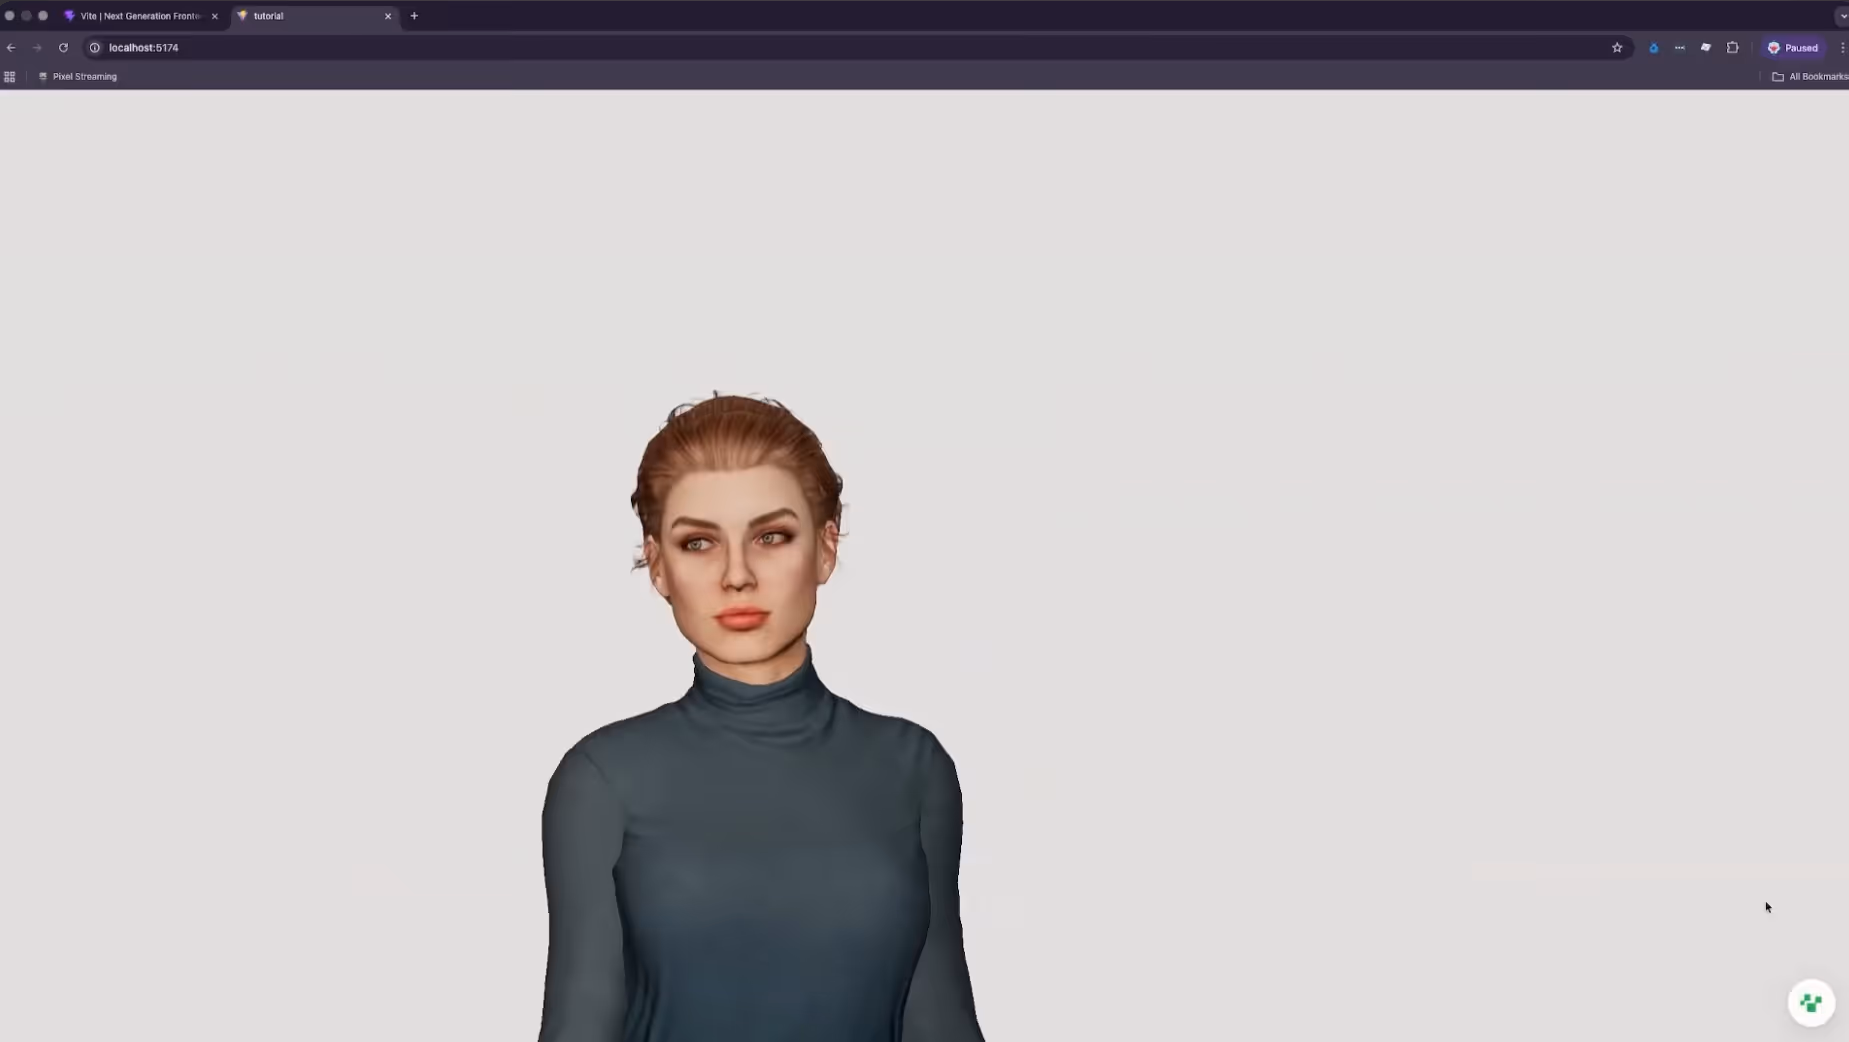
In your app.tsx file, we initialize the Three.js Canvas. To ensure the highest possible quality, we attempt to use WebGPU, falling back to standard WebGL if the user's browser does not support it. This ensures that creating 3D AI avatars on the web is easy with maximum compatibility across different devices.
// Initializing the Canvas with WebGPU support
<Canvas
  dpr={1}
  camera={{ position: [0, 1.6, 3.5], fov: 10 }}
  gl={{ antialias: true }}
>
  <color attach="background" args={['#000000']} />
  <Experience />
</Canvas>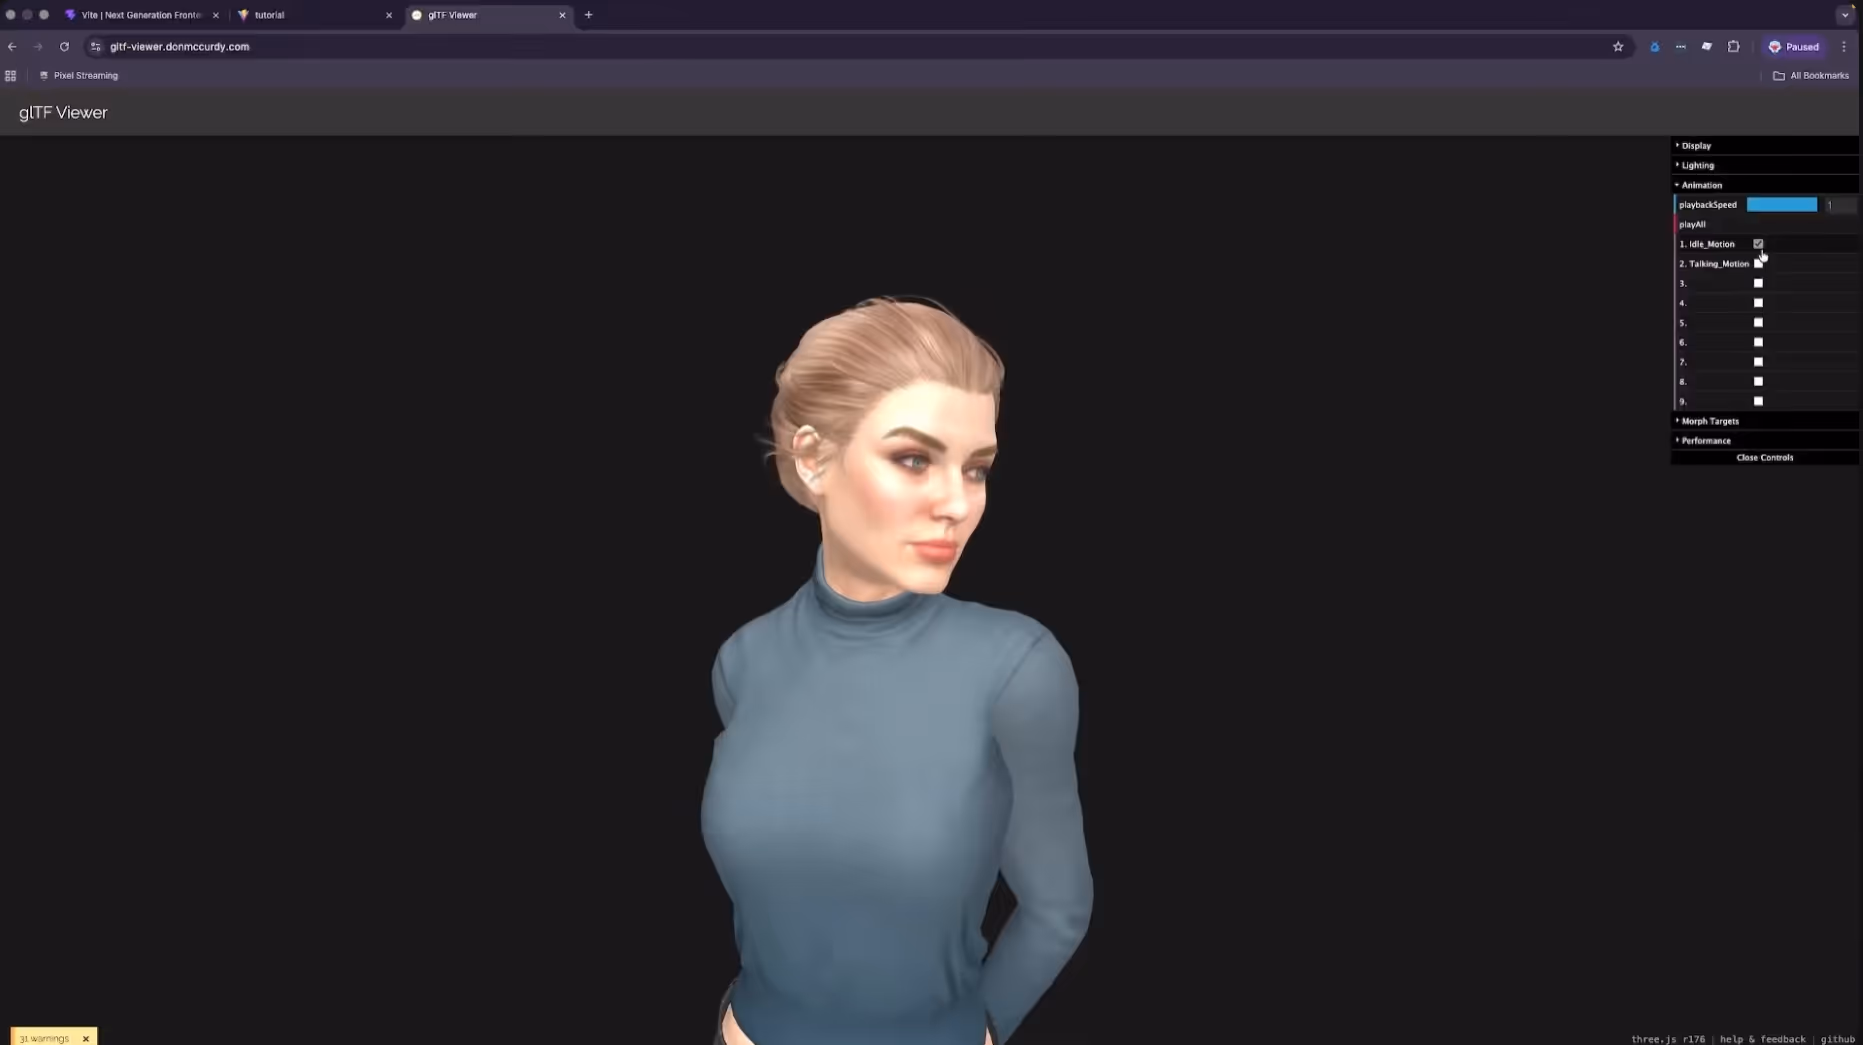
Web-based 3D requires extreme optimization. Large GLB files can cause long load times and stuttering animations. Once you have exported your character (such as a Reallusion CC5 model), you should optimize it using GLTF-Transform. This tool compresses textures and streamlines the geometry for the web.
# Optimize the model and generate a React component
npx gltfjsx character.glb --transform --types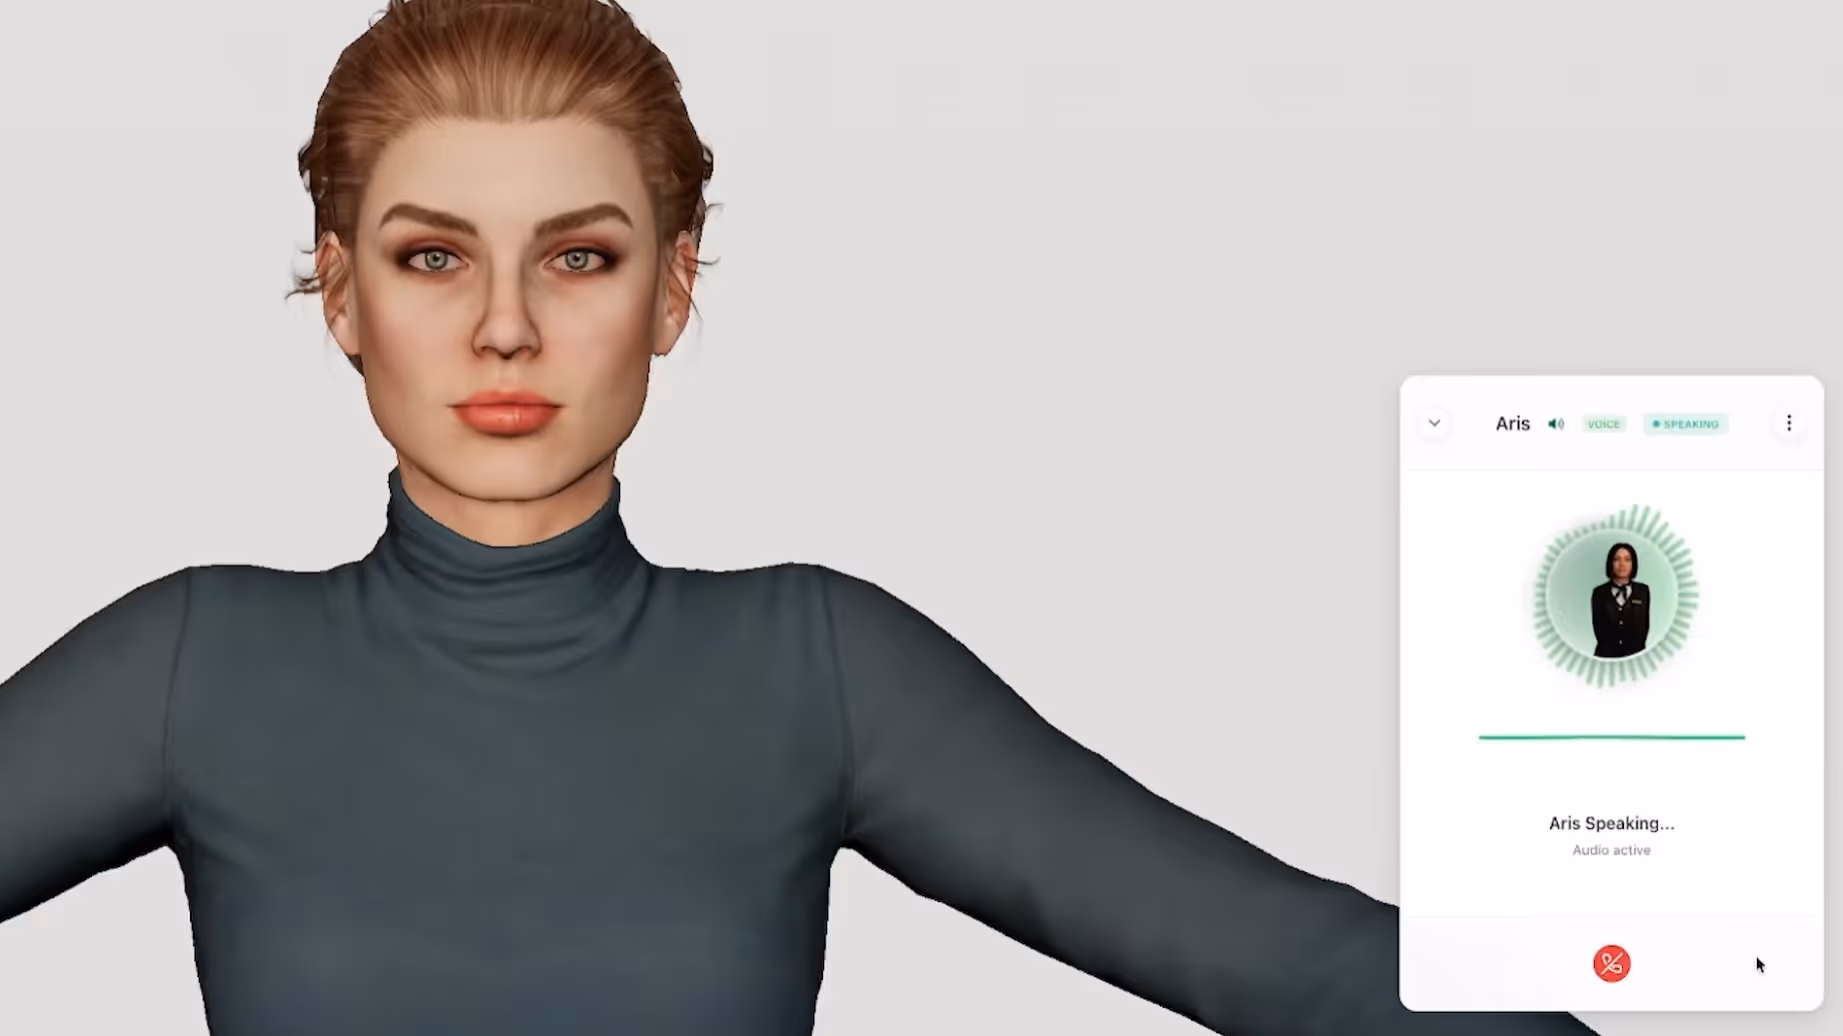
Now we connect the character to the Convai API. This is handled through the useConvaiClient hook, which manages the persistent WebRTC connection. This is the brain of your digital human.
import { useConvaiClient, ConvaiWidget } from "@convai/web-sdk/react";

function App() {
  const convaiClient = useConvaiClient({
    apiKey: "your-api-key",
    characterId: "your-character-id",
    endUserId: "user-uuid", // Optional: enables memory & analytics
  });

  return <ConvaiWidget convaiClient={convaiClient} />;
}
Lip-sync is the most technically demanding part of the build. Convai's NeuroSync provides a callback of blend shape data at 60 frames per second. We implement a useFrame loop that reapplies the AI's lip-sync data after the animation mixer has updated. This ensures the mouth movements always take priority over the body's idle sway.
To make the AI feel truly present, it should maintain eye contact with the user. We implement a head-tracking hook that calculates the vector between the character’s head bone and the camera position. This ensures that when the user moves their camera, the AI tracks them with its gaze.
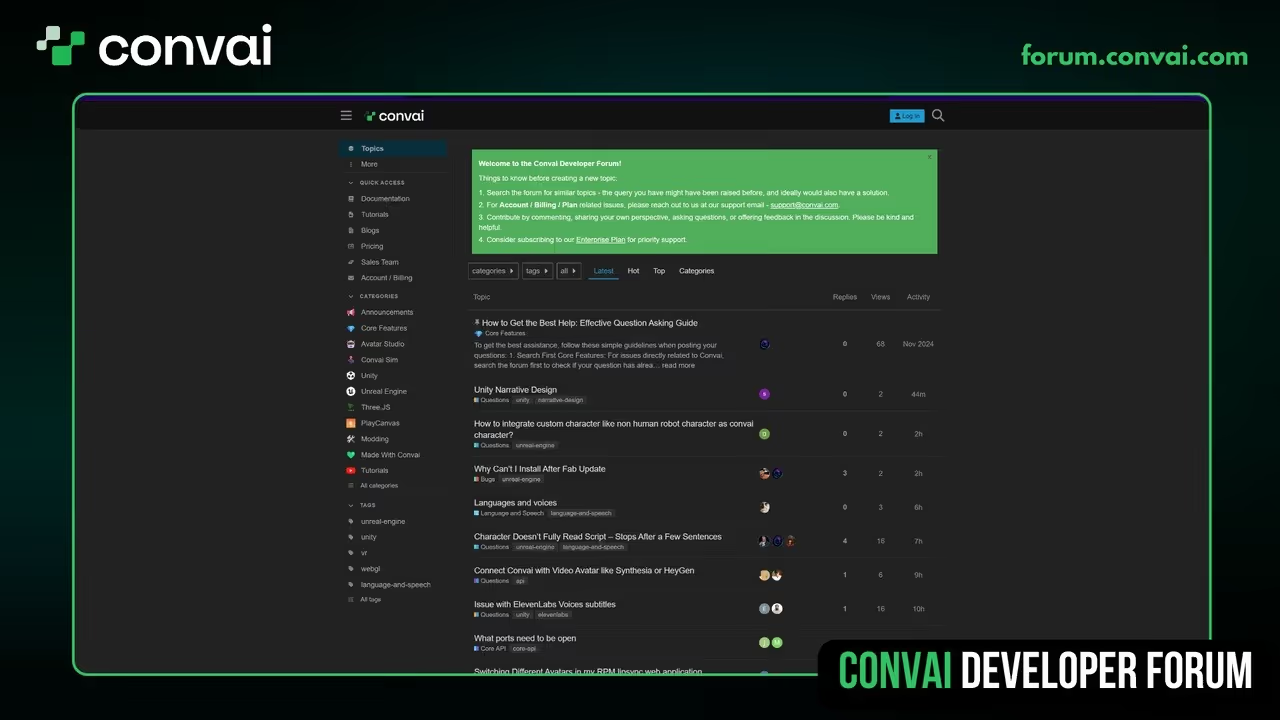
This was a quick summary of how you can go about setting up your AI character project on the browser. We recommend you to watch the full tutorial for a much deeper understanding, and also visit our documentation for more clarification.

Watch our Latest Video: Add Conversational AI to MetaHuman, Reallusion and more | Convai UE Plugin Quick Setup Guide
Q: Is it really possible to run high-quality AI characters on mobile browsers?
Yes. By using the transform flag during the GLTF export and leveraging the Convai Web SDK’s efficient WebRTC streaming, you can easily build AI avatars on your browser that perform flawlessly on modern smartphones.
Q: Do I need to manually animate every emotion for my AI characters?
No. Convai handles dynamic emotions automatically. You simply set an initial state (like Happy or Neutral), and the character’s expressions will shift naturally based on the tone of the conversation.
Q: How do I handle users without high-end GPUs?
The boilerplate code we provided includes a fallback to standard WebGL. This ensures that even if WebGPU is unavailable, the user still gets a functional, interactive experience.
Q: What makes creating 3D AI avatars on the web easy with Convai compared to other platforms?
Convai provides a unified Web SDK that handles the heavy lifting of speech-to-text, LLM processing, and real-time lip sync via NeuroSync, allowing you to easily build AI avatars on your browser without complex backend infrastructure.
Q: Can I integrate easy AI avatars for web marketing into existing React projects?
Absolutely. The Convai Web SDK is designed specifically for React and Three.js environments, meaning you can drop conversational AI components into any existing web project with minimal configuration.
Q: Is real-time lip sync supported for all types of 3D models?
Yes. Convai supports ARKit, MetaHuman, and custom blend shape mappings, making it the most versatile solution for creating 3D AI avatars on the web with high-fidelity facial animations.
Q: How do I build a browser-based AI avatar with Convai Web SDK?
Install the Convai Web SDK via npm, initialize the ConvaiClient with your API key and character ID, and connect it to a Three.js scene. The SDK handles voice capture, AI processing, and returns lip-sync data (morph targets) via NeuroSync for real-time facial animation directly in the browser.
Q: What is NeuroSync and how does it work in a web browser?
NeuroSync is Convai's real-time lip-sync AI model that generates facial animation data (blend shape values) synchronized to AI-generated speech. In a web context, it runs via the Convai Web SDK and outputs morph target values you apply to your Three.js character's face mesh each animation frame.
Q: Does Convai's Web SDK support voice input and output in the browser?
Yes. The Convai Web SDK uses WebRTC for real-time audio streaming, enabling sub-200ms round-trip latency for voice conversations directly in the browser with no plugin or native app required.
Q: What 3D formats work with the Convai Web SDK in Three.js?
The Convai Web SDK works with GLB/GLTF character models. Optimize your model using mesh decimation and texture compression before loading it with Three.js's GLTFLoader for smooth performance across devices.
Q: Can I deploy a Convai AI avatar on any device without a high-end GPU?
Yes. Because the AI processing runs on Convai's cloud infrastructure and the 3D rendering uses Three.js (WebGL), even standard smartphones and low-end laptops can run a real-time conversational AI avatar from a web browser.
Now that you know how creating 3D AI avatars on the web is easy with Convai, it is time to start building your own.
Don't forget to subscribe to our YouTube channel for more deep dives into browser-based AI and digital human technology!


