Use Cases
.png)
If you’ve ever hunted for the “just-right” wave, point, or greeting clip, you know how time‑consuming it is to source, edit, and wire animations into a project. Convai XR Animation Capture streamlines that entire loop. You act out a motion in VR, it saves to your Convai account, and the same animation is ready to use across engines and no‑code tools, without a mocap suit or external trackers.
Watch the full tutorial below to add custom animations to your AI avatars inside Unity with the XR Animation Capture workflow:
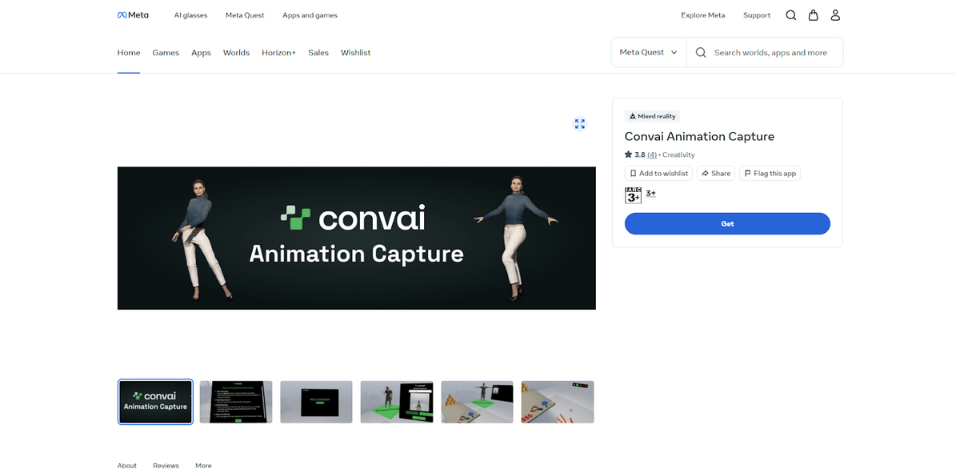
Together, these make animation a creative act again: perform, preview, tweak, reuse.
Traditional motion‑capture pipelines are powerful but heavy, including workflows with specialized suits, tracking setups, cleanup, export, import. By contrast, Convai’s approach captures the essence of what you need for conversational AI companions: expressive, reusable gestures you can assign and trigger alongside dialogue, all without a mocap suit.
Because animations sync to your Convai account, you don’t lose time moving files around. And since clips are engine‑agnostic, your library compounds in value across prototypes, scenes, and even web‑based experiences built with Convai’s no‑code tools.
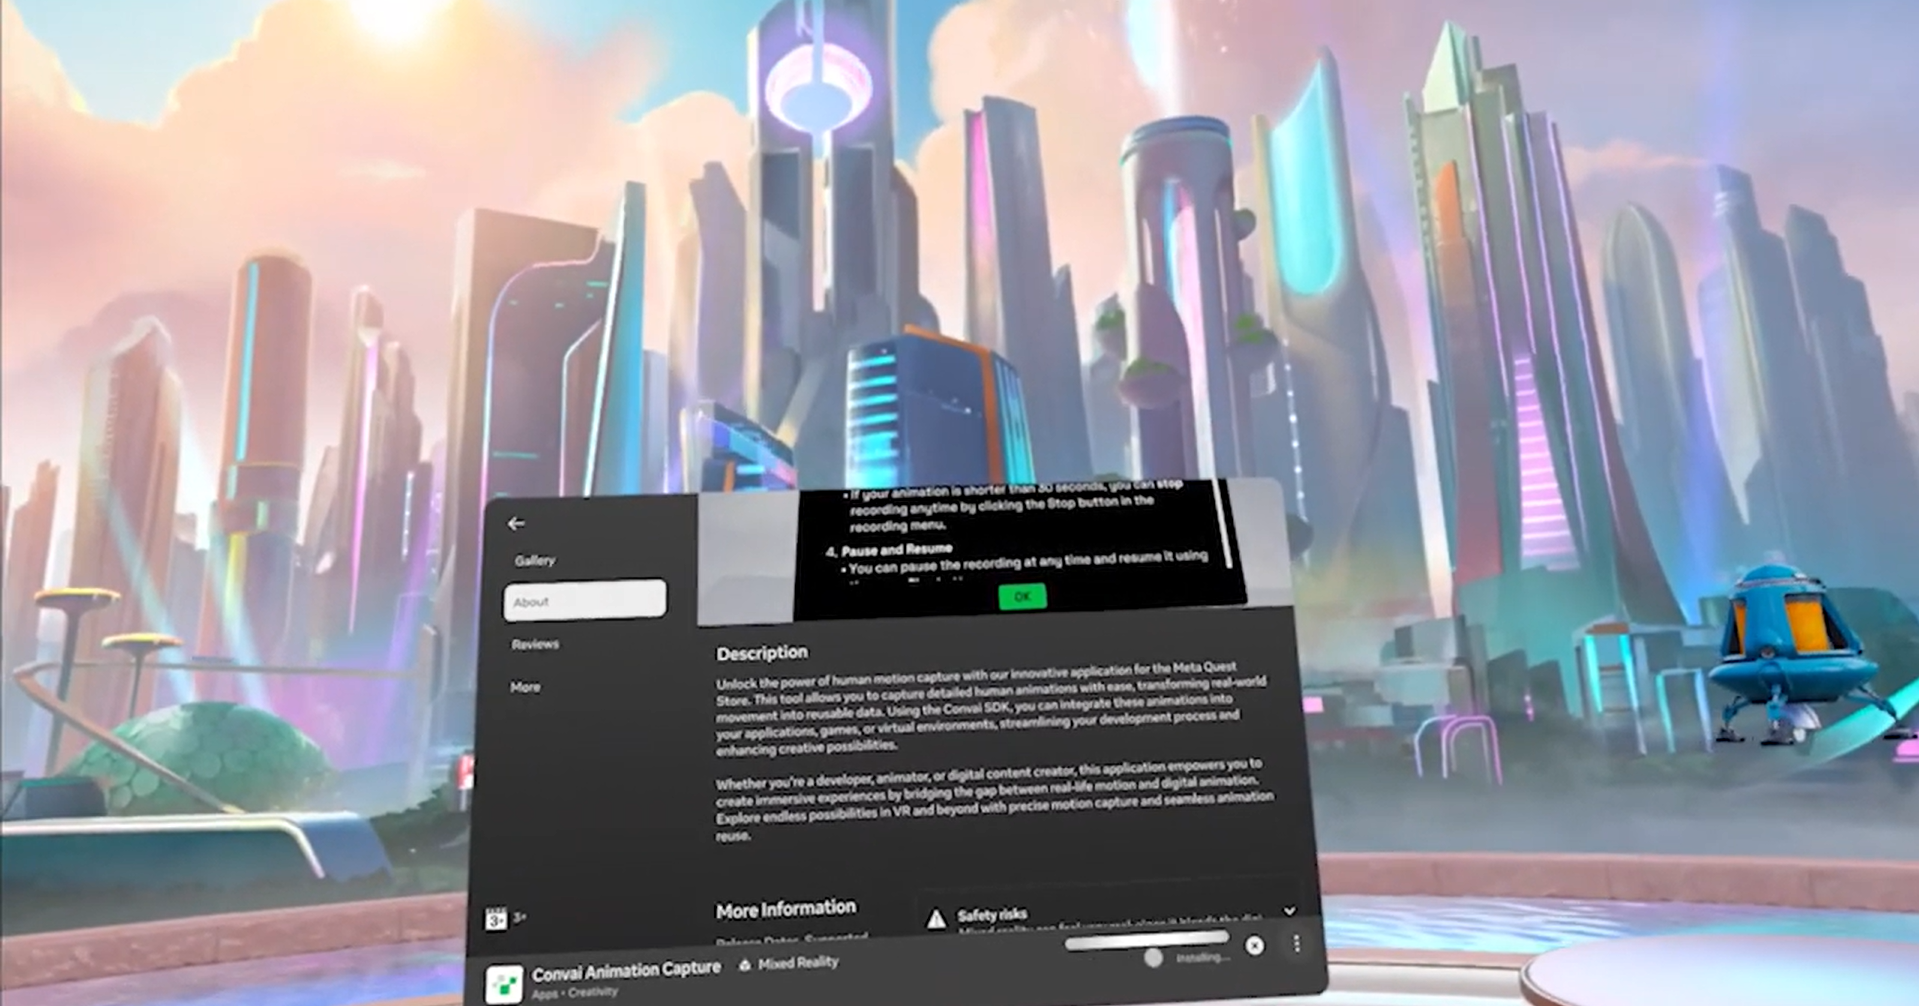
Install Convai Animation Capture from the Meta Quest Store, then sign in with your Convai account. The app supports Quest 2, Quest 3, and Quest Pro, and you’ll want a stable internet connection for uploads.
What you’ll notice first: once you’re in, you’re ready to start building a library of gestures, no extra hardware or rigging required.
2) Capture animations in VR
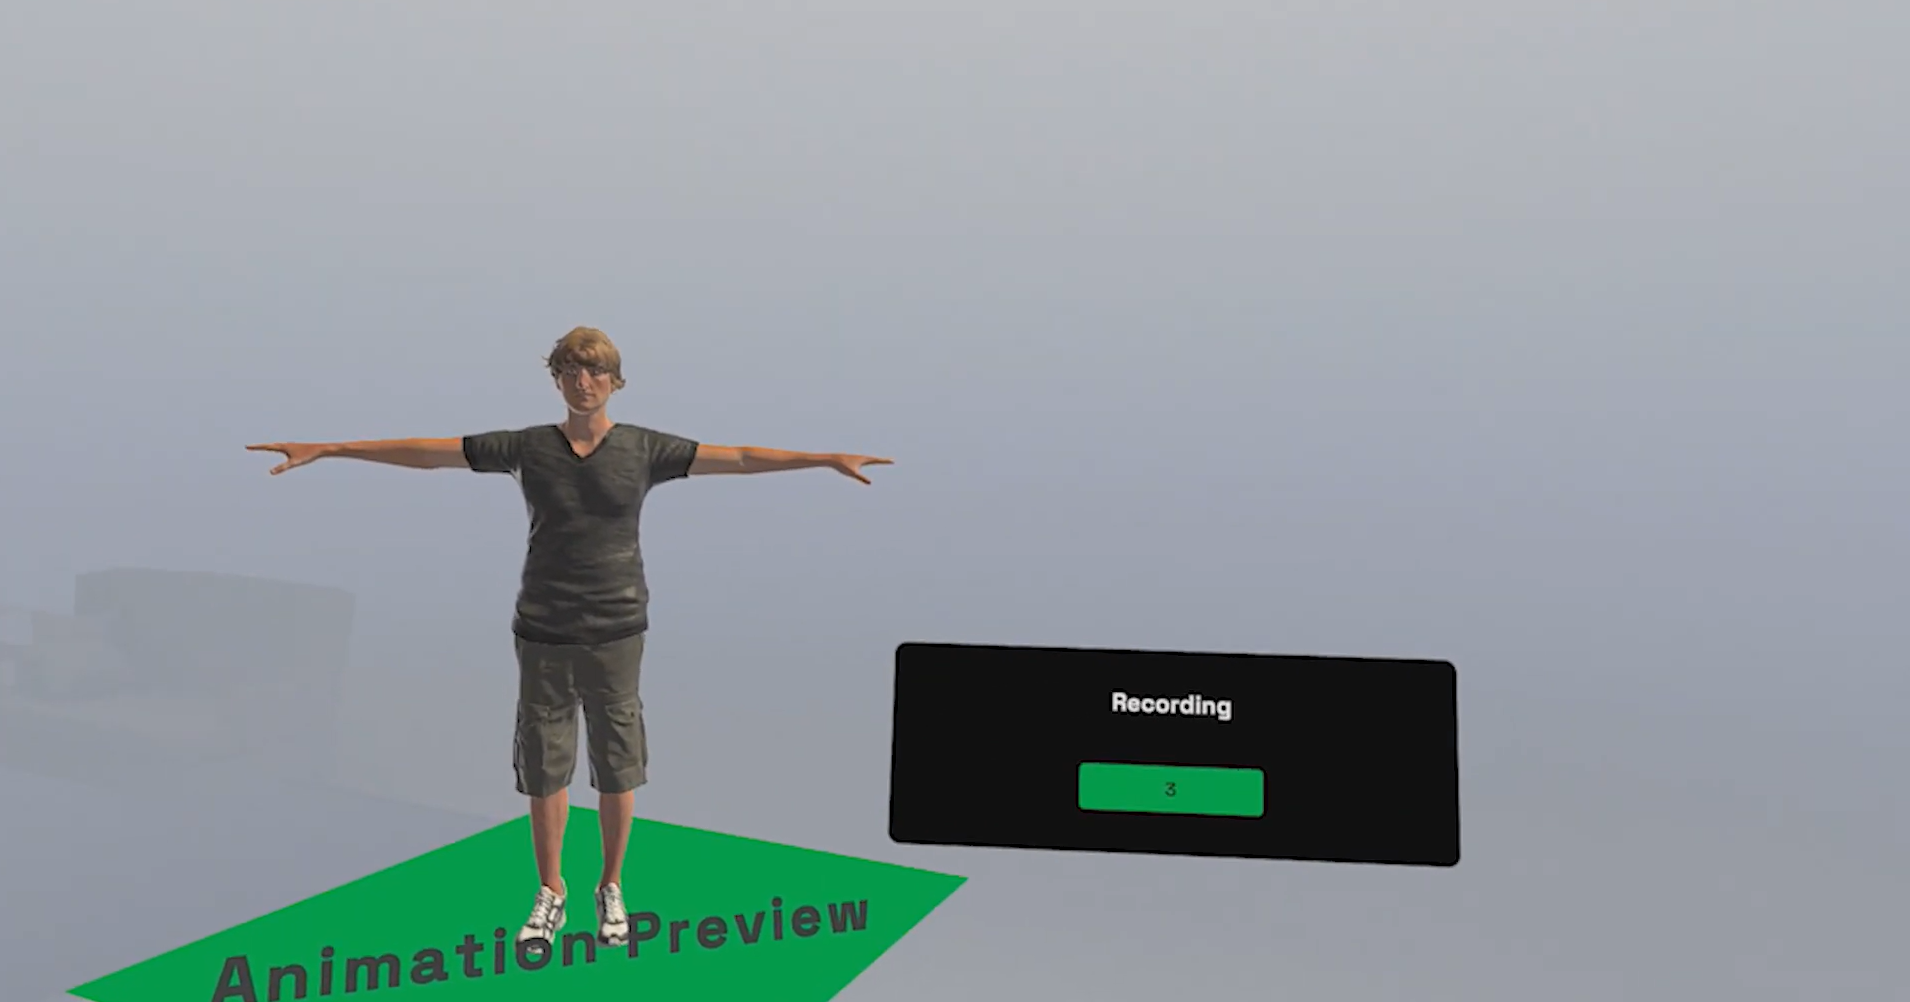
When you launch the app, you’ll land on a dashboard that lists your recordings; you can view, replay, or delete any clip. Hit Start Recording and a five‑second countdown helps you get into position. Perform your motion (e.g., wave, point, gesture), then press Stop to review. Give the clip a clear name and Save & Upload—it’s now in your Convai dashboard.
This quick loop encourages iteration. Record a few takes, pick the smoothest version, and you’re ready for the engine side.
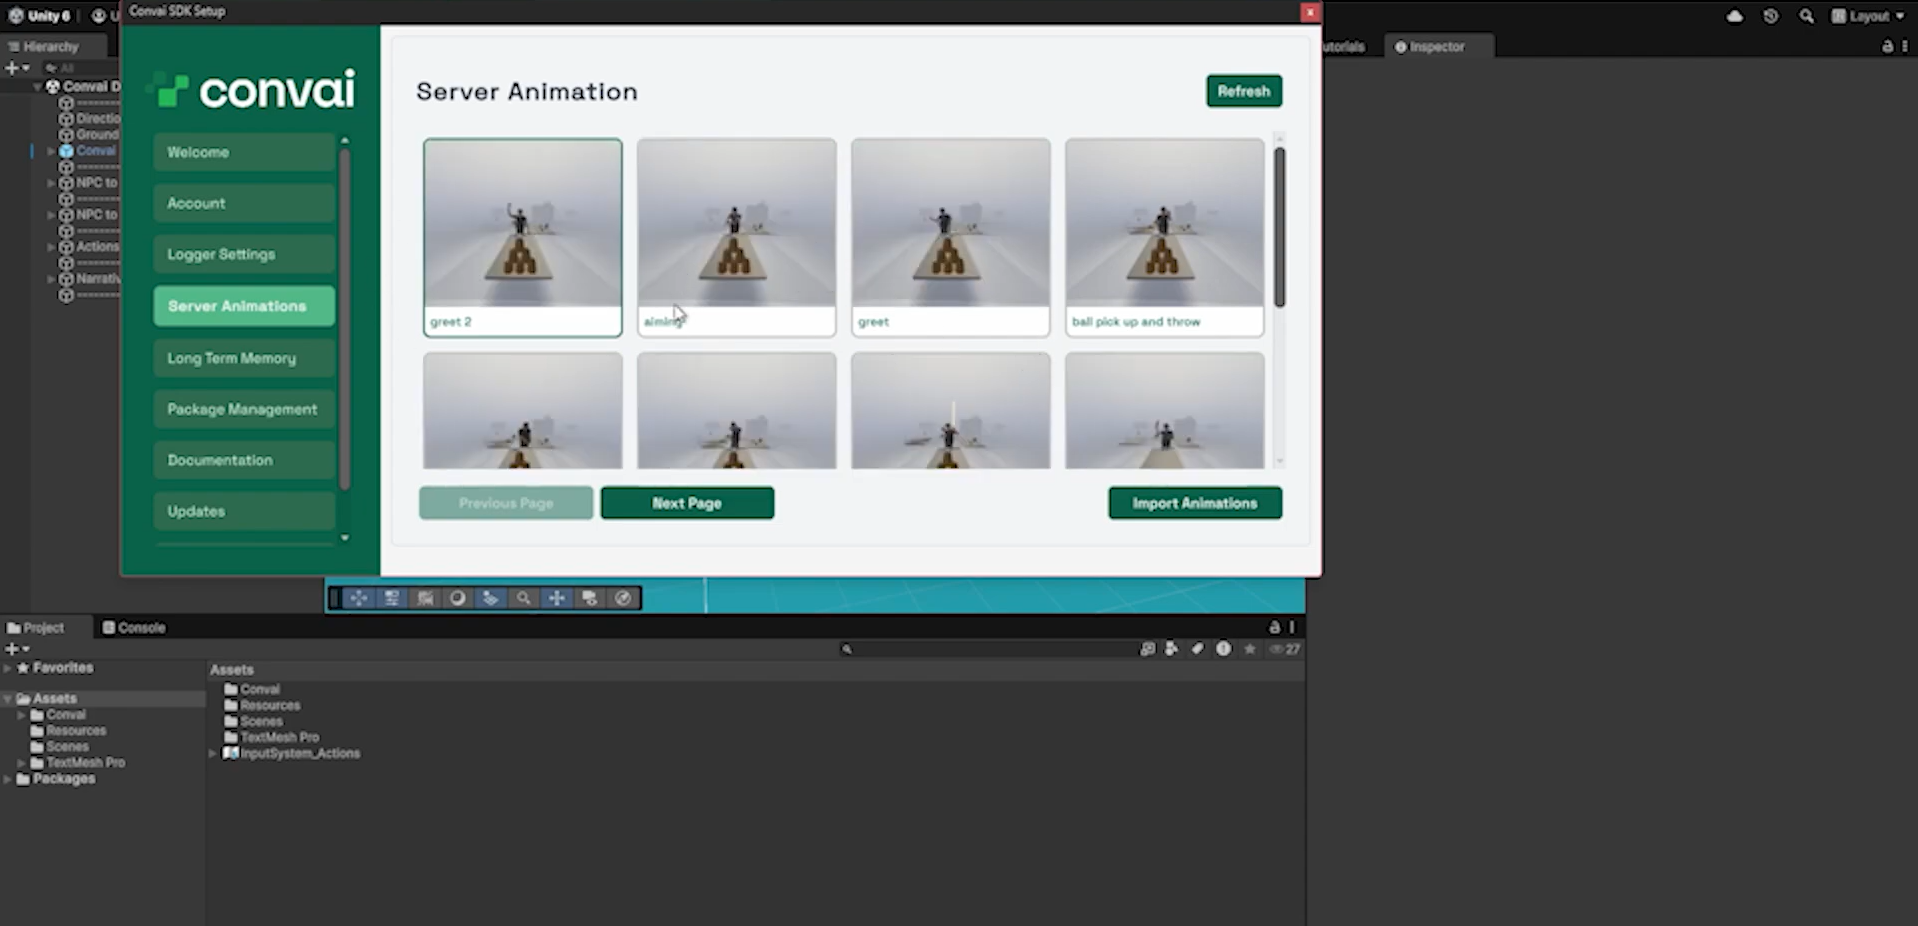
With the Convai Unity SDK in place, grab your API key from the Convai Playground and add it to your project settings. In the Server Animations tab, select the clips you recorded in VR and Import them to a folder inside your Unity project’s Assets/ directory. Then, drag the clip into an Animator Controller; if it needs to repeat (like a looping wave), enable Loop Time in the Animation settings.
Press play. Your avatar should perform the exact motion you captured in VR.
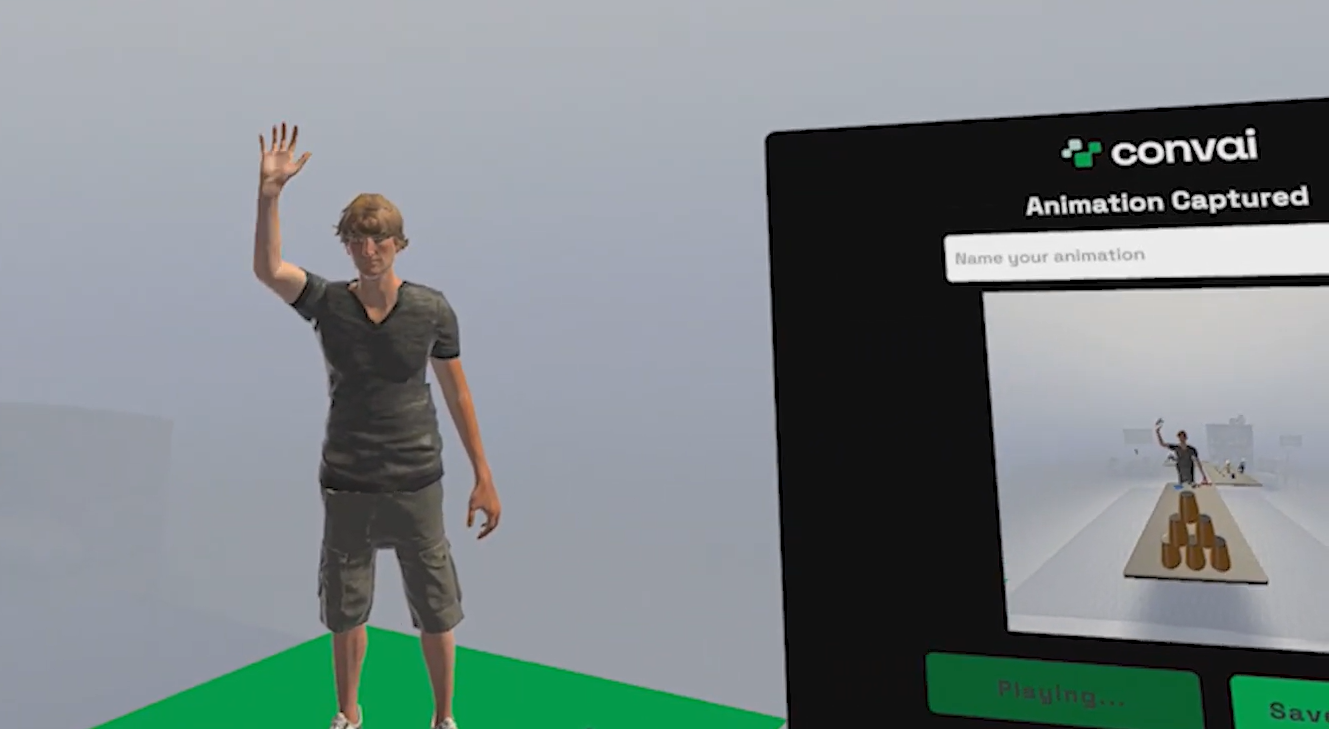
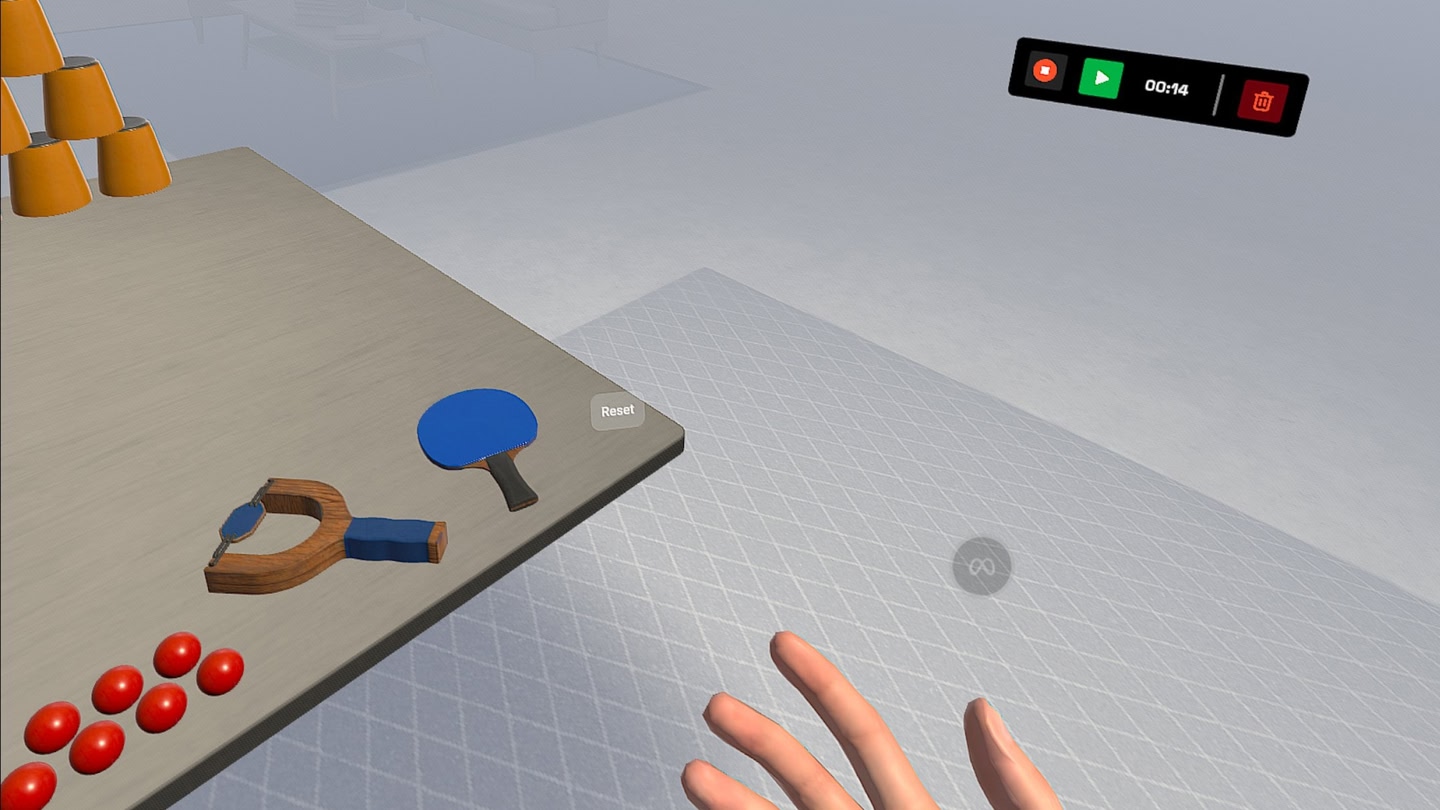
Convai’s XR Animation Capture app opens up a wide range of possibilities across industries that rely on natural, expressive avatar interactions. By allowing creators to record lifelike gestures directly in VR, it bridges the gap between raw creativity and practical application.
In XR training environments, motion realism makes all the difference. Instructors can record authentic demonstrations—like safety procedures, assembly techniques, or customer service gestures—using a Meta Quest headset. These animations can then be paired with Convai-powered conversational avatars in Unity to simulate real-world scenarios.
Learners engage not just through dialogue but through body language, making sessions more immersive and effective. For organizations building corporate training or soft-skill development modules, this means faster content creation and more natural instructor avatars without relying on expensive mocap setups.
From virtual onboarding to factory floor simulations, teams can use Convai XR Animation Capture to make digital twins more interactive. Instead of static or generic animations, AI-driven avatars can perform context-specific motions—like guiding a user through machinery operations or pointing toward exits during safety drills—adding a human layer of understanding to data-rich simulations.
Brands can use expressive AI avatars that greet, guide, or demonstrate products in virtual showrooms. By capturing simple yet convincing gestures (like hand-overs, nods, or showcase motions), teams can humanize digital customer journeys inside web or XR experiences.
Indie developers and storytellers can rapidly prototype believable NPC behaviors. A single creator acting out performances in VR can populate entire interactive worlds with emotionally responsive characters that move and speak naturally.
Quick FAQ
Which headsets are supported?
Meta Quest 2, Quest 3, and Quest Pro.
Where do my recordings go?
They upload to your Convai dashboard and are available to assign to avatars or import into engines.
Can I use these animations outside Unity?
Yes. Clips work in Unity, Unreal Engine, Avatar Studio, and Convai Sim.
Do I need a mocap suit or trackers?
No—a Meta Quest headset is enough.
How do I loop an animation in Unity?
Enable Loop Time on the clip in the Animation settings.
Where do I get my API key for Unity?
From the Convai Playground, then add it to your Unity project settings.