Use Cases

Getting a Convai AI character working on a flat screen is one thing. Getting one that runs correctly inside a Meta Quest headset requires a specific sequence across SDK setup, XR plugins, camera configuration, UI conversion, and Android build settings. Miss one step and the character does not appear, the chat UI is invisible, or the build fails.
This tutorial walks through the complete process. Starting from a Unity project with the Convai Unity SDK set up and the lip sync sample working, every VR-specific configuration step is covered in order, ending with a working Convai AI character running inside a Meta Quest headset.
Watch the full tutorial below:
Also read: Bring Your Unity Characters to Life: Conversational AI with WebRTC and NeuroSync

If the lip sync sample is not working in flat-screen mode, fix that first. Debugging a broken Convai setup inside a headset is significantly harder than on a monitor.
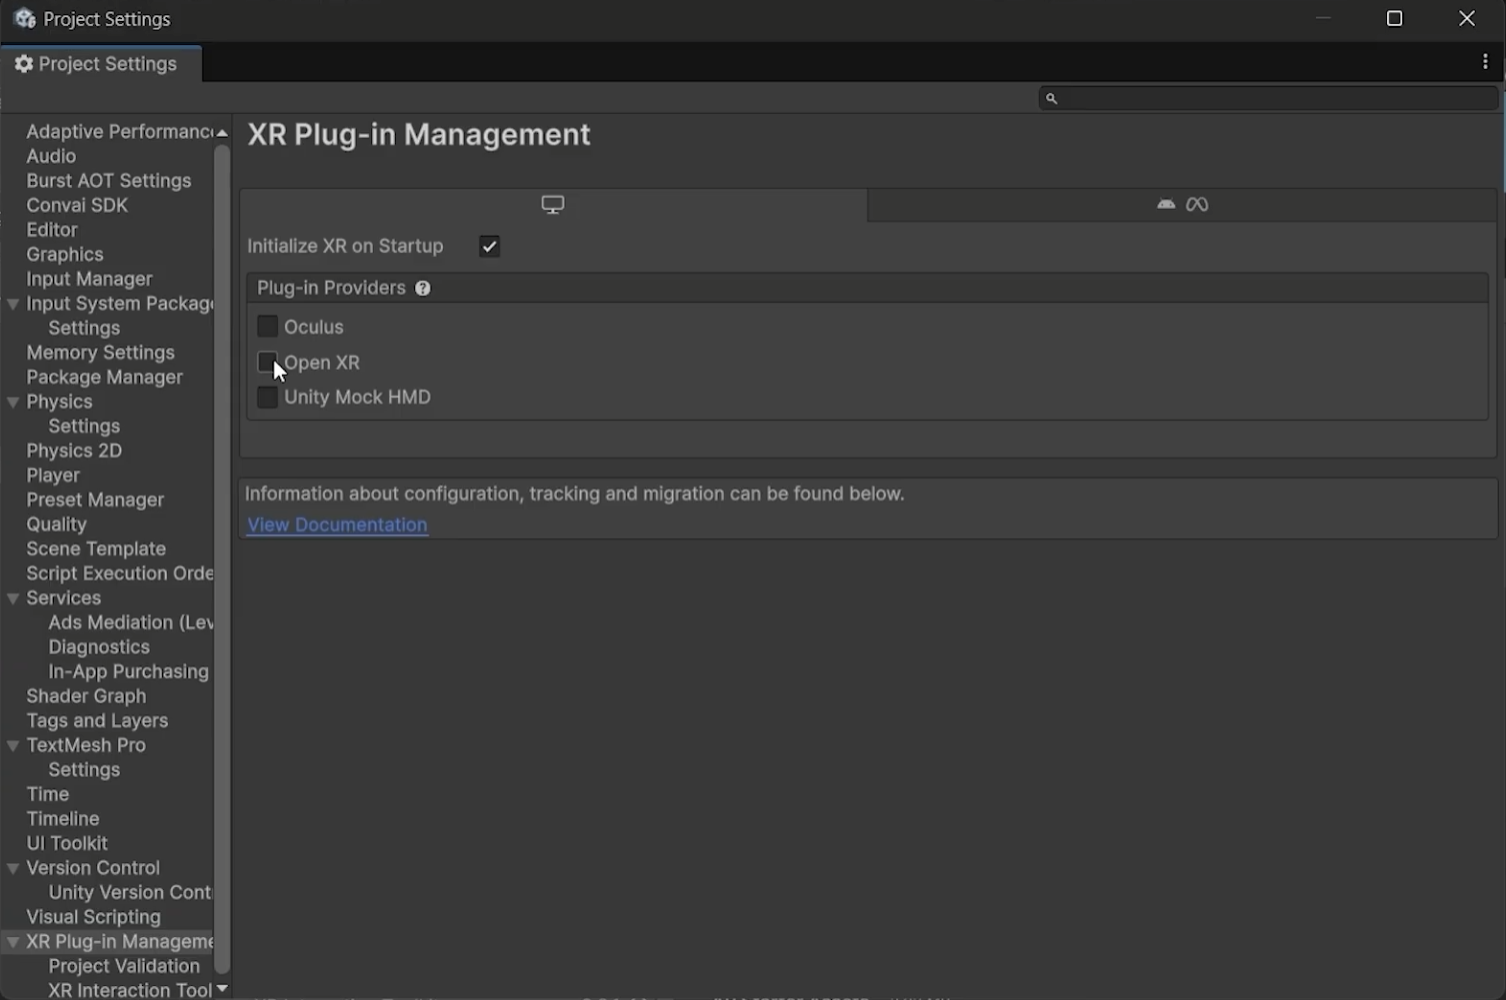
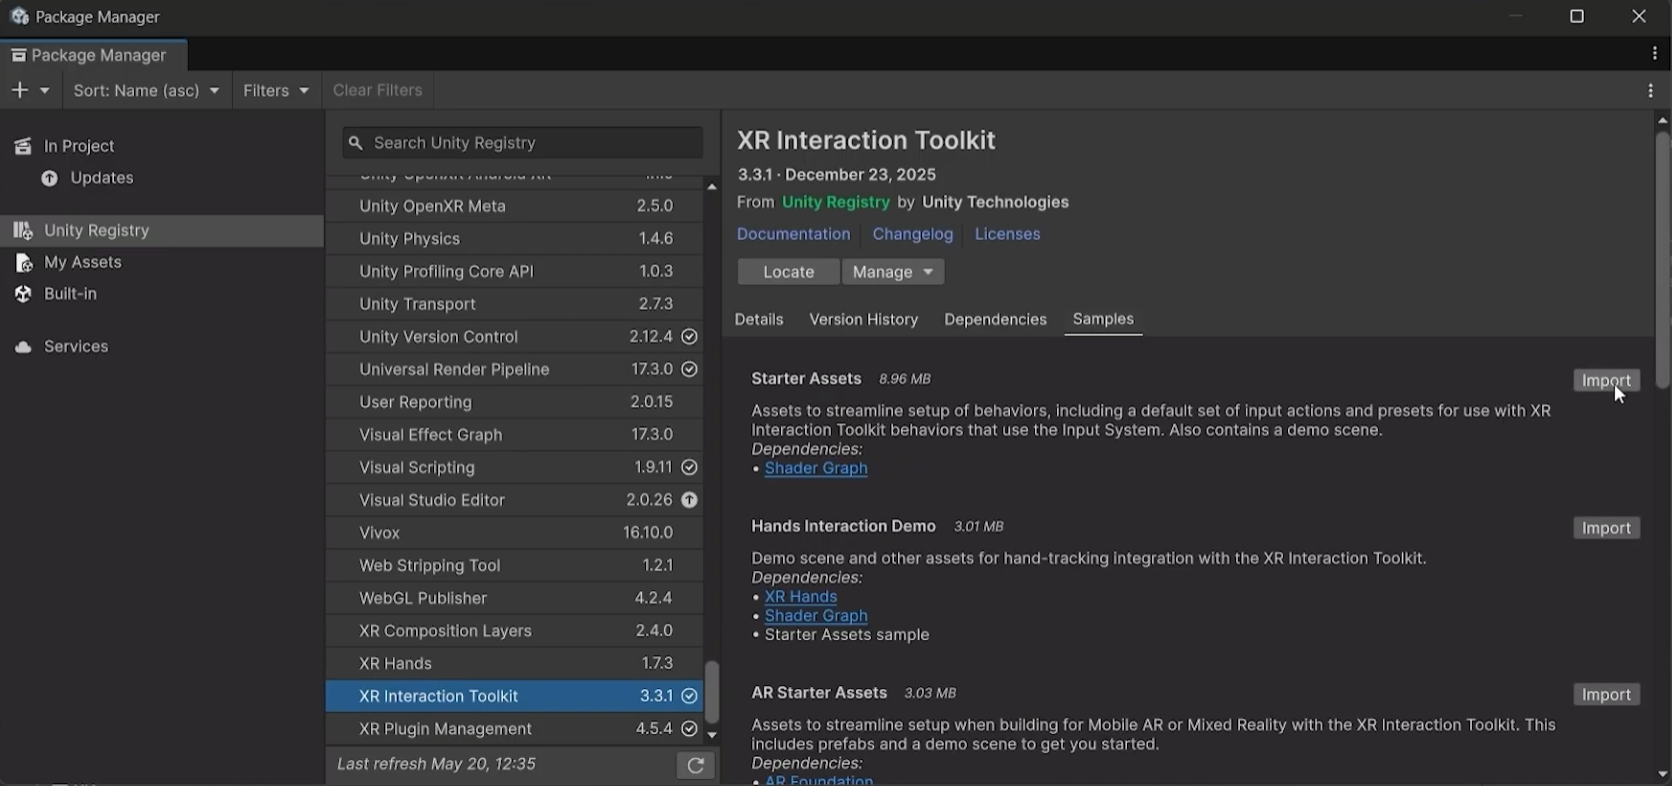
Unity does not ship with VR support enabled. You need two packages from the Unity Registry and a specific configuration sequence.
Do not skip Project Validation. Unresolved errors here commonly cause build failures or broken controller behavior on device.
Also read: How to Build Mixed Reality AI Characters in Unity with Convai on Meta Quest (2026)
The default Convai scene uses a standard Unity camera that does not work in VR. Replace it with XR Origin and adjust the character position.
Switch to Game view after each adjustment to verify the character appears at a comfortable viewing distance for VR.
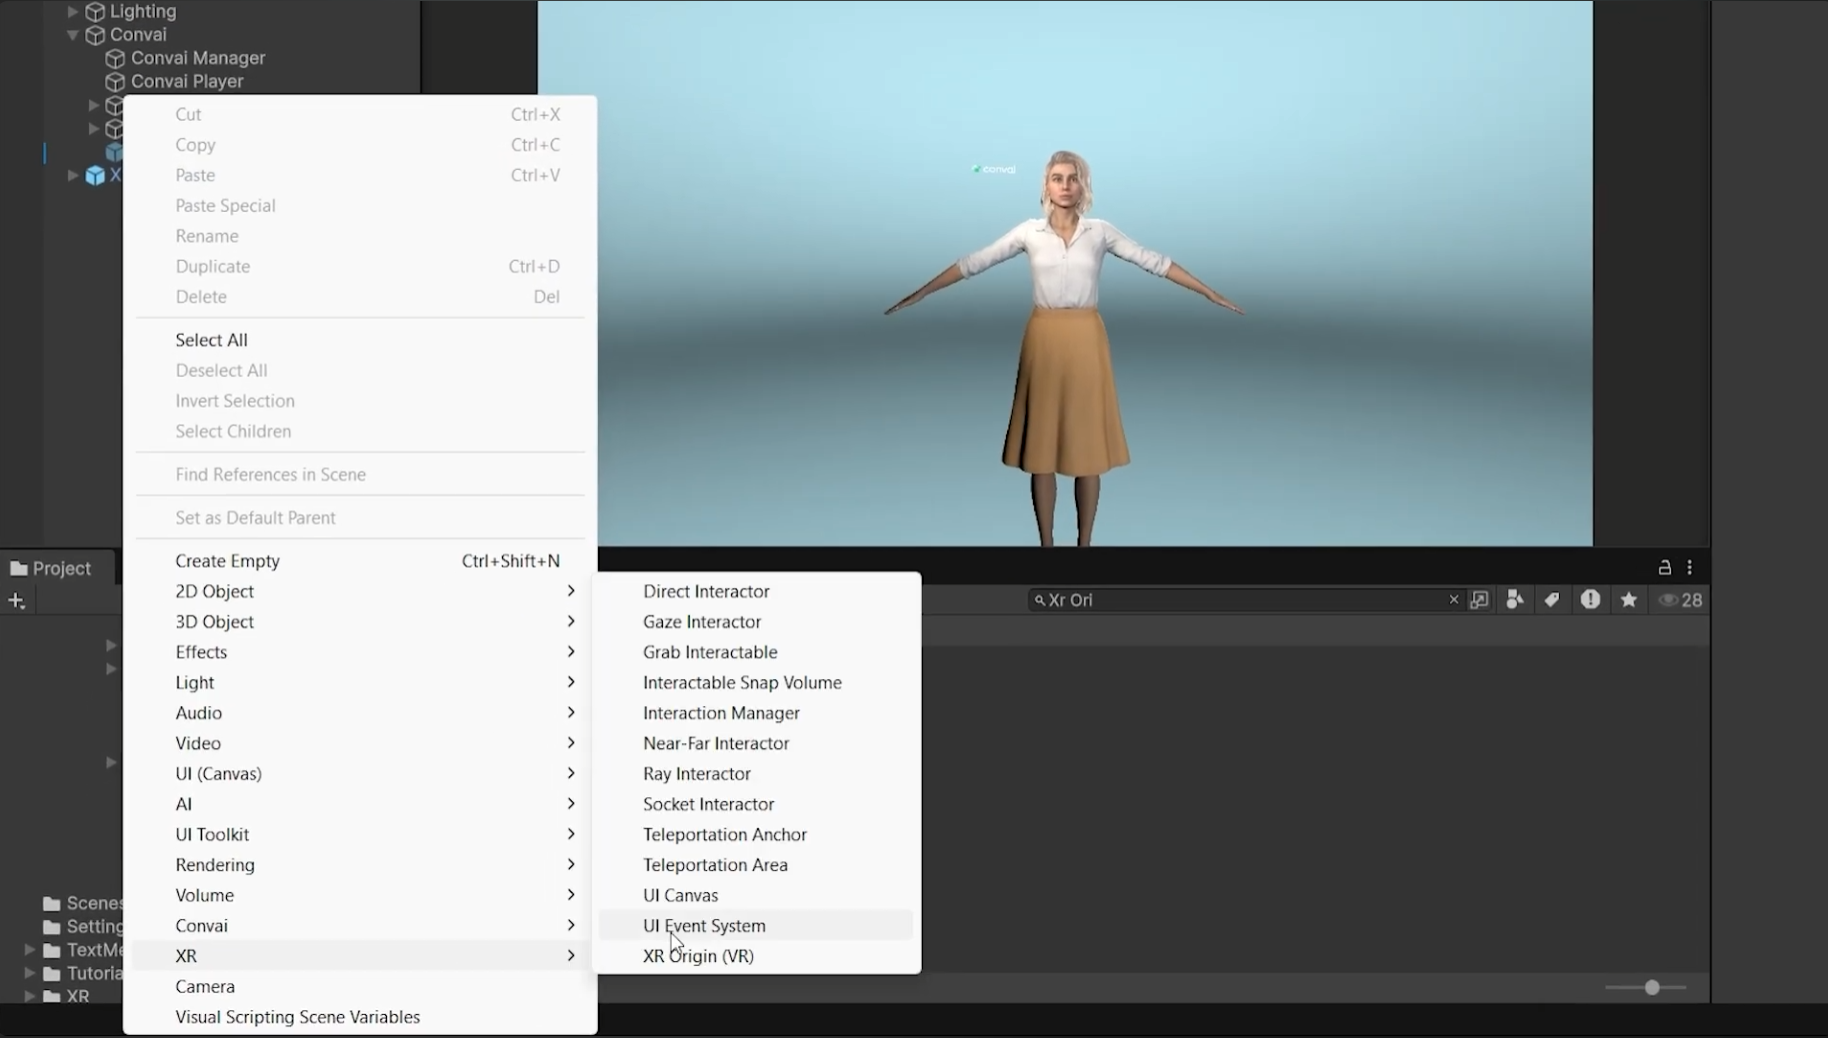
The default Unity Event System is not compatible with VR input. If you leave it in the scene, the Convai chat UI will not respond to VR controller pointer events.
This is a commonly missed step. The chat UI appears visible but buttons and text input do not respond to controllers without it.
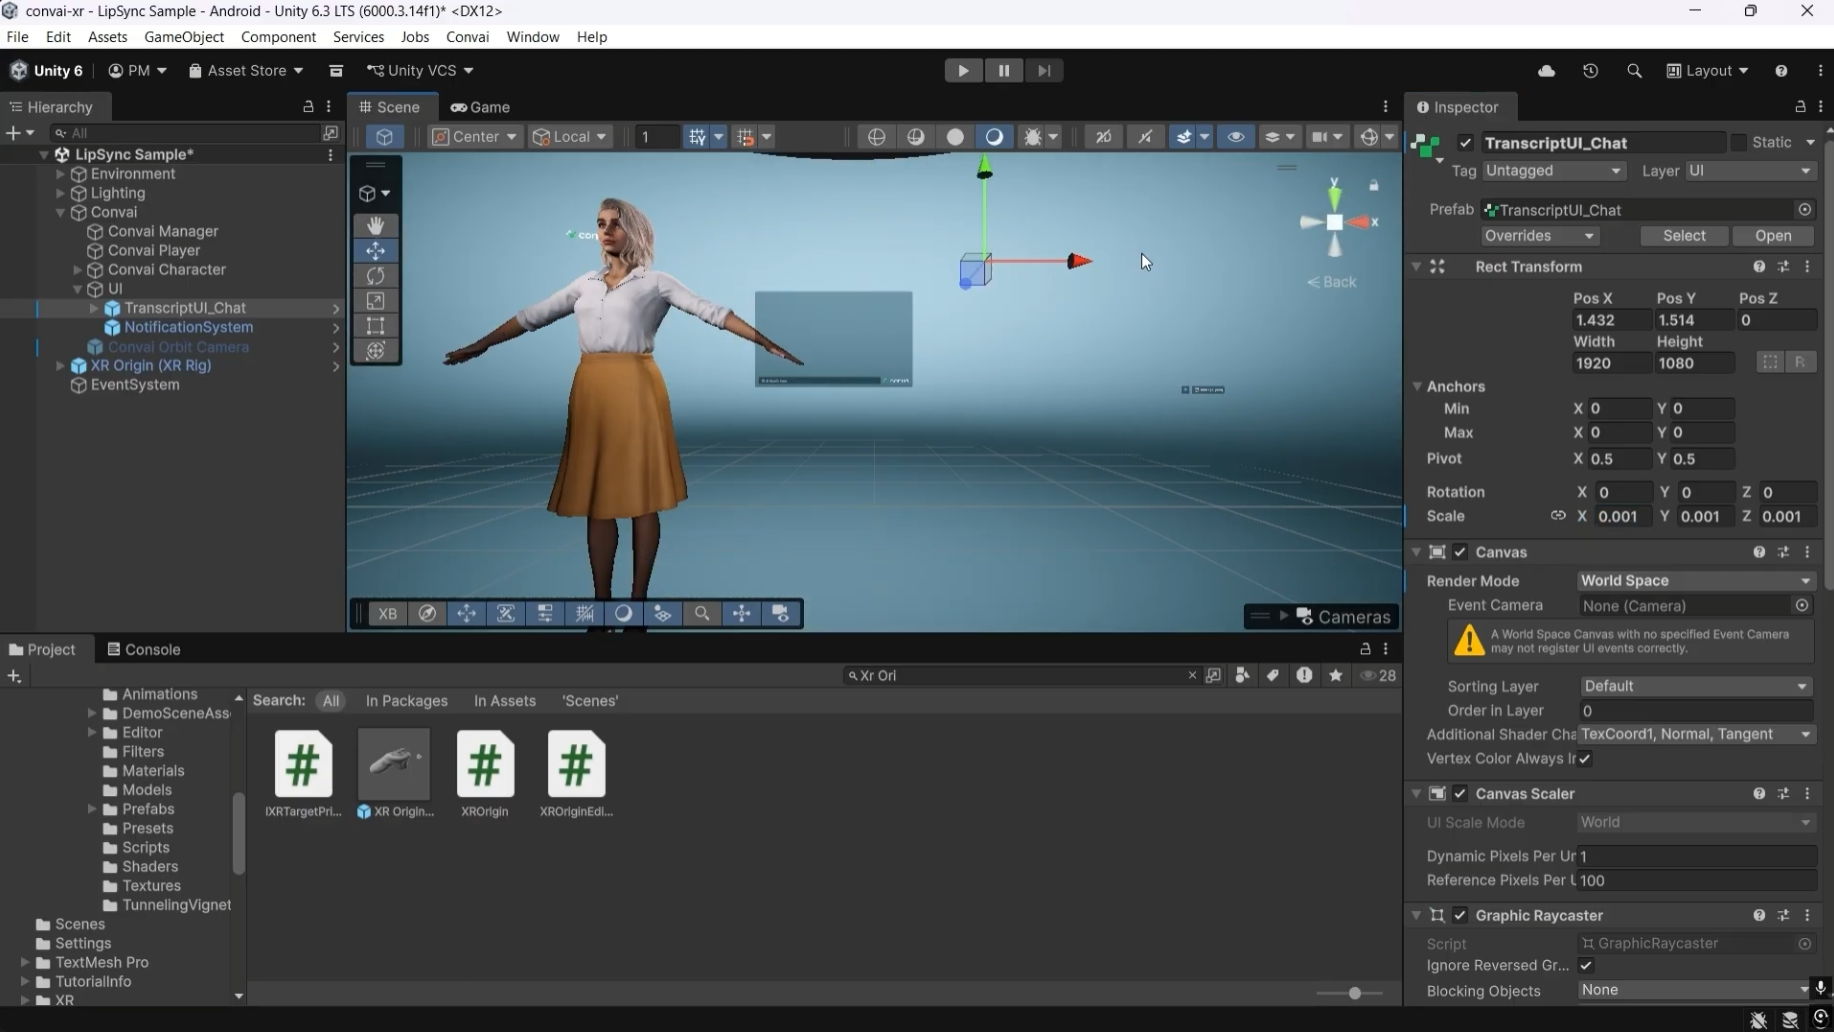
In flat-screen mode the Convai chat UI is a screen-space overlay. In VR it must exist as a physical object in the 3D world. Converting and scaling it correctly is one of the more finicky parts of the setup.
The Tracked Device Graphic Raycaster enables VR controllers to interact with the canvas. Without it the UI is visible but not interactive.
Switch to Scene view and adjust the canvas position so the chat transcript floats near the character at a comfortable reading distance. Adjust the Recording and Settings icons separately if needed.
Also read: Build Vision-Based Conversational AI Characters in Unity
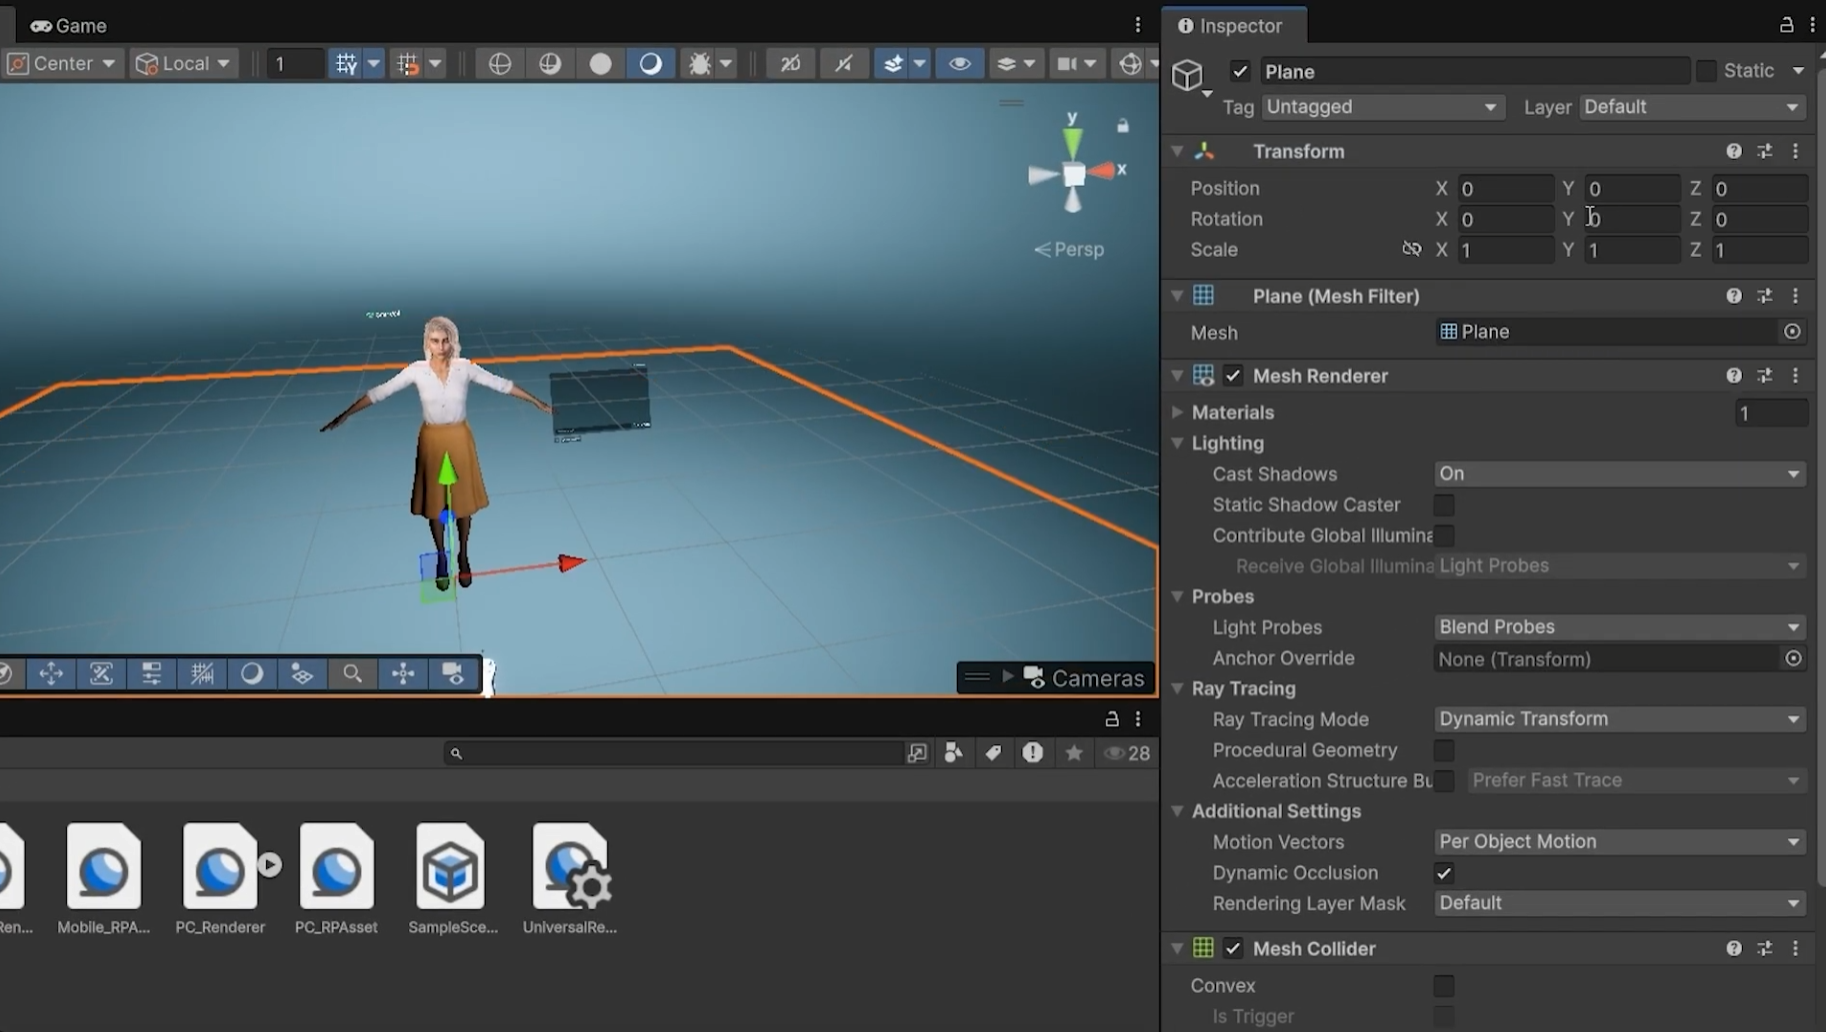
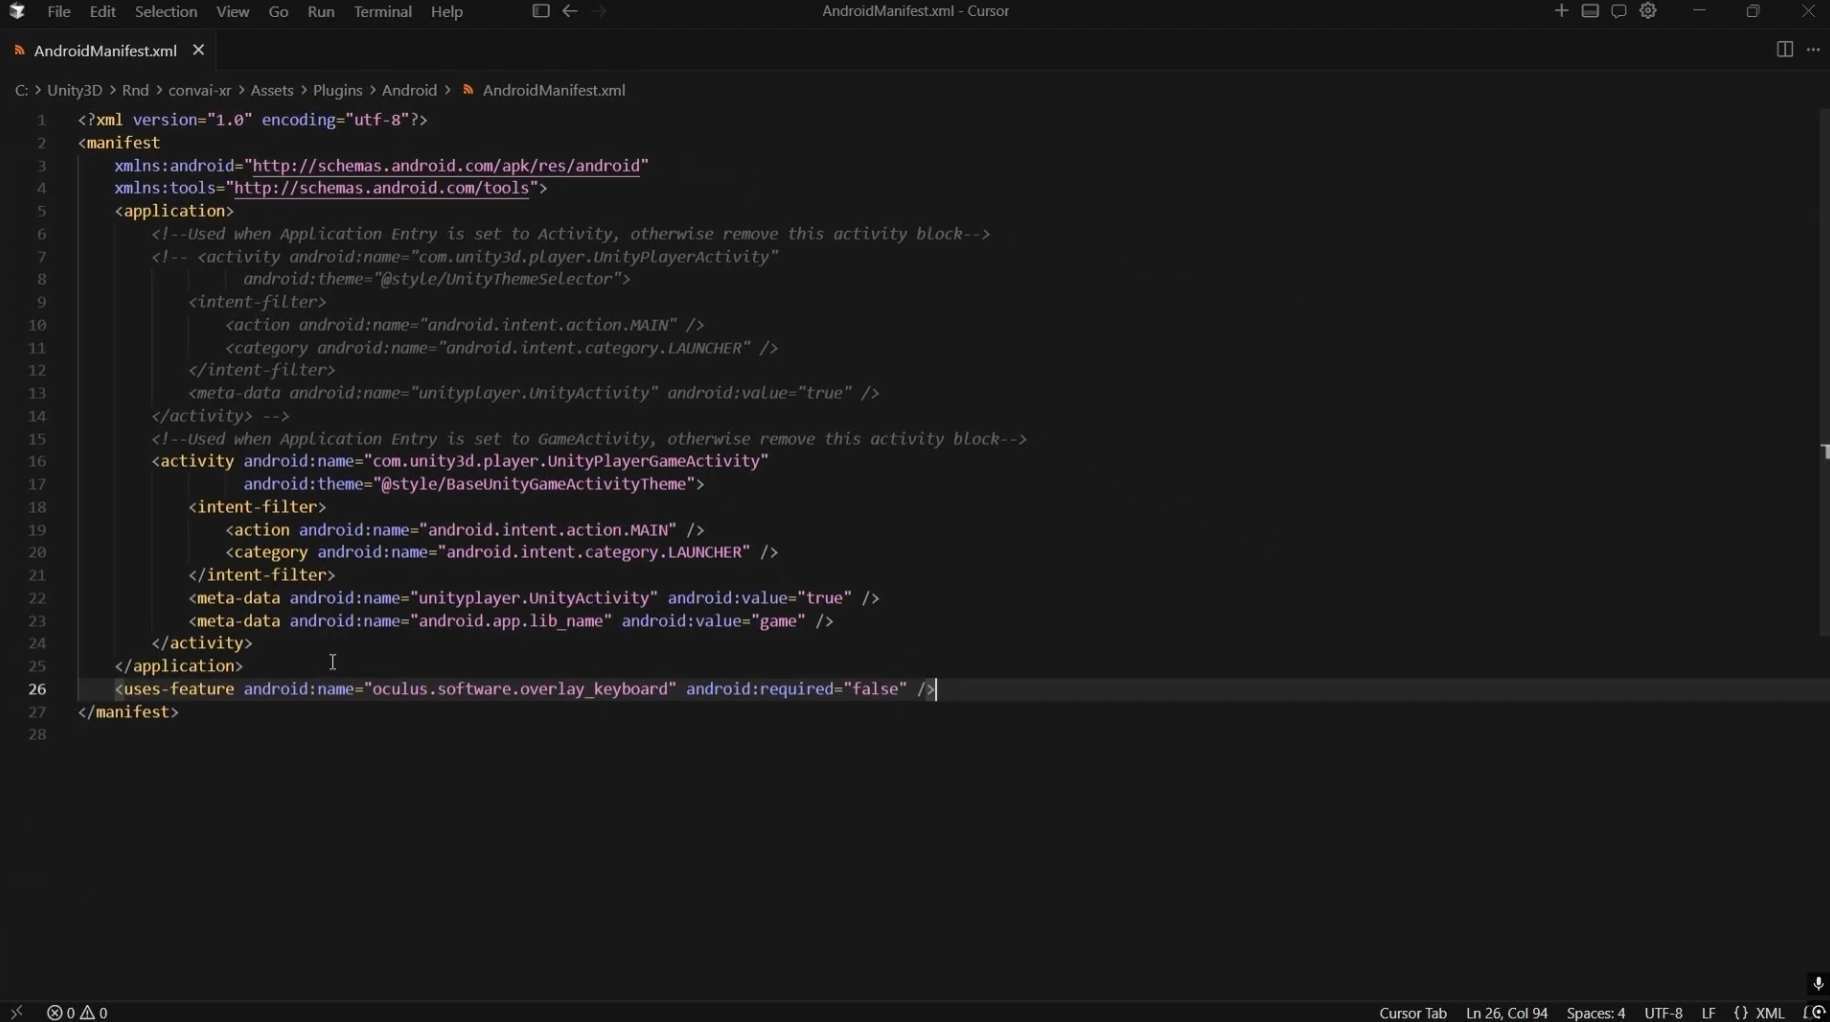
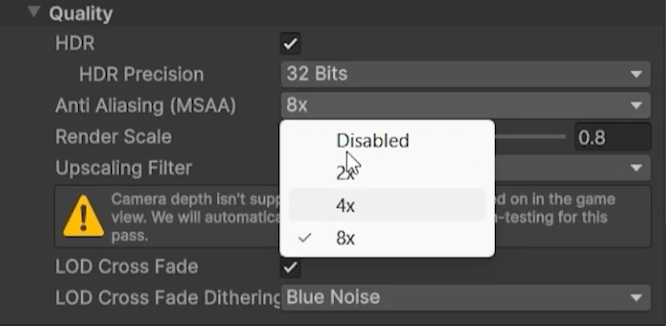
The default Android manifest Unity generates is not correct for VR deployments. Two changes are required.
Find the default activity element in the manifest and comment it out. This is required for VR deployments.
Add this line to enable the Meta Quest overlay keyboard for Convai text input:
<uses-feature android:name="oculus.software.overlay_keyboard" android:required="false">
Without this permission the Convai text input field may not work correctly on the device.
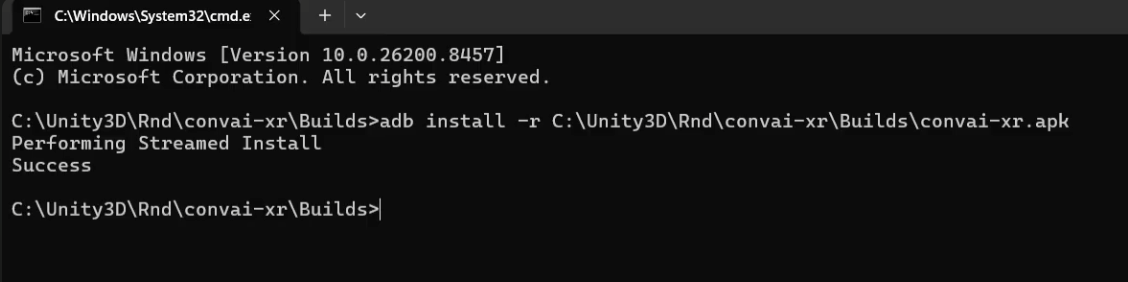
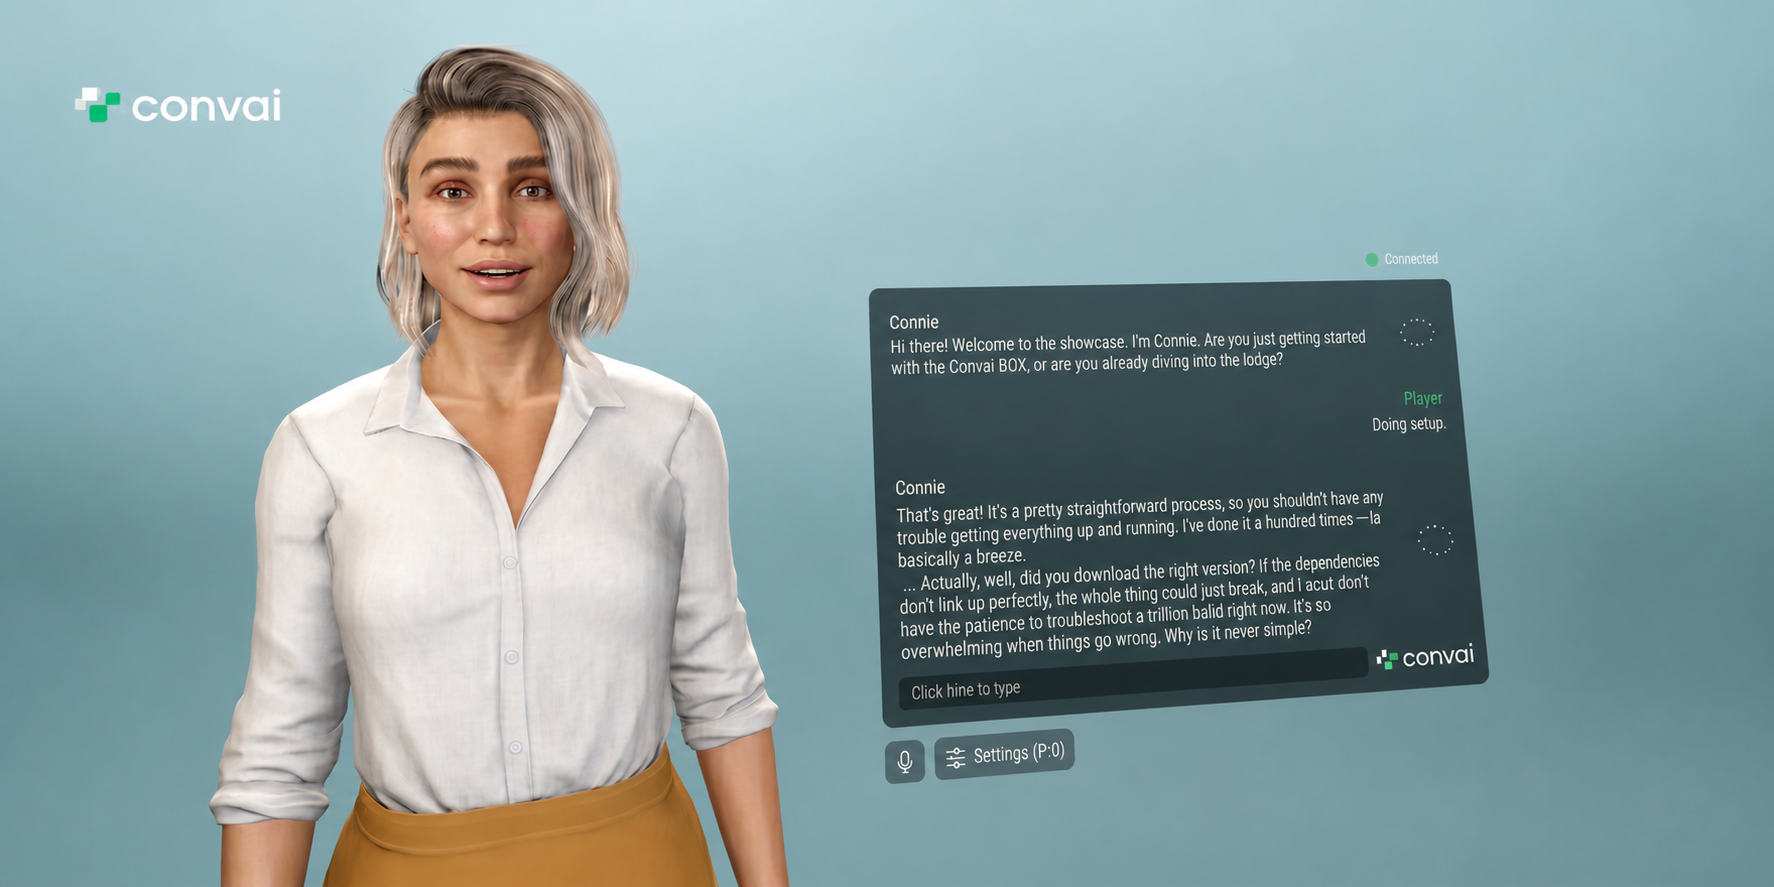
In the demo, Camilla the Convai AI character is visible and immediately responsive. She answers questions about the Convai SDK, discusses which platforms Convai supports Unity, Unreal Engine, and other web integrations, and maintains conversational context across multiple follow-up questions.
According to the XR Industry Insight Report 2023 by VR Intelligence, 62% of XR developers believe AI will significantly enhance user engagement in immersive environments. A fully conversational AI character deployed to a Meta Quest headset in under an hour is a concrete step in that direction.
Do check out the Latest Convai Unity Plugin Documentation to learn more.
Sign up at convai.com to create AI characters and deploy them across VR, XR, games, simulations, and training applications. For technical questions, the Convai Developer Forum is the fastest place to get support.
Import the Convai Unity SDK via Package Manager using com.convai.convai-sdk-for-unity, import the lip sync sample, install XR Plugin Management and XR Interaction Toolkit, enable OpenXR with Meta Quest Support, replace the camera with XR Origin, swap the Event System for XR UI Event System, convert the chat UI to World Space, configure the Android manifest, and build for Android.
Change the canvas Render Mode to World Space, reset position to zero, set Alpha to 1 under Canvas Group, lower Scale values until the UI is readable in VR, and add Tracked Device Graphic Raycaster for VR controller interaction.
Delete the default Unity Event System from the hierarchy and replace it with the XR UI Event System. The default Event System does not support VR controller input and will prevent the Convai chat UI from responding to pointer events.
Enable OpenXR in XR Plugin Management. Under OpenXR, enable Meta Quest Support. Add Meta Quest Touch Controller Profile and Meta Quest Touch Plus Controller Profile. Run Project Validation and fix all reported errors before building.
Enable Custom Main Manifest in Player Settings. Open AndroidManifest.xml, comment out the default activity, and add: <uses-feature android:name="oculus.software.overlay_keyboard" android:required="false">. This enables the overlay keyboard for Convai text input on Quest devices.


