Use Cases

.jpg)
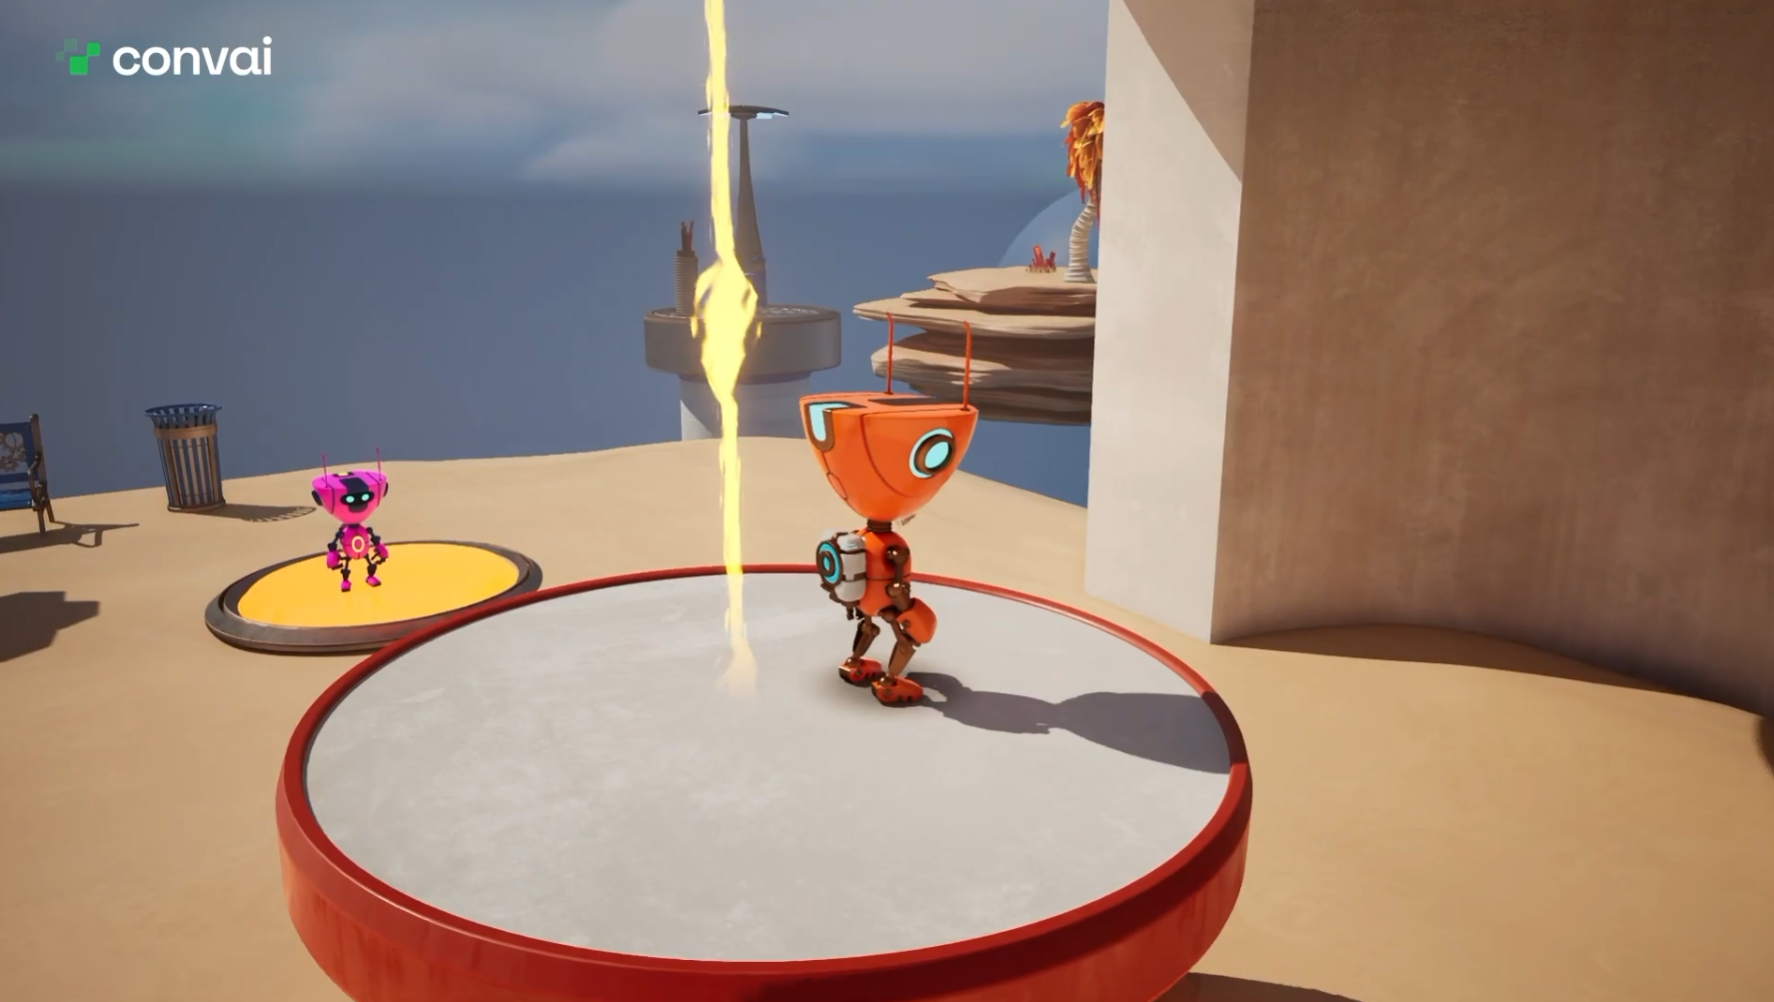
Two players stand at the bottom of a shaft. The platform only moves while someone holds down a pressure plate, so neither one reaches the top alone. One of those players is a human. The other is a Convai-powered AI player that hears the problem, reads the state of the pressure plate and the platform, and works out its own half of the plan.
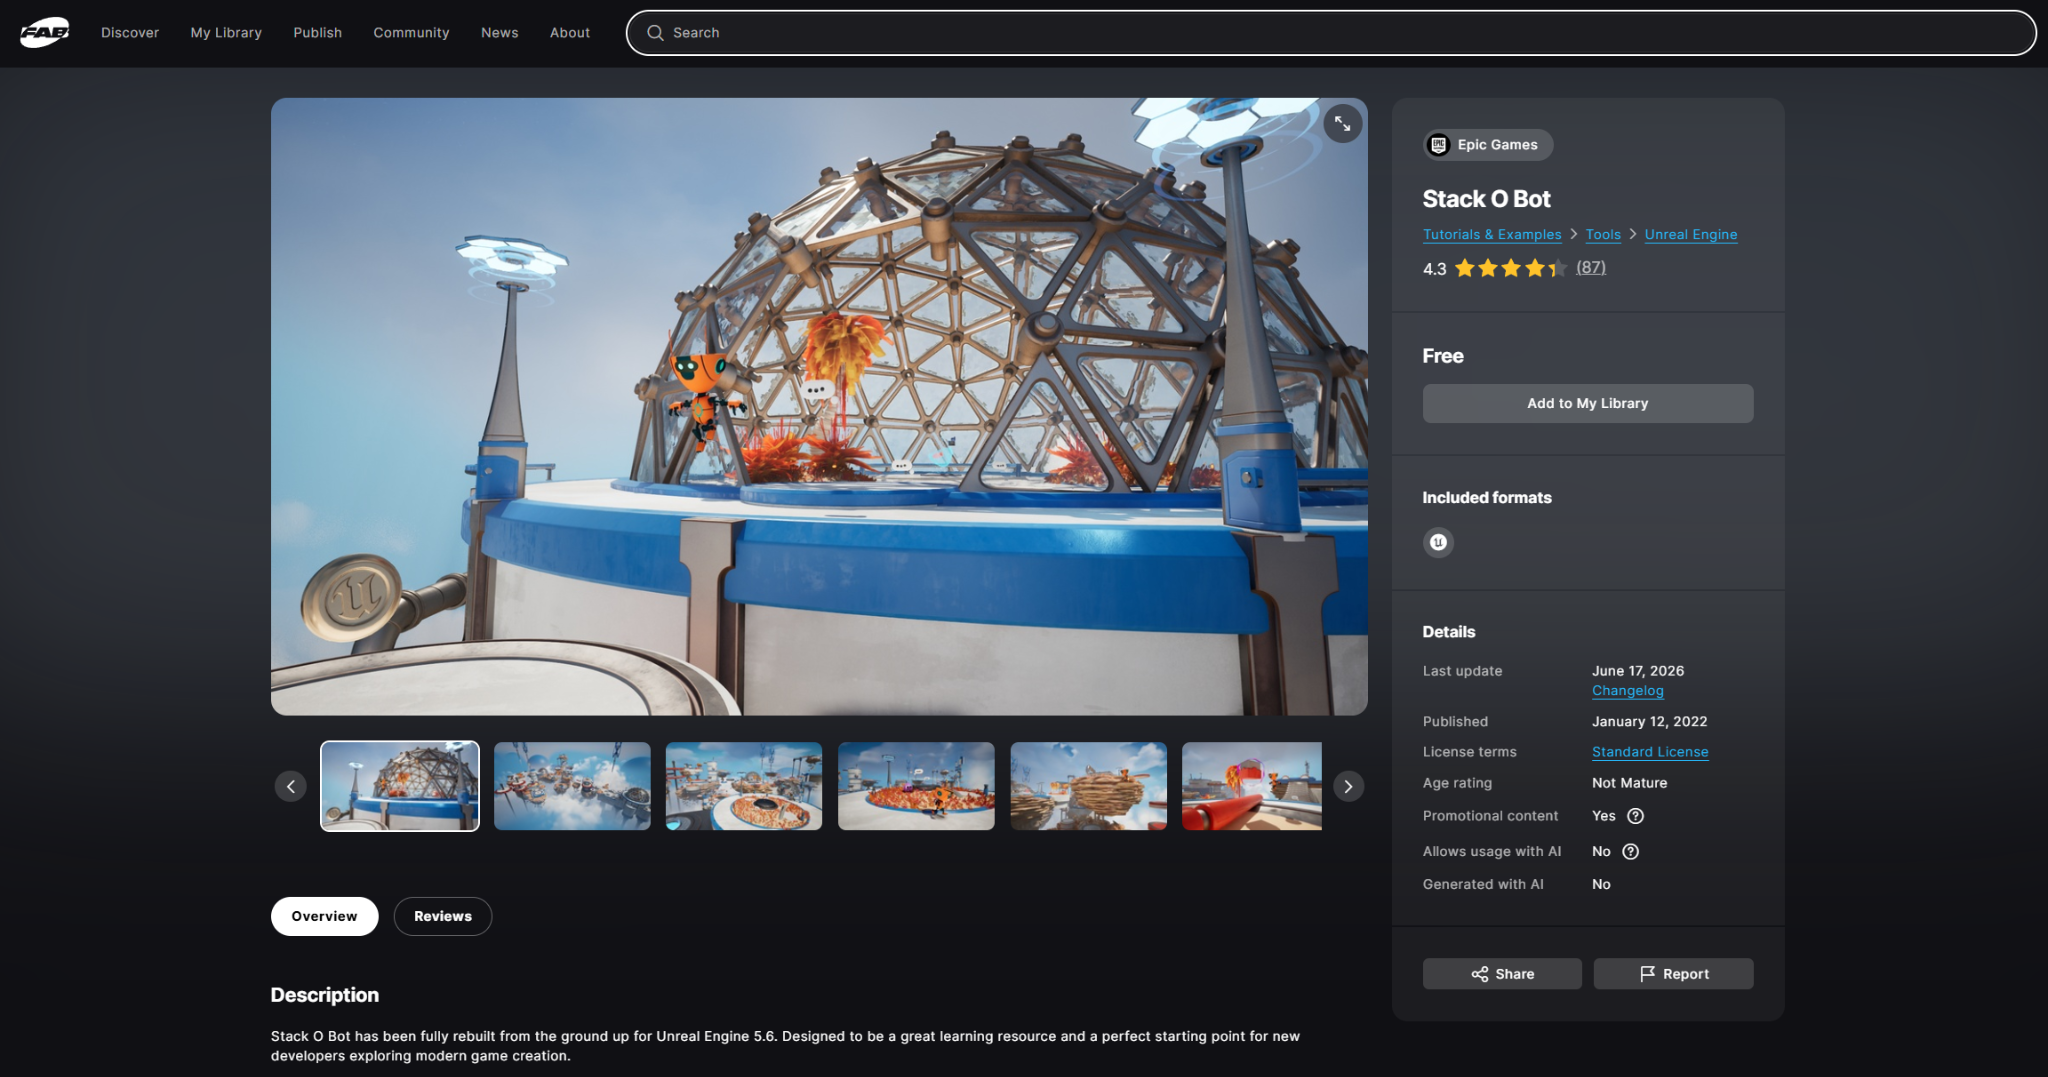
This tutorial builds that AI teammate inside Stack O Bot, Epic Games' free Unreal Engine sample project, using the Convai Unreal Engine plugin. Part 1 covers the AI player blueprint, the Convai Chatbot component, voice input, character actions, object tagging, and the live game state that flows into Dynamic Context. Part 2 adds custom pickup and drop actions for the crate.
▶ Watch the full walkthrough:
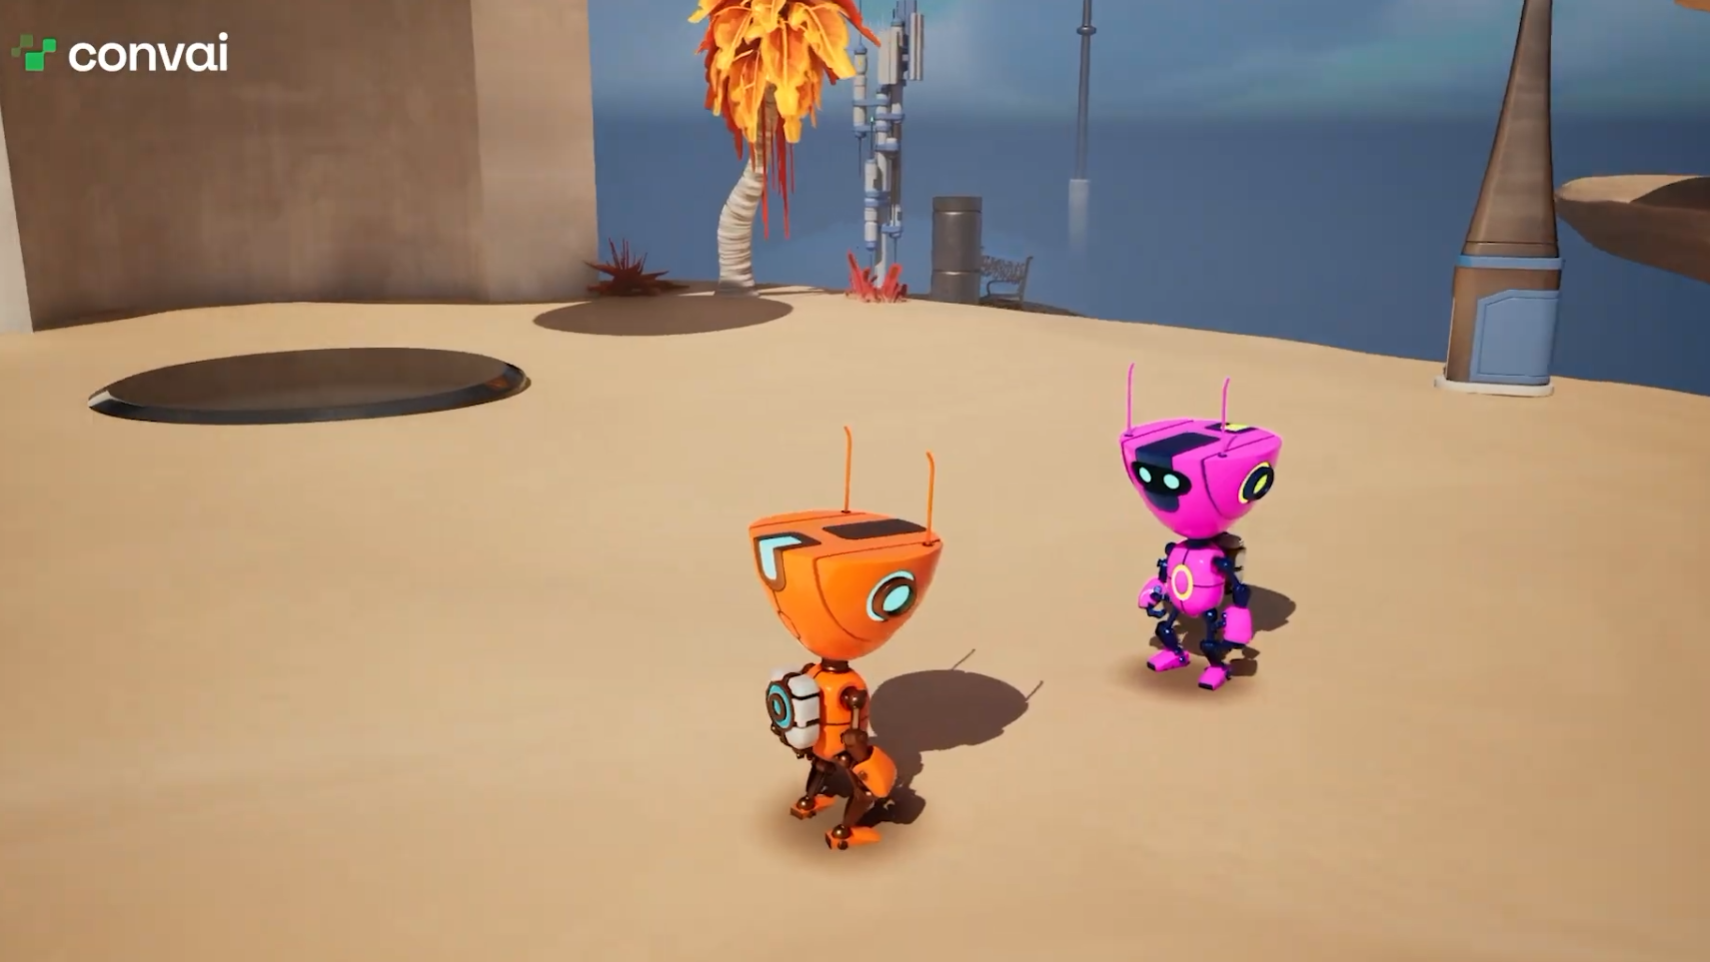
The orange bot is the human player and the pink bot is the AI teammate. Neither one can solve the puzzle without the other, and none of the coordination is scripted:
"So, how do you think we can go up there?" "It looks like the platform up there is currently stopped. If I stand on this pressure plate over here, do you think that will activate the moving platform for you to reach the top?"
"Yeah, it is moving. I'll be going up now." "Perfect. I'll stay put right here and keep this plate pressed down while you head on up."
Later in the demo the human spots a crate on the upper ledge and proposes using it as a weight. The AI accepts the plan, moves the crate, and then narrates its own mistake when the platform leaves without it: "Oh, it looks like the platform started moving up before I could step onto it. I'll have to wait here for it to come back down."
That reads as improvisation because the character receives the same information a human teammate would: which plates are pressed, whether the platform is moving, and where everything sits relative to itself.
A conversational NPC with no world state can talk about your game. An NPC receiving live state can participate in it, which is what separates a scripted dialogue tree from an AI character that reacts to the world. The difference shows up the moment a player asks a question whose answer changes second to second, like whether a plate is held down at this moment.
The Convai Unreal Engine plugin gives characters three separate channels of world context, and this tutorial uses all three. Scene metadata describes the static actors in your level, sent once at session start. Tracked properties watch a live value on one of those actors and push an update when it changes. Attention marks the object the character is focused on right now, which the gaze attention system can drive on its own.
The scene itself was assembled with Convai MCP for Unreal Engine, which lets a coding agent do the wiring. That workflow is worth a look if you want to skip the manual setup on your own project.
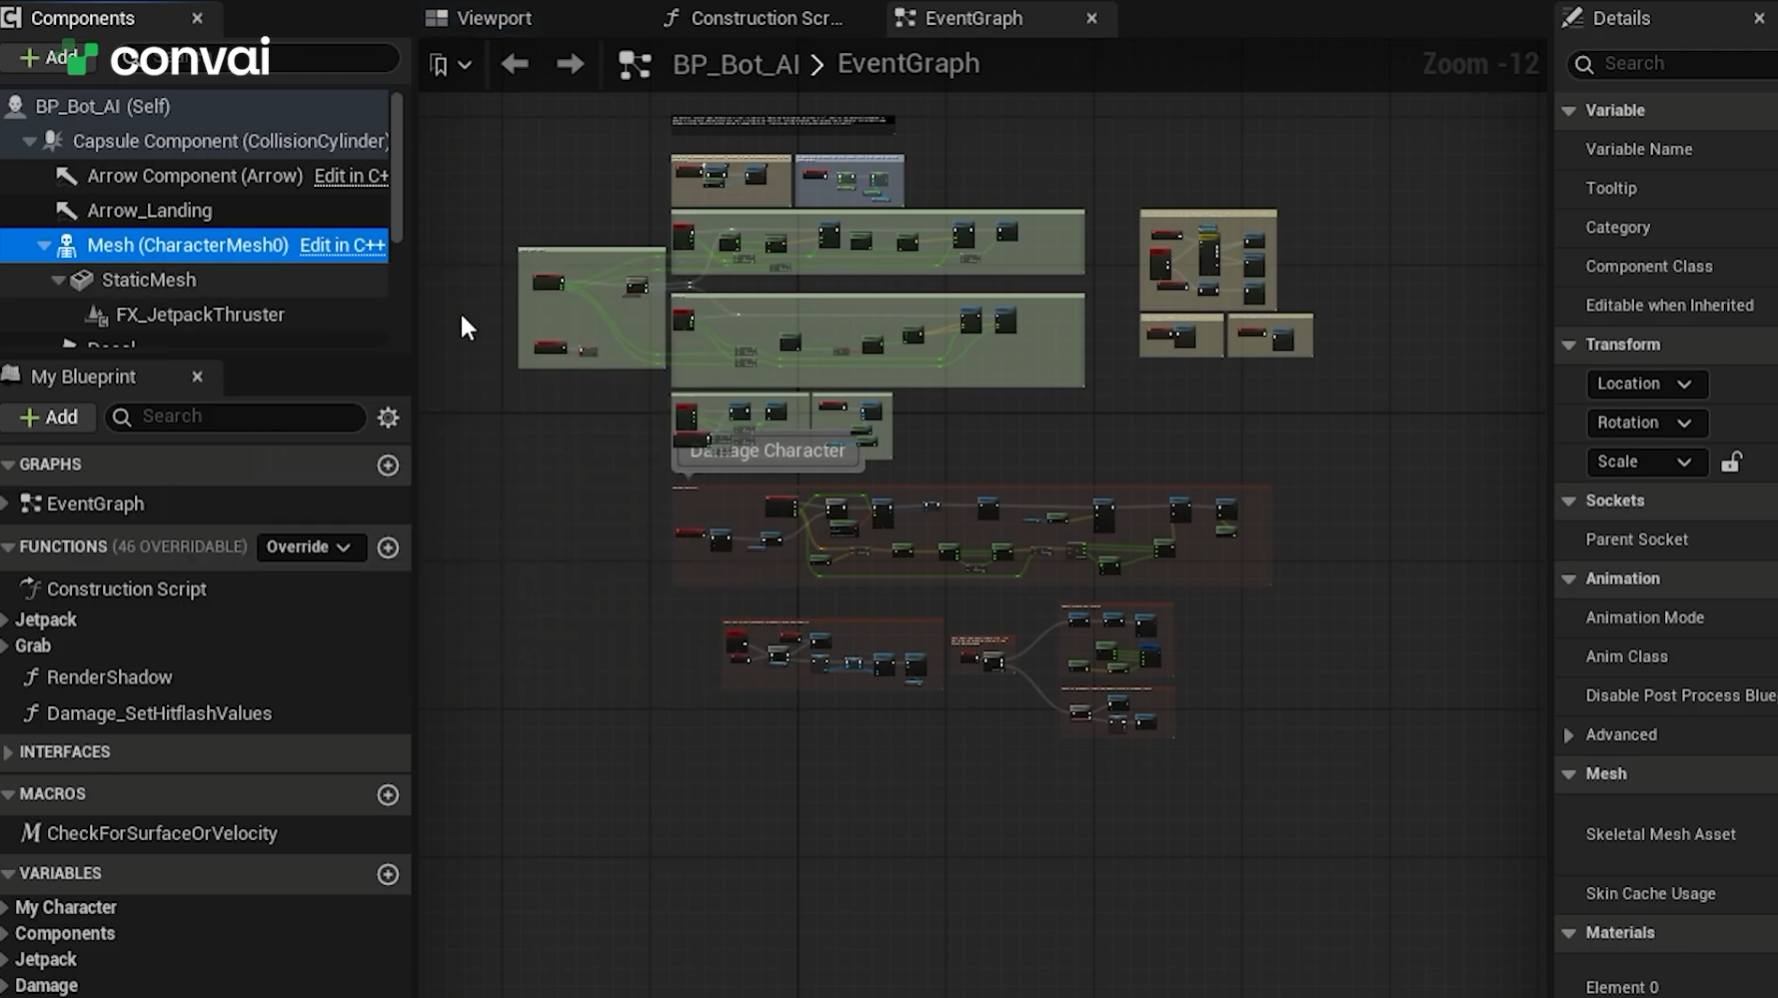
Open World Settings, find Game Mode, and expand Default Pawn Class. Right-click the player blueprint and choose Duplicate, then rename the copy to something like BP_Bot_AI. That gives you a second bot with the same capabilities as the player, which you then modify.
Give it a different color so you can tell the two apart on screen. Open the new blueprint, select Mesh, and in the Details panel find the Material section. Right-click the material and choose Create Material Instance. Open the instance, enable Main Color and Secondary Color, set them to taste, then save. Back in the blueprint, switch the Material section to your new instance.
Two more changes turn a duplicated player into an AI. In the Event Graph, disconnect the Event Possessed node, which clears warnings the AI character doesn't need. Then select the root of the blueprint, search for AI Controller, and set the AI Controller Class to AIController rather than PlayerController.
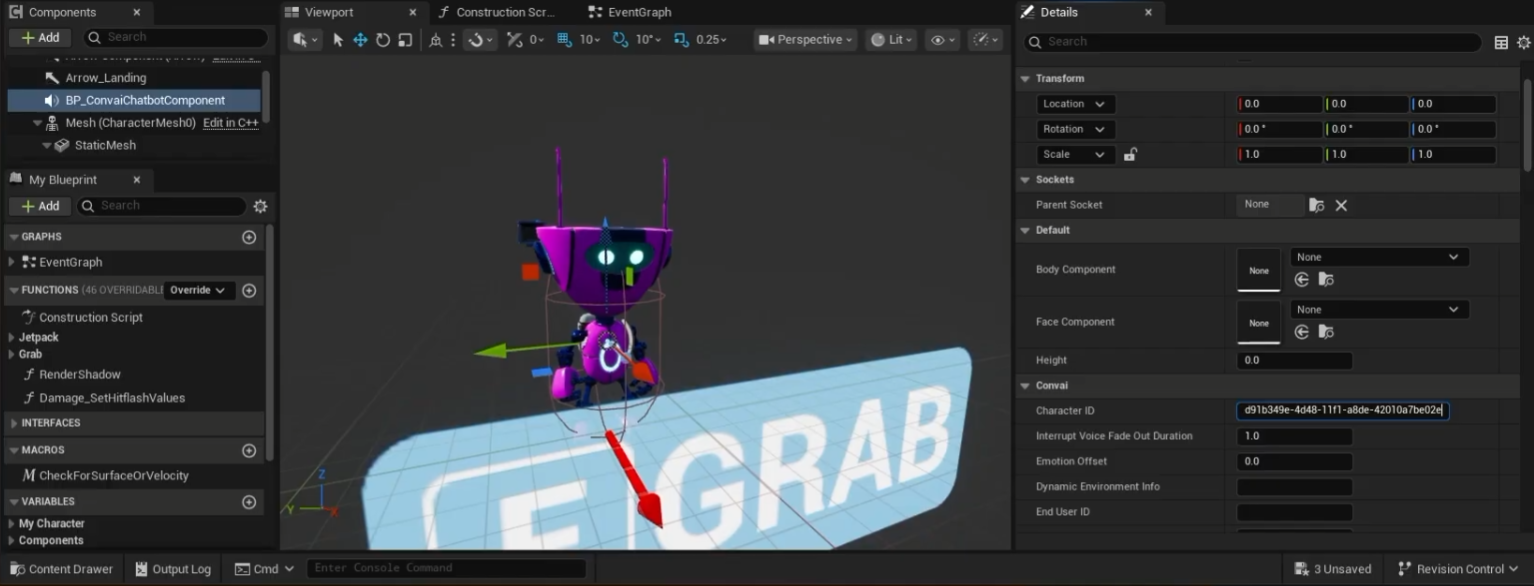
Add the Convai Chatbot component to the AI player. This is the character's intelligence, and it needs a Character ID from your Convai dashboard. Click Create Character, give it a name and a backstory, and copy the ID. The tutorial uses a character called Stackbot.
The model choice matters more here than in a conversation-only project, because this character reasons through puzzle logic and plans two steps ahead. In the core AI settings you can sort available models by intelligence and compare them against latency. The tutorial settles on Gemini 3.5 Flash for its intelligence-to-latency ratio. GPT 5.6 Soul scores better on both counts at a higher price. The working rule from the video: anything with latency above one second feels too slow for this kind of back-and-forth.
This project skips character Vision and long-term memory, feeding the character through system data instead, which is what the object tagging below sets up.
Copy the Character ID from the dashboard and paste it into the AI player blueprint under Details.
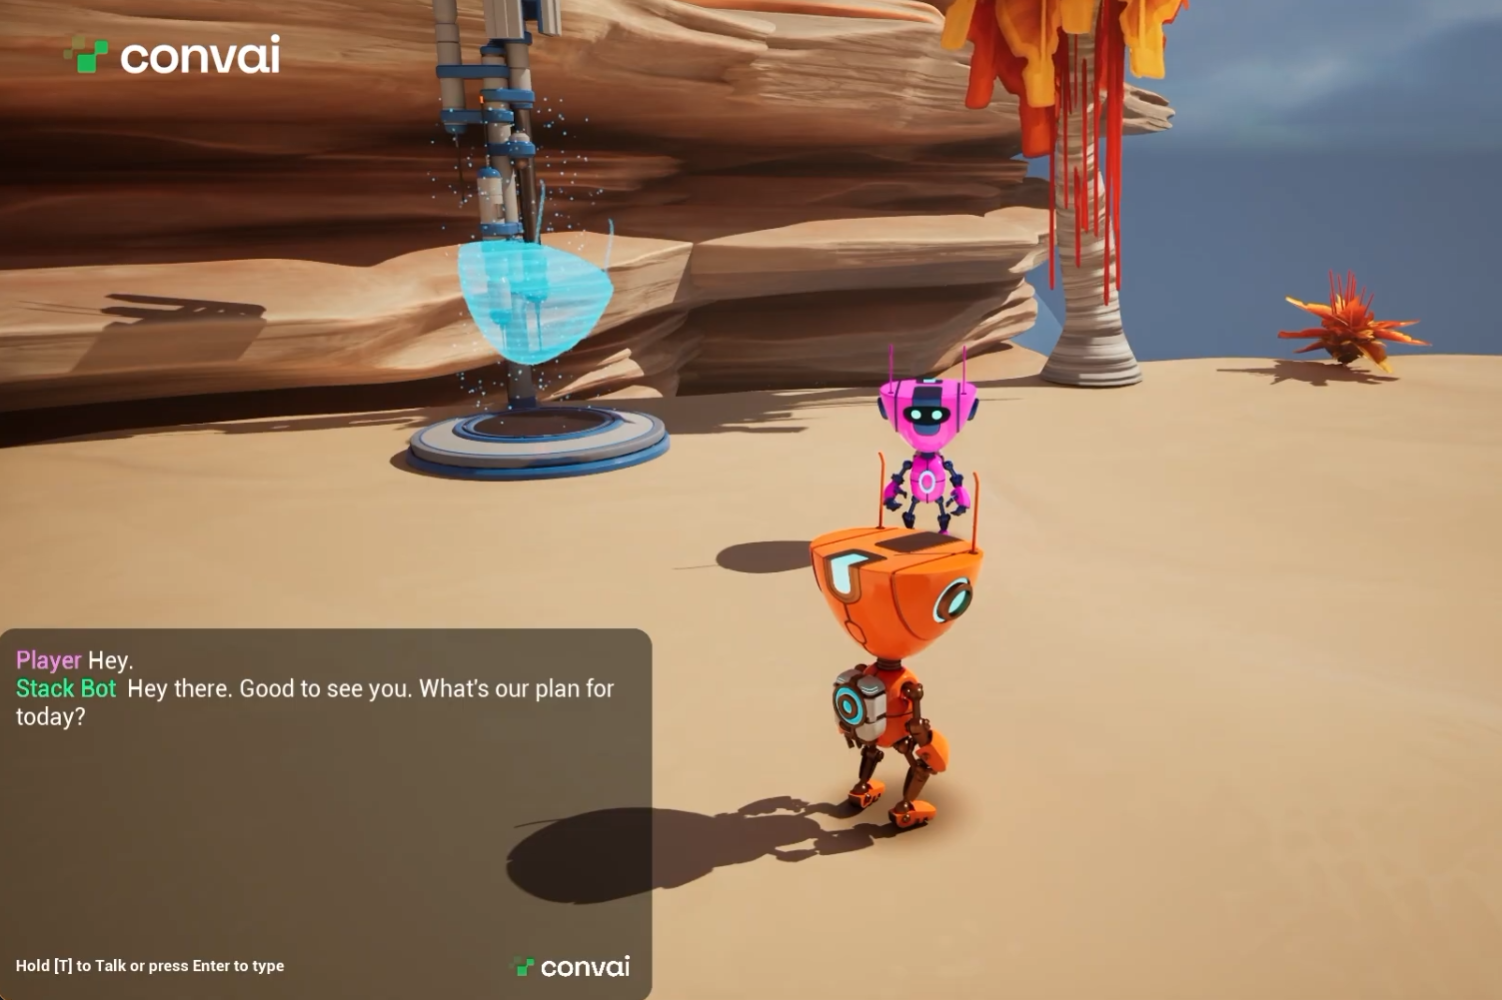
Open the player blueprint through World Settings, Default Pawn Class, then search for the BP Convai Player component and add it. That component carries the player's side of the conversation, including voice input and messages.
Push-to-talk is on by default. Unchecking it makes the experience hands-free, and the tutorial keeps it enabled because it feels more controlled during testing. Set the player name while you are in there.
At this point the conversation works but the character has no body to speak of:
"Can you follow me?" "I'm afraid I can't follow you right now. My movement protocols aren't fully cooperating, but I'm ready to help out from here."
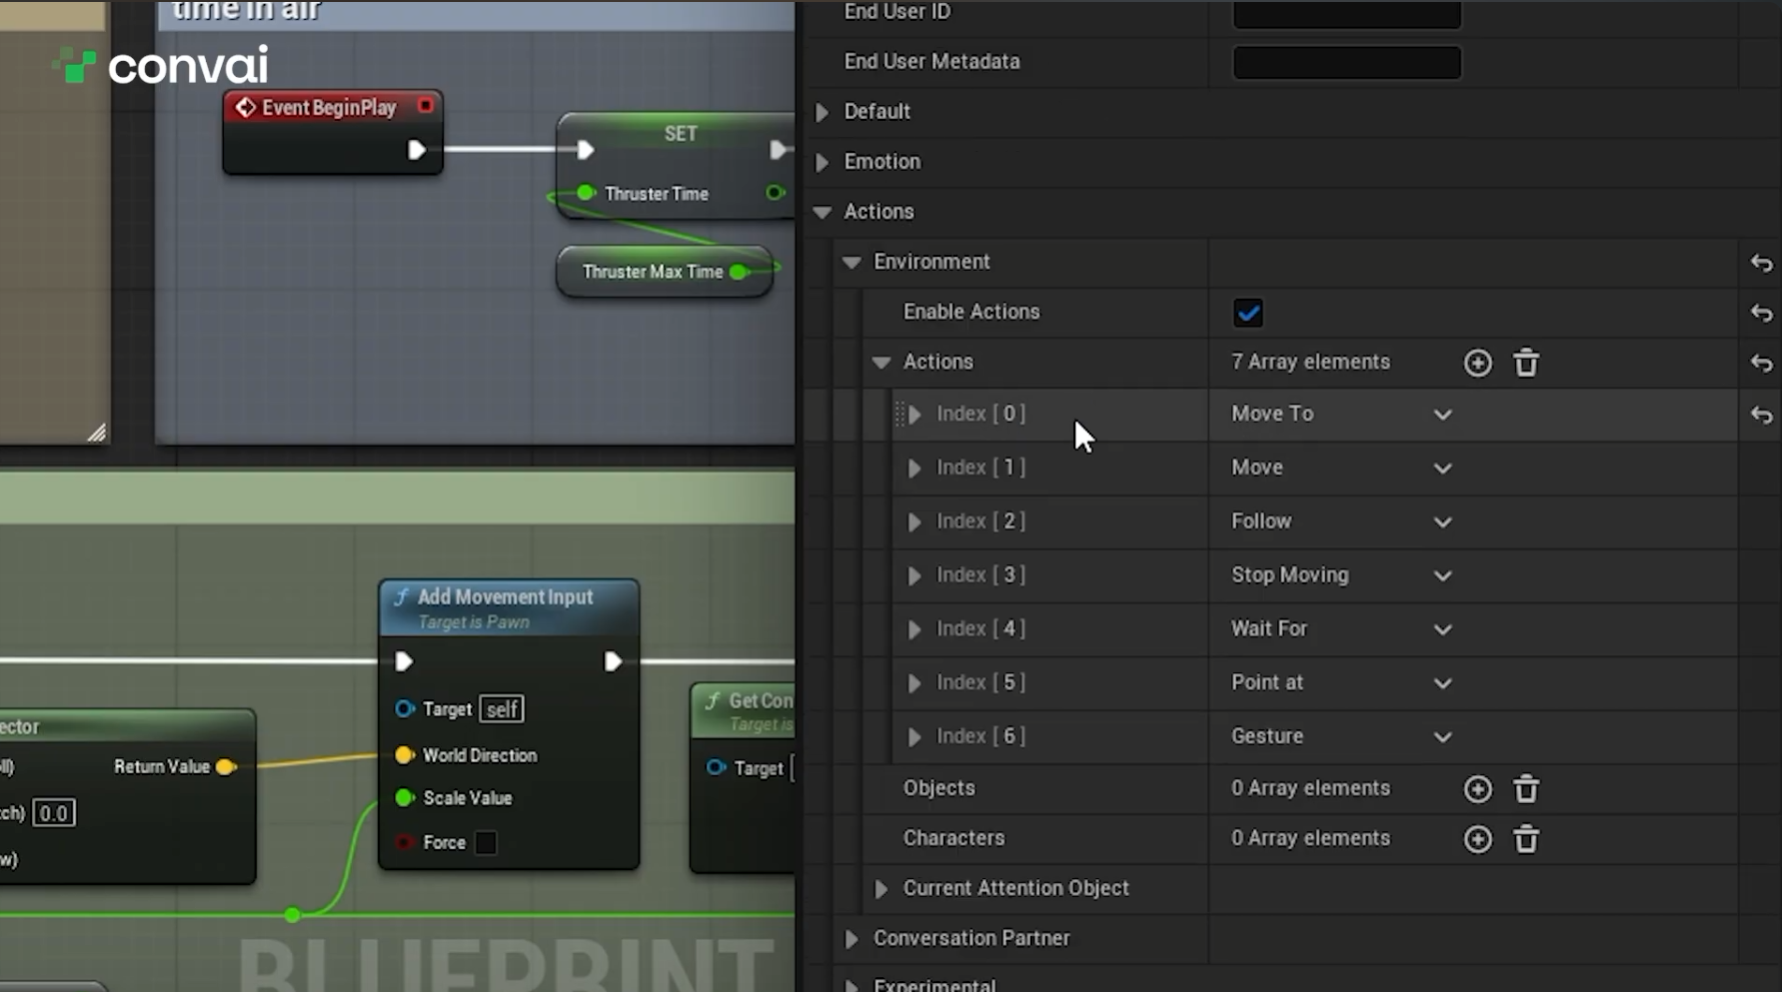
Select the BP Convai Chatbot component on the AI player, expand Environment under Actions, and enable Enable Actions. Fresh chatbot components ship with actions enabled by default, so this step is a check rather than a change on a new character.
The default action set covers four behaviors: Move To, Follow, Stop Moving, and Wait For. The tutorial disables the gesture, pointing, and waiting actions, which the puzzle has no use for, and you can re-enable them later.
Test again and the character moves:
"Hey, can you follow me?" "Lead the way. I'm right behind you."
Ask it to activate a pressure plate, though, and it comes up empty: "I don't see a pressure plate around here." Actions work. The character has no idea what's in the room.
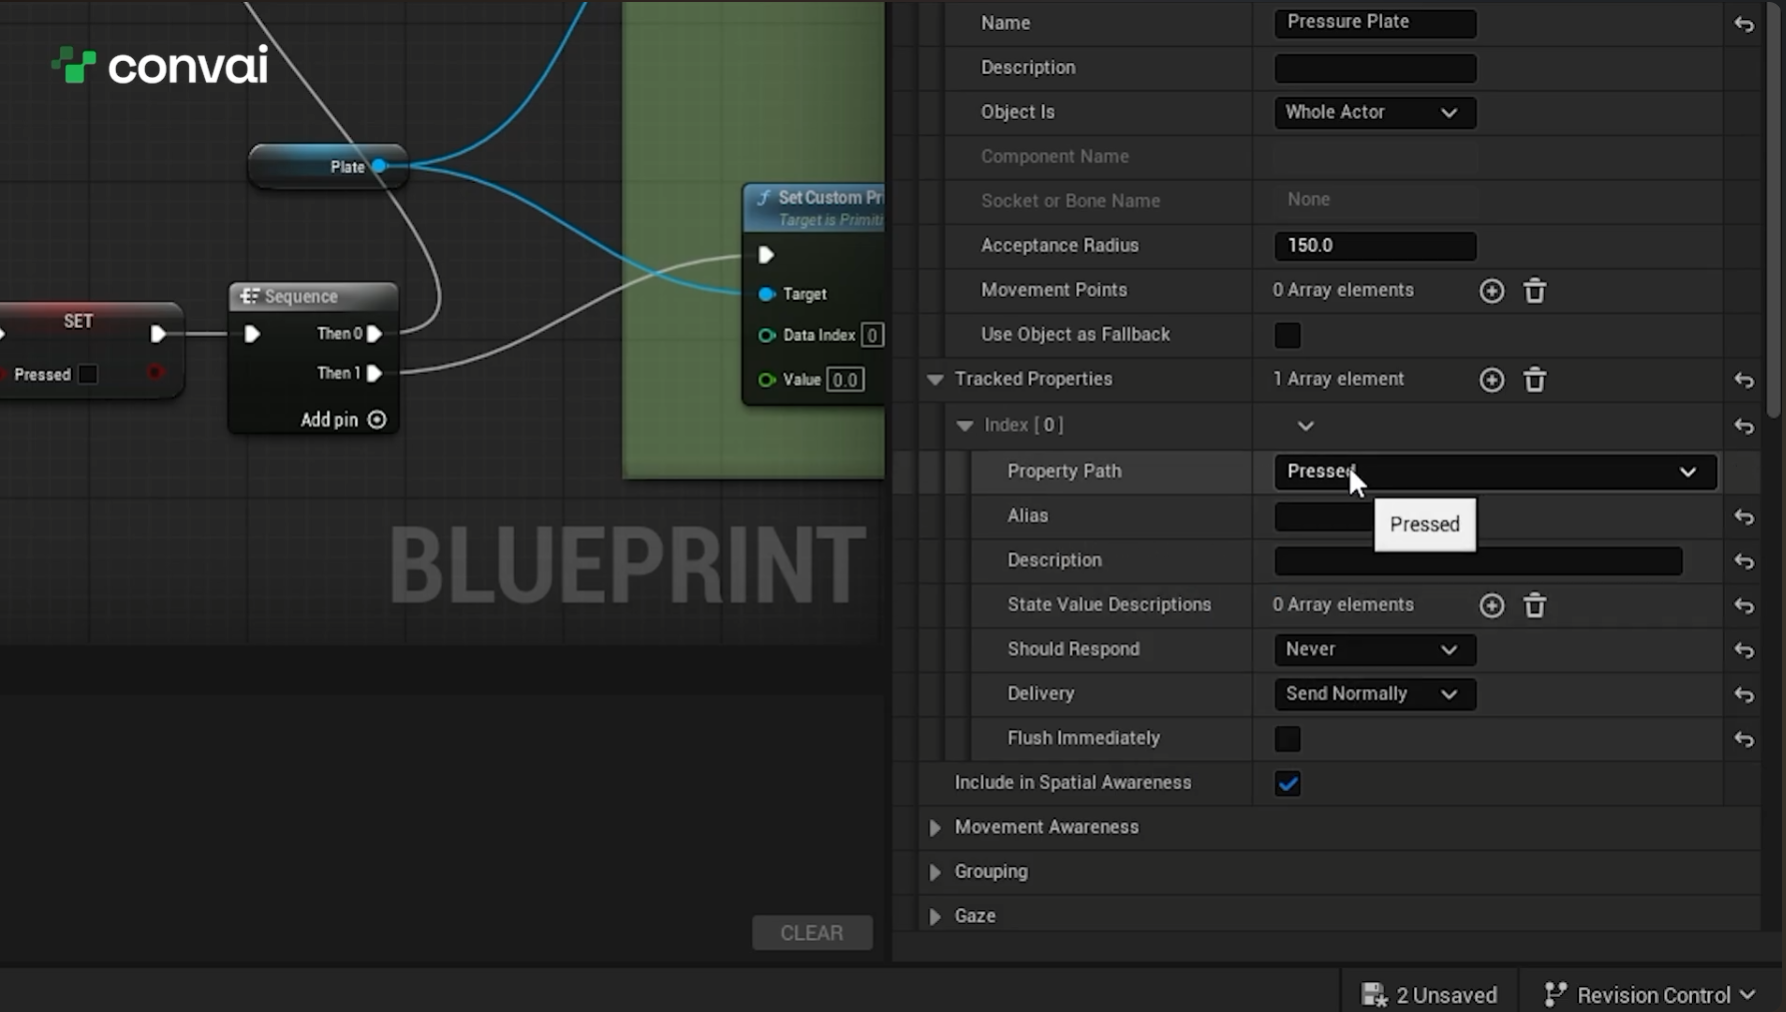
Select the pressure plate, click Edit Blueprint, and add a Convai Object component. Give it a name, and a description if the name alone leaves the purpose unclear. The tutorial skips the description here because "pressure plate" carries enough meaning on its own.
Names have one rule worth respecting: they must be unique per level. If two components share a name, the Convai subsystem renames the duplicate and writes a warning to the Output Log. Short descriptive labels like FrontDoor beat asset names like BP_Door_01, because Convai resolves references by name.
Under the hood, each Convai Object component registers with the Convai subsystem at BeginPlay. When a chatbot starts its session, the plugin gathers every registered component, builds the action config payload, and sends it in the connect handshake. Objects you add after that point travel through a separate scene metadata update message. One constraint follows from this: an object present at session start lives in a frozen snapshot, and changing its description mid-session takes a reconnect.
Tagging tells the character the plate exists. Tracked properties tell it whether the plate is pressed.
Add a boolean variable to the pressure plate blueprint and call it Pressed. The blueprint already has Begin Overlap and End Overlap events, which fire when a character steps on and off. Set Pressed to true on begin overlap and false on end overlap.
Back in the Convai Object component, open Tracked Properties and track the Pressed variable. Four settings shape the behavior:
Alias. Skip it when the property name reads well on its own. It earns its place when the original name is cryptic or full of acronyms.
Description. A plain-language note about what the value means. Optional per-value annotations help most on enums and booleans.
Should Respond. This controls whether the AI speaks when the value changes. It defaults to Never. Auto lets Convai decide whether reacting makes sense, and Always requests a response every time. The tutorial uses Auto.
Delivery mode. Send Normally pushes the update straight through. Wait Until Conversation Is Idle holds it back so the character avoids interrupting itself or talking over someone. Flush Immediately skips the batching window, and the tutorial leaves it off here because the plate state has no urgency.
Two details from the scene metadata documentation fill in the picture. The key the character sees is the object name joined to the property path, so a plate named Plate01 with a Pressed property arrives as Plate01.Pressed. And at session start the current value of every tracked property is seeded with Should Respond set to Never, so the character starts informed without announcing anything.
The plugin also generates a proximity state for each tagged object without any setup, expressed in phrases like "close by, in front" or "no walking path, behind". It never prompts the character to speak.
Test it and the character reads the room:
"Hey, is the pressure plate pressed or not?" "The pressure plate underneath you is currently pressed, but the other two up on the ledges are not."
Step off and it notices on its own: "Looks like you stepped off the pressure plate. It's not pressed anymore."
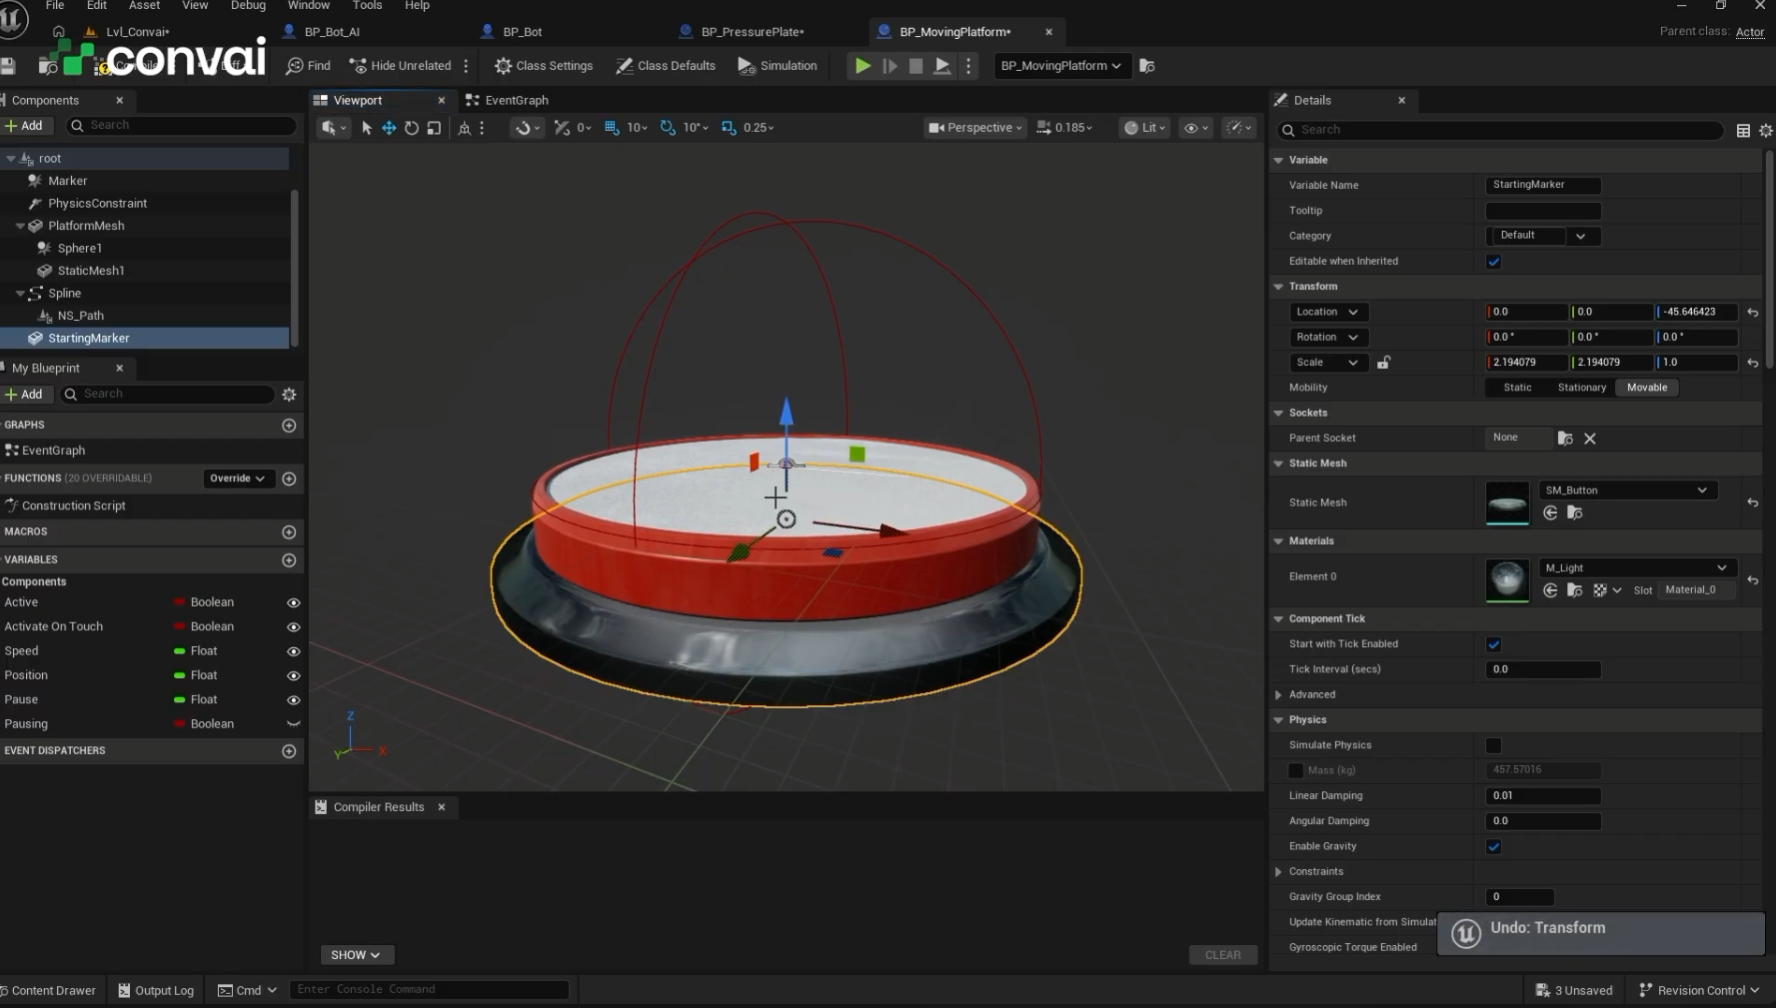
The moving platform needs the same treatment with one complication. The platform is built from components, a platform mesh and a base, and the mesh can move while the base stays put. Tagging the whole actor points the character at the wrong thing.
The Object Is property on the Convai Object component solves this. Copy the name of the platform component and paste it in, and the character now reasons about the part that moves.
Movement targets need the same care. Without a Movement Point, the AI stops at the edge of the object, believing it has arrived. Add a movement point that moves relative to the object and place it on top of the component, so the character walks onto the platform rather than up to it.
For the state itself, Movement Awareness works out of the box and generates the movement property for you, which then flows through Dynamic Context like any other tracked value. The tutorial sets When Movement Stops to Auto, since Always turns spammy on an object that starts and stops this often. Delivery goes to Wait Until Conversation Is Idle so the character doesn't interrupt itself mid-sentence, and Flush Immediately goes on because platform state drives the character's next decision.
One more adjustment: reduce the movement sensitivity. The platform is a large physics object covering long distances, and a character bumping into it produces small movements you don't want reported as travel.
Now the coordination holds together:
"I'm going to press the pressure plate to bring down the platform. I need you to go on it once it's down." "Sounds like a plan. I'll wait right here, and as soon as you step on the plate and the platform lowers, I'll hop on."
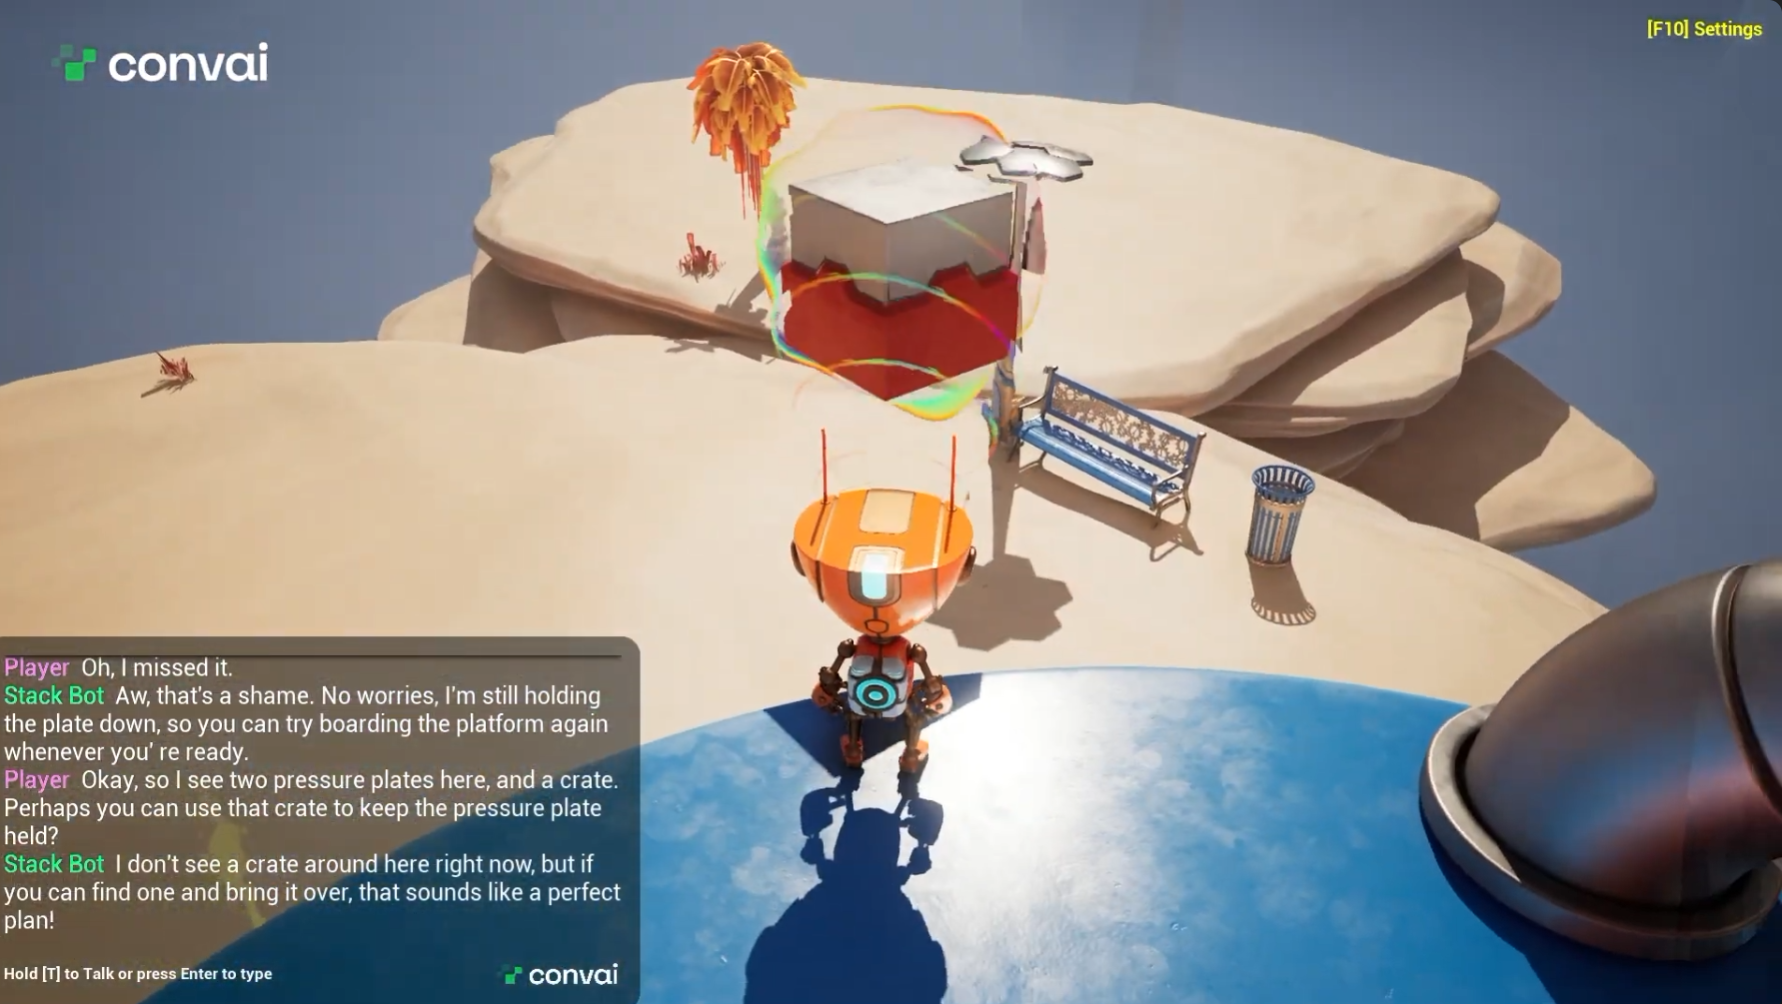
The crate gets a Convai Object component with a name and Movement Awareness enabled, so the character knows when the crate is moving. When Movement Stops goes to Auto, delivery to Wait Until Conversation Is Idle, Flush Immediately on, and movement sensitivity to very low.
The remaining piece is a pair of custom pickup and drop actions, which Part 2 covers. Until then, the Part 1 thread on the Convai Developer Forum collects the delta files, the setup guide, and every documentation link from the video in one place, and it's where the team answers questions about tracked properties and action setup. The Guides and Tutorials category alongside it carries the rest of the Unreal series.
Also read: How to Add Custom and Parameterized Actions to Convai AI NPCs in Unreal Engine 5
Also watch: Convai Object in Attention: Build AI Players That Know What You're Looking At
How do I make an AI character in Unreal Engine aware of live game state? Add a Convai Object component to the actor you want the character to know about, then add the value you care about to its Tracked Properties. Set the value from your blueprint logic, such as on Begin Overlap and End Overlap for a pressure plate, and Convai pushes each change into the character's Dynamic Context.
What is Dynamic Context in the Convai Unreal Engine plugin? Dynamic Context is how a Convai character learns what is happening in your level right now, covering things like health, zone, equipment status, and alarms. You push state through the Convai Chatbot component, using state values for conditions that get replaced and events for one-time moments.
How do I turn a player blueprint into an AI player in Unreal Engine? Duplicate the player blueprint from World Settings, Game Mode, Default Pawn Class and rename it. In the copy, disconnect the Event Possessed node to clear warnings, then select the blueprint root and set AI Controller Class to AIController rather than PlayerController. Add the Convai Chatbot component and paste in your Character ID.
Which LLM should I use for an AI character that solves puzzles? Pick for the intelligence-to-latency ratio rather than intelligence alone. The tutorial uses Gemini 3.5 Flash, and notes that GPT 5.6 Soul performs better on both at higher cost. Anything with latency above one second feels too slow for real-time coordination with a human player.
Why doesn't my Convai character recognize objects in the scene? Tagging is the missing step. Actions let the character move, but it needs a Convai Object component on each actor before it can reference that object by name. Names must be unique per level, and the subsystem renames duplicates and logs a warning if two objects collide.
How do I stop an AI character from interrupting itself with state updates? Set the delivery mode on the tracked property to Wait Until Conversation Is Idle, which holds the update until the character has finished speaking. Set Should Respond to Auto rather than Always so Convai decides when a change is worth a reply, and leave Flush Immediately off unless the update drives the character's next action.
Why does my AI character stop at the edge of a moving platform? Two settings cover this. Use the Object Is property to name the component that moves, since tagging the whole actor points the character at the static base. Then add a movement point that moves relative to the object and place it on top of the component, so the character walks onto the platform rather than up to its edge.
Duplicate the player, point it at a Convai character, enable actions, tag the objects that matter, and track the properties that change. The character then reasons about your level in real time.
Ready to build? Sign up at convai.com · Read the Dynamic Context documentation · Read the scene metadata guide · Grab the tutorial project files · Get the plugin on Fab · Ask questions on the Developer Forum
Follow Convai: LinkedIn · Reddit · X/Twitter · Instagram · YouTube


