Use Cases

.jpg)
The hardest part of giving an AI character physical agency is not teaching it to succeed. It is teaching it to fail out loud.
A character that picks up a crate and carries it across a moving platform looks impressive in a demo reel. A character that walks toward a crate, finds the path blocked, and says so in plain language is the one you can ship, because the player learns what went wrong without opening the Output Log.
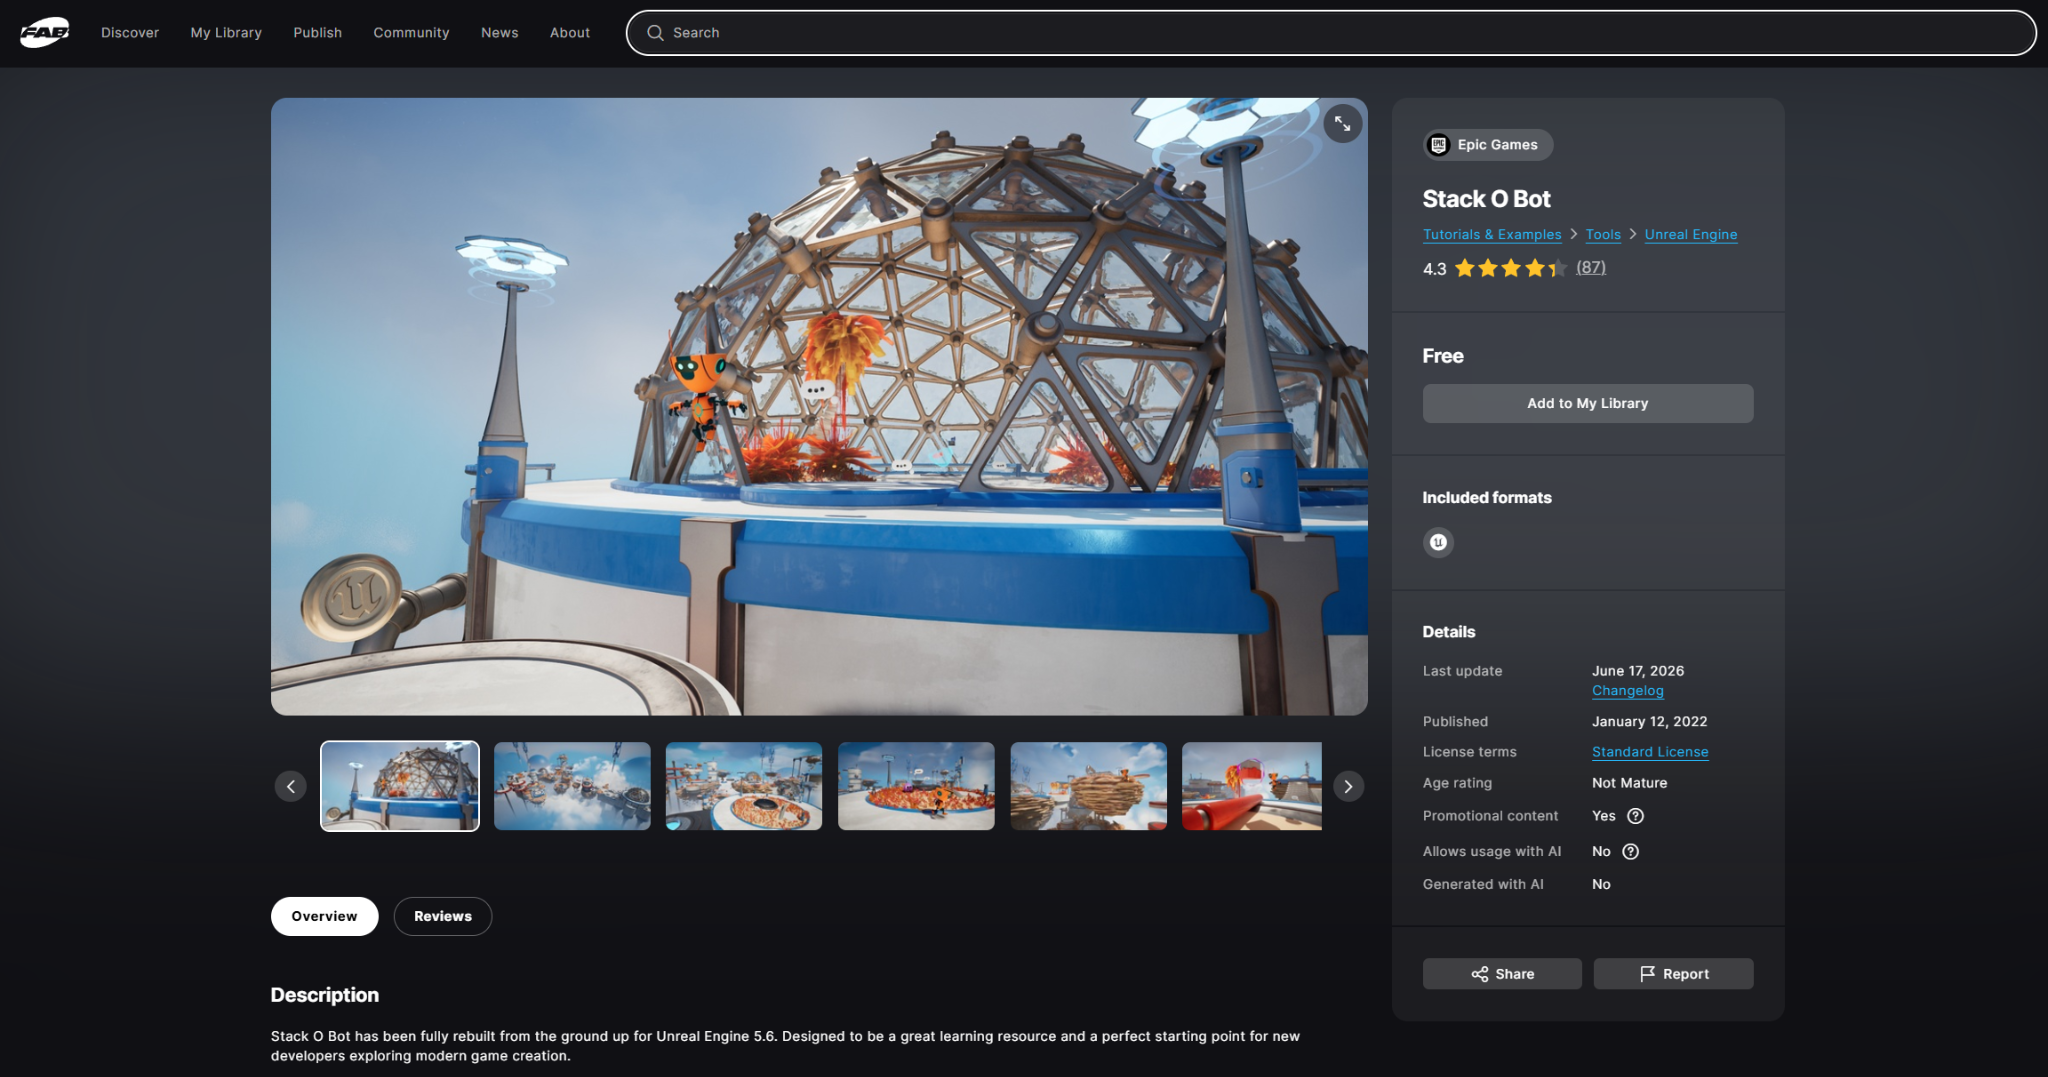
This is part two of the Convai AI teammate series in Unreal Engine, built on Epic Games' Stack O Bot sample for Unreal Engine. In part one the character got environment awareness, live game state, and the built-in movement actions that let it walk to objects and stand on pressure plates. Here it gets two custom actions of its own, pickup and drop-at, wired into gameplay logic that already existed in the project.
By the end the AI player takes a spoken instruction, moves to a crate, lifts it, carries it to a pressure plate, places it, waits for the platform, and helps finish a two-player puzzle through conversation alone.
Watch the full tutorial this article follows step by step:
Part one registered the level with Convai's scene metadata system so the character knew which objects existed, added tracked properties so it knew which pressure plates were active, and relied on the four built-in action handlers the plugin ships with.
Those built-ins, covered in the character actions hub, reach a long way. They do not cover picking things up, because no plugin can know what picking something up means inside your project. Stack O Bot has its own interaction system, written before Convai entered the picture, and part two is about reaching into that system rather than replacing it.
That is the general shape of custom actions in any project. Convai handles intent, target resolution, and reporting. Your Blueprint handles the part that is specific to your game.
If you are starting fresh, the Stack O Bot tutorial setup guide walks through creating the project in Unreal Engine 5.8 and copying the tutorial delta files over it. You will also need the Convai Unreal Engine plugin from Fab and an installed, signed-in editor.
Watch the full part 1 of this tutorial here:
Part one left two rough edges. Both are small, and both change how reliable the custom actions feel.
When the character moved to a pressure plate, it sometimes stopped near the edge instead of standing on the plate. The plate registers as an object, so the movement resolver stopped at its collision bounds, which is the right default behavior for wide objects and the wrong one here.
The fix is a movement point. Open the pressure plate Blueprint, go to the viewport, select the Convai Object Component, and under the object entry add a movement point. Nudge it upward so it sits on top of the plate. A green arrow in the viewport shows where the character will stand, and the Convai Debug Overlay confirms it later at runtime.
Movement points are designer-authored destinations, and Convai's resolver picks the reachable point with the shortest walking path rather than the object's raw location. Each point draws as a grab handle with an acceptance-radius ring, spring green when enabled and grey when disabled. Because all the pressure plates share one Blueprint, the point replicates across every instance.
Two details from the documentation are worth knowing when you start authoring your own. The attachment mode defaults to Relative To Object, which is what you want for a plate or a door, while Keep World Position suits something like an elevator landing that must stay put while the platform rides past it. And ticking Create Separate Destination turns one point into its own addressable target, so a point named Other Side on an object named Door becomes a destination the character can be sent to by name.
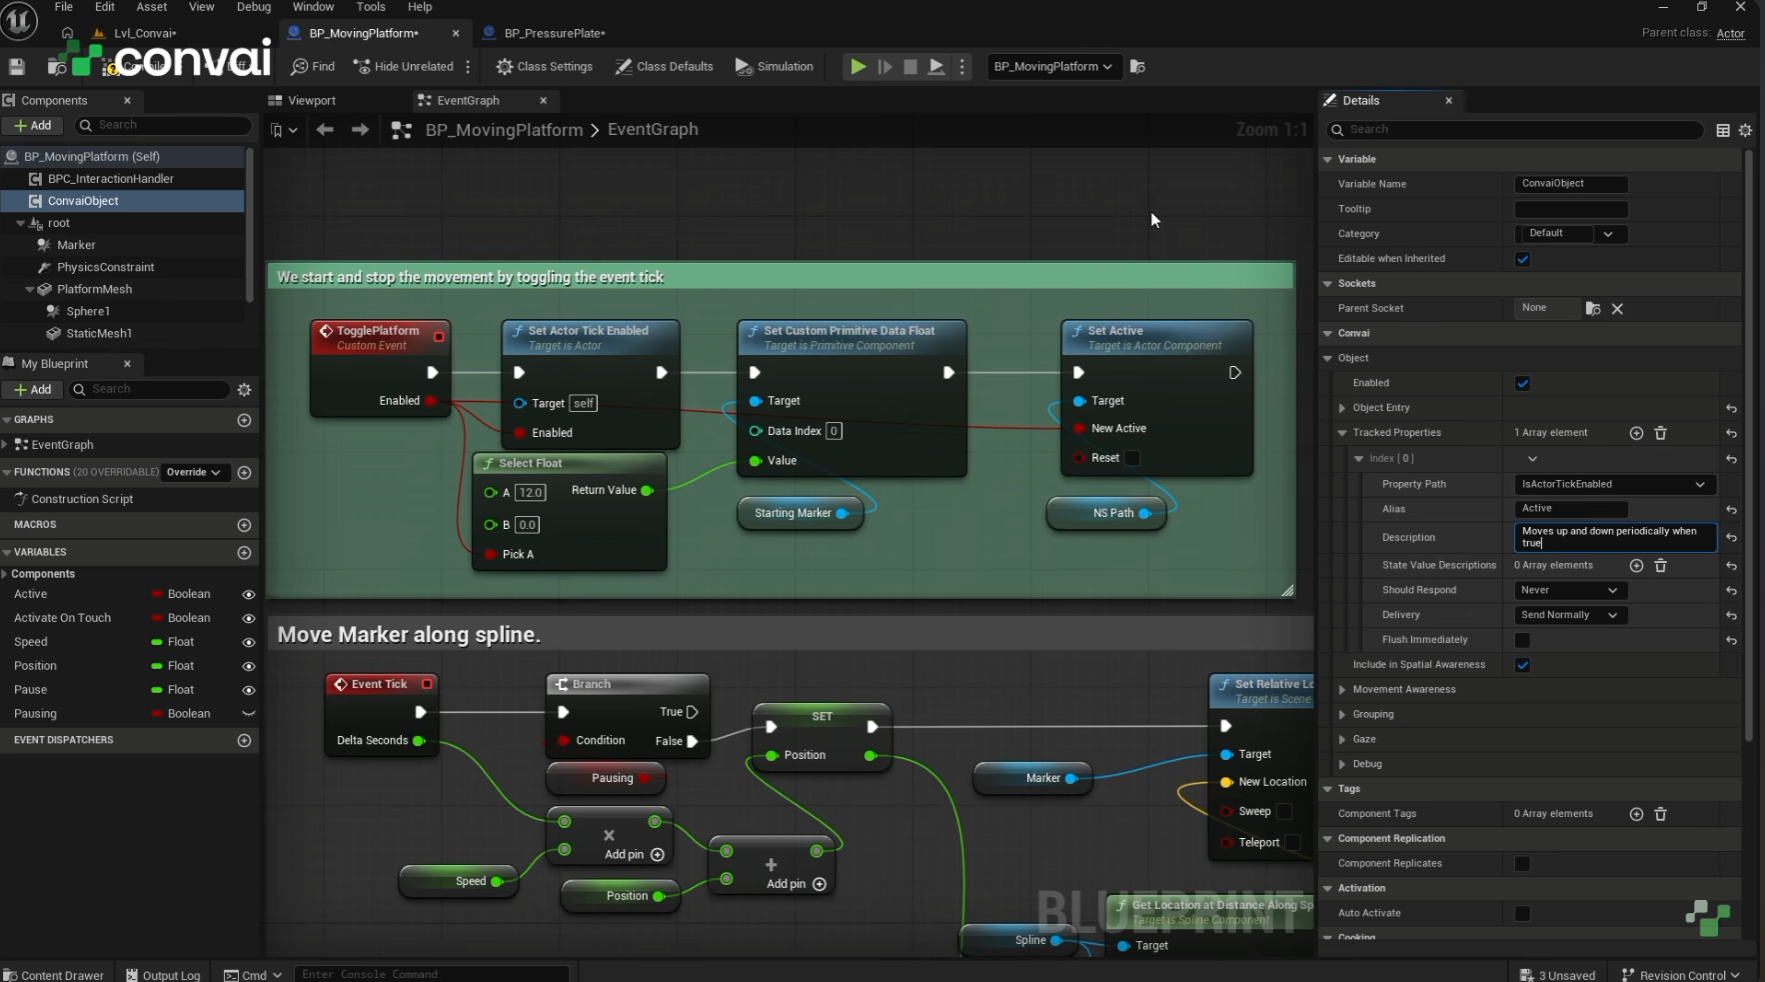
Part one added an active variable to the pressure plates so Convai could read whether each was pressed. The moving platform had no equivalent.
The platform has a Toggle Platform event that calls Unreal's Set Actor Tick Enabled on the Actor. That tick state is the platform's state, so it can be surfaced through the Convai Object Component under Tracked Properties. Add a property, search for tick, and pick Is Actor Tick Enabled.
The important part is the alias. Sending an engine property name to a language model is noise. Rename it to active and give it a plain description, something like moves up and down on a repeating cycle when true. Now the character reads a fact about the platform instead of a fact about Unreal's tick system, which is the same reasoning behind naming and describing objects well in scene metadata.
Each tracked property carries a Property Path, a Description, optional per-value annotations under Advanced, and a Should Respond setting that governs what happens when the value changes at runtime. Should Respond takes Auto, Always, or Never, and the seed sent at session start is always Never, so the character learns the starting value without speaking about it. The dynamic context system handles the rest, and its sync behavior page explains the batching rules if you need updates to land at a particular moment, and the quick start is the shorter route in.
A custom Convai action is a named, described capability you declare on the Convai Chatbot component, paired with a Blueprint event or function of the same name that runs when Convai chooses it. The declaration is sent to Convai as action config at session start. The dispatch happens by name at runtime.
Three pieces make one action work. The template, which lives in the Actions array and tells Convai the action exists. The handler, which is the Blueprint event named to match. And the completion call, which reports the outcome and lets the action queue advance.
Miss any of the three and the AI NPC looks broken in a different way each time, which is why the troubleshooting page opens by telling you to watch the Output Log.
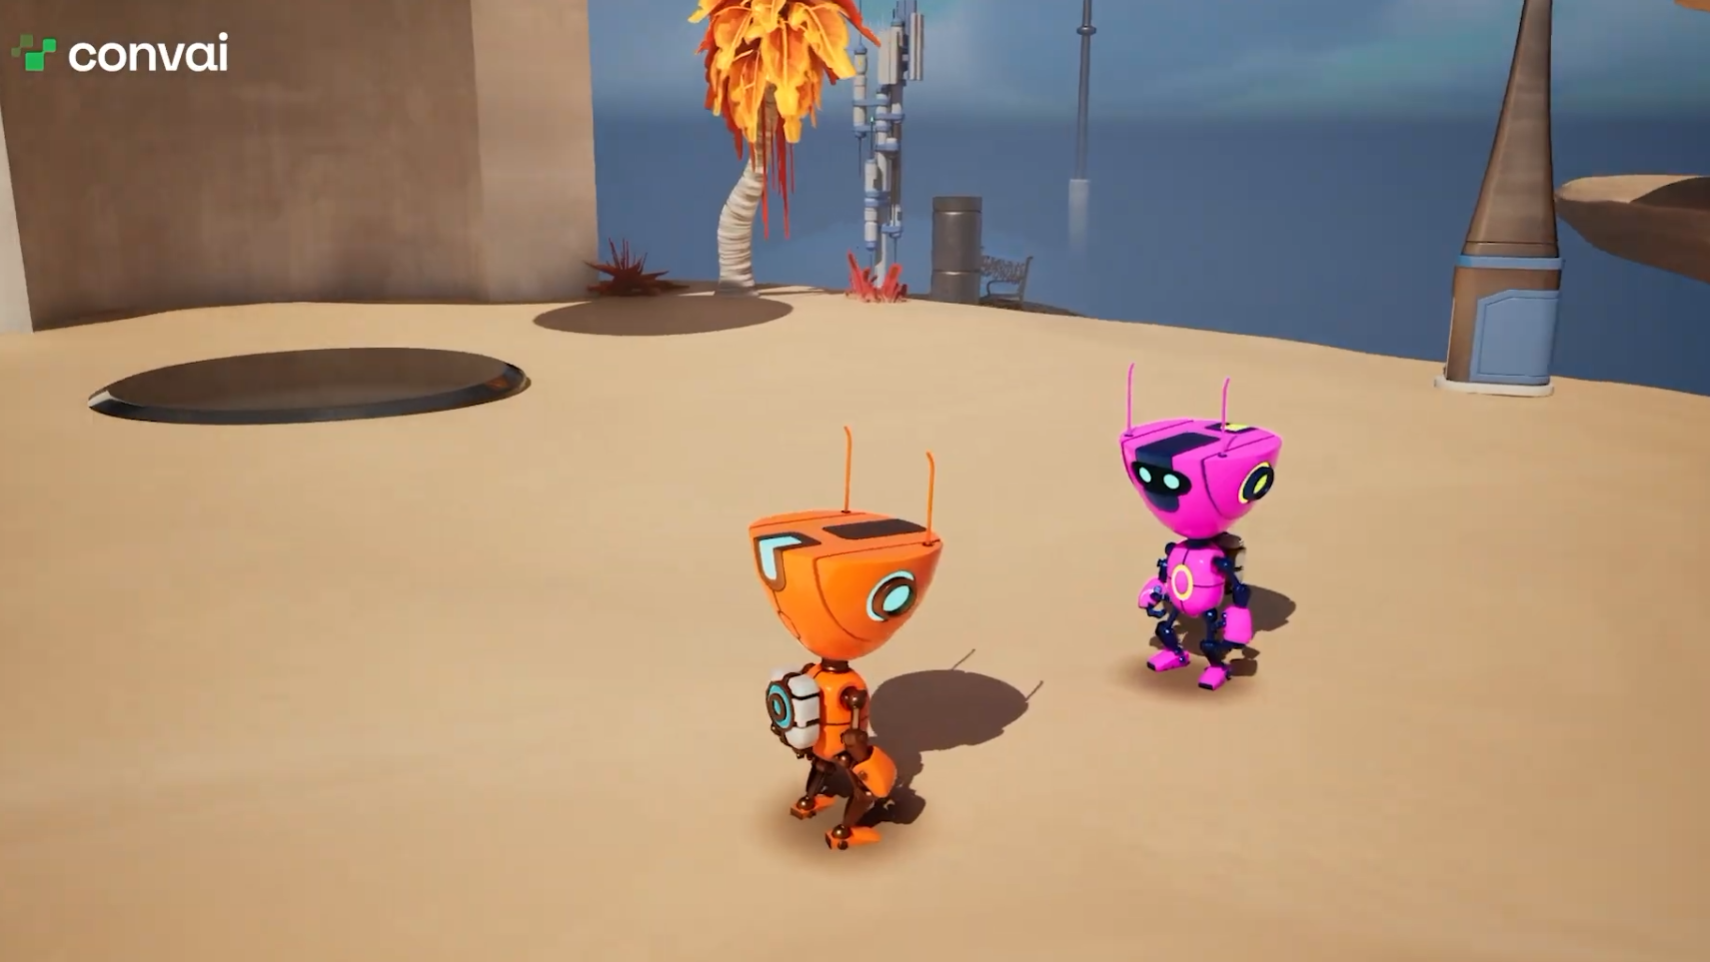
Select the character, open its Blueprint, find the Convai Chatbot component, and open the Actions section under Environment.
Add an action named Pick Up. It needs to know what to pick up, so add a parameter named target. The target will be an object in the scene, so set its type to Actor Reference, the same type the built-in handlers use for their destinations.
Add a second action named Drop At. It takes something the character is already holding and puts it somewhere, so add a parameter named destination, also an Actor Reference.
Then write descriptions. Not long ones. The parameterized actions guide is direct about this: long descriptions grow the context sent to Convai without improving behavior, and an empty description is correct when the name says enough.
Drop At earns a description anyway, because it carries a precondition. Something along the lines of drop an object the character has already picked up at the requested destination tells the model that holding something is a prerequisite, which shapes when it reaches for the action at all. Precondition hints in descriptions are the cheapest reliability work available in the whole system, and the worked examples page shows several written out.
Compile the character Blueprint after editing any action template. A new action that never appears in Play mode is almost always an uncompiled template, which the troubleshooting page lists as its own symptom.
Convai supports six parameter types: String, Actor Reference, Number, Bool, String with a fixed Choices list, and Enum bound to a project UENUM. The full type behavior table sits in the Blueprint reference.
Actor Reference resolves against your registered Objects and Characters arrays by exact name. That resolution is the value. A String parameter would hand you the word crate and leave you to find the crate yourself, which is the kind of lookup scene metadata already did for you. A Reference parameter hands you the entry, which means a live Actor pointer, an acceptance radius, any authored movement points, and the description you wrote for the model.
The tutorial keeps drop-at simple by making the destination an Actor Reference too. A more general implementation might let the character reason about a location rather than a registered object, which is a real design fork rather than a shortcut. Registered objects are exact and limited. Free locations are flexible and much harder to validate, which is why spatial awareness computes distance and reachability in one central place instead.
One consequence to plan around: reference resolution searches the registered environment and nothing else. If Convai returns a name that does not match a registered entry, Get Param As Ref returns an empty entry. Short, distinctive registered names fix more of these than any personality or prompt change, and attention and reference grounding covers what to do when two objects look alike to the model.
Right-click an empty area of the character Blueprint's Event Graph and search for Create Convai Action Handler. Pick Pick Up and confirm. Repeat for Drop At.
The editor utility generates a handler named to match the action, gives it one Convai Result Action input, and wires a Handle Action Completion call at the end. You can choose an event on the Event Graph or a function in its own graph.
You can also build handlers by hand with a Custom Event of the exact action name and one Convai Result Action parameter, since dispatch is by name. Use the utility anyway. Handler name mismatches and wrong parameter signatures are two of the most common reasons an action never fires, and both vanish when the editor writes the node for you. Unreal resolves handler names without regard to case, but Stop Moving and StopMoving remain two different names.
Inside Pick Up, the Convai Result Action structure carries the parameters. Pull the target with Get Param As Ref, typing target to match the declared name. That returns a structure with the reference you need and several fields you do not, so collapse the ones you are not using and keep the graph readable.
The accessor library offers Get Param As String, As Number, As Bool, As Ref, As Byte for enums, plus Has Param as a guard and Get First Param for single-parameter actions, with Choices and enum handling layered on top.
Every handler has to call it, on every exit path. Without the call the action queue stalls and later actions never run.
It takes five inputs. Is Successful, which defaults to true and controls whether the queue advances or clears. Auto Report, which sends a default outcome message back to Convai. Should Respond, which decides whether the character speaks about the outcome and accepts Auto, Always, or Never. Additional Note, an advanced pin for text appended to the generated message. And Delay, seconds to wait before the next action starts.
Most handlers change one of these. The rest stay at their defaults until you want spoken feedback.
There is a sibling worth knowing. Abort Action Sequence clears the queue and takes an Event Text plus a Should Respond option. The guidance is to use it when a handler cannot recover at all, such as a destroyed target Actor or a precondition that will never be met, and to use Handle Action Completion with Is Successful set to false for outcomes the character might retry or talk its way around. The tutorial uses the second form for movement failure, which fits: a blocked path is a situation the character can describe and try again from.
Here is the design question the tutorial pauses on, and it is the most transferable idea in the whole video.
In principle each action should do one thing. Move To handles movement. Pick Up handles lifting. Convai sequences them, because sequencing is what a planner is for. That is atomicity applied to agent affordances, and it has a clear payoff: if Pick Up fails because the character is too far away, the failure is legible. Report it with a note saying the character is not near the target, and the model can decide to move closer and try again.
The tutorial does the other thing on purpose. Pick Up moves to the target first, then lifts it. Fewer nodes, fewer round trips, fewer chances for the sequence to break mid-puzzle.
Both choices are defensible, and the tradeoff is worth naming. Atomic actions give the model room to recover and let it compose behavior you did not script. Composite actions give you determinism and fewer moving parts. Atomic tends to win in open scenarios where you cannot anticipate the order of operations, such as training simulations, multiplayer worlds, or open-world NPC behavior. Composite tends to win in tight authored sequences where you know the shape of the task.
What you should avoid is choosing without noticing. A composite action that hides three failure modes behind one boolean is the version that gets debugged at 2am.
Convai Move To is a latent Blueprint node in the Convai Movement category. It takes a Moving Actor and a destination entry, and it resolves whole actors, specific components, sockets, and authored movement points without the manual Resolve Goal Location wiring.
For Pick Up, set Moving Actor to self and pass the reference from the target parameter as the destination.
The node has two execution outputs. Succeeded fires on Reached or Already At Destination. Failed fires on everything else. It also returns a Result Code and an Additional Note that the documentation states is safe to pass to Handle Action Completion or speak back to the player.
That Result Code enum is more informative than most people expect. It distinguishes Reached, Already At Destination, Unknown Destination, Unreachable, Invalid Character, Missing AI Controller, Missing Movement Component, Missing Path Following Component, Missing Navigation Data, and Move Failed. Four of those ten point at setup problems rather than world state, which makes the enum a debugging tool as much as a runtime signal.
On the Failed branch, duplicate Handle Action Completion, set Is Successful to false, report the result, require a response, and pass the Additional Note through. Requiring a response matters here. A character that cannot reach the crate has nothing useful to do next, so it should say so rather than stand there while the player wonders whether the game engine hung.
If movement fails in a way the enum blames on setup, the usual suspects are a navigation mesh that does not cover both endpoints, a missing AI Controller class, or pawn movement that was never configured. The plugin ships a Setup Convai Pawn Movement utility on the character Blueprint's context menu for the last one, and Build Paths plus the P key for viewport pathfinding visualization covers the first.
This is where a custom action stops being generic and starts being your project.
Stack O Bot's interaction system, written long before any AI touched it, uses a variable called Potential Interact. To pick something up, the character sets its Potential Interact and then calls the project's own Interact function.
There is one catch, and it is the kind that eats an afternoon. Potential Interact expects a component from inside the crate rather than the crate Actor. Open the crate Blueprint and the component you want is its static mesh. So from the target reference, use Get Component By Class to retrieve the static mesh component, set that as Potential Interact, and call Interact, confirming the version resolves to the AI bot Blueprint rather than a sibling.
The lesson generalizes past this project. Before writing a custom action, read the system you are hooking into and find out what shape it wants its inputs in. The Convai half of the work takes minutes. The integration half takes as long as the existing code is idiosyncratic, and every gameplay codebase is idiosyncratic somewhere. An assistant with scene tagging and project access shortens that step.
This is also where the Convai MCP workflow for Unreal earns its place, since an assistant that can read your project structure cuts the discovery step down.
Also watch: Convai MCP for Unreal Engine, the workflow used to set up the scene in this series.
Drop At starts the same way. Read the destination with Get Param As Ref, pass it into Convai Move To, and handle the Failed branch with Handle Action Completion, Is Successful false, and the node's Additional Note.
The drop itself needs a guard first.
Stack O Bot keeps a reference to whatever the character is holding. Before dropping anything, check that reference is valid. Right-click it and select Convert To Validated Get, which splits the graph into a valid branch and an invalid one.
On the invalid branch the character is holding nothing, so Drop At fails. Call Handle Action Completion with a message such as you do not have anything picked up to drop, and require a response so the character can say it. That sentence is the entire value of the guard. Without it the action returns a silent false and the player gets no explanation.
On the valid branch, place the object. Get the destination reference, get its location, and build a new position above it, since dropping a crate inside a pressure plate is not what anyone wants. The offset is applied on the Z axis. The tutorial adds 100 units on Z.
Then get the crate itself. What the graph holds is a static mesh component, so Get Owner returns the Actor that owns it. Feed that into Set Actor Location with the offset position, call Stack O Bot's Interact function again to release the hold, and finish with Handle Action Completion marked successful.
That is the whole implementation. Two actions, two parameters, one guard each on movement, one guard on holding state.
Look at what the two handlers spend their nodes on. Roughly half the graph in each is failure handling, and that ratio is not accidental.
A success path produces a character that works when the world cooperates. Failure paths produce a character that stays in the conversation when it does not, which is exception handling with a voice attached. The action queue enforces some of this by design, because Is Successful set to false clears the remaining queue rather than pushing forward with a plan whose first step did not happen.
The troubleshooting guidance lists the exit paths teams forget: guard-condition exits that return before the work starts, asynchronous callbacks where the completion call sits in an unreachable branch, and animation montages where On Interrupted was never wired alongside On Completed. That last one is the classic, and it stalls the queue while the plugin waits for a dance that got cancelled.
Placing a Print String node right before every completion call, then confirming each path reaches one, costs five minutes and saves a great deal more. The Convai Debug Overlay does the same job for movement points, drawing a marker over every named, enabled point in world space.
The test run is a two-player Stack O Bot puzzle that neither player can solve alone.
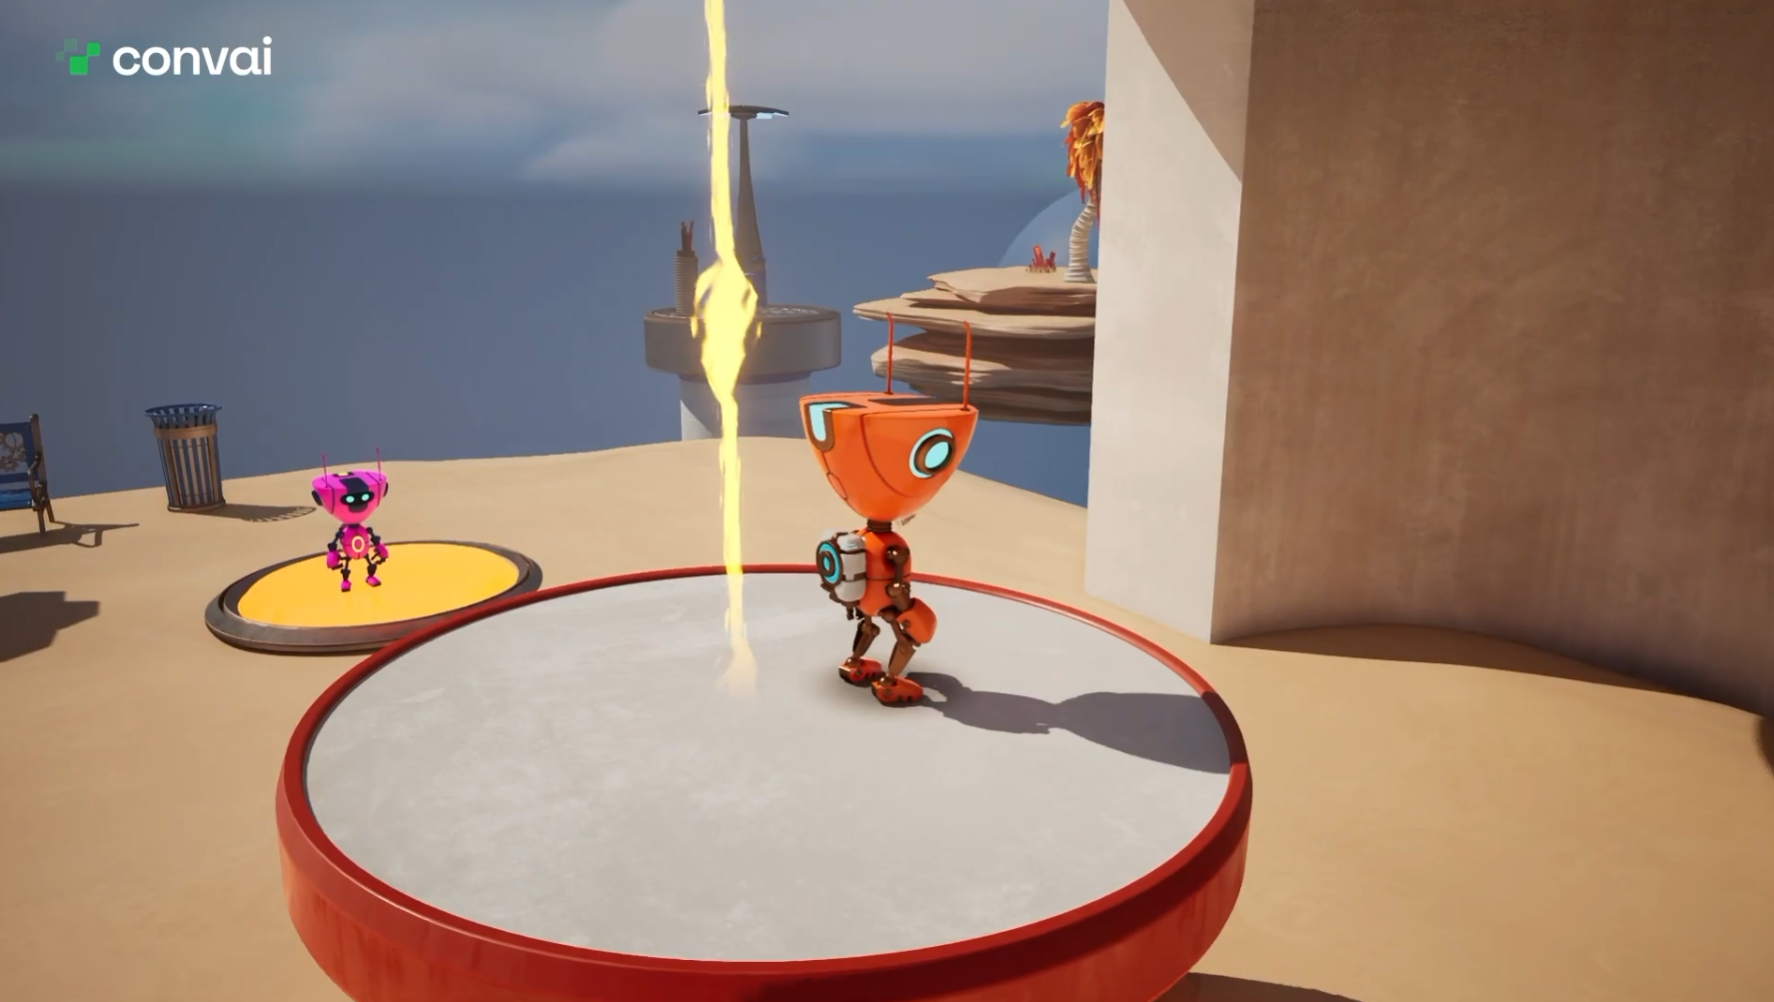
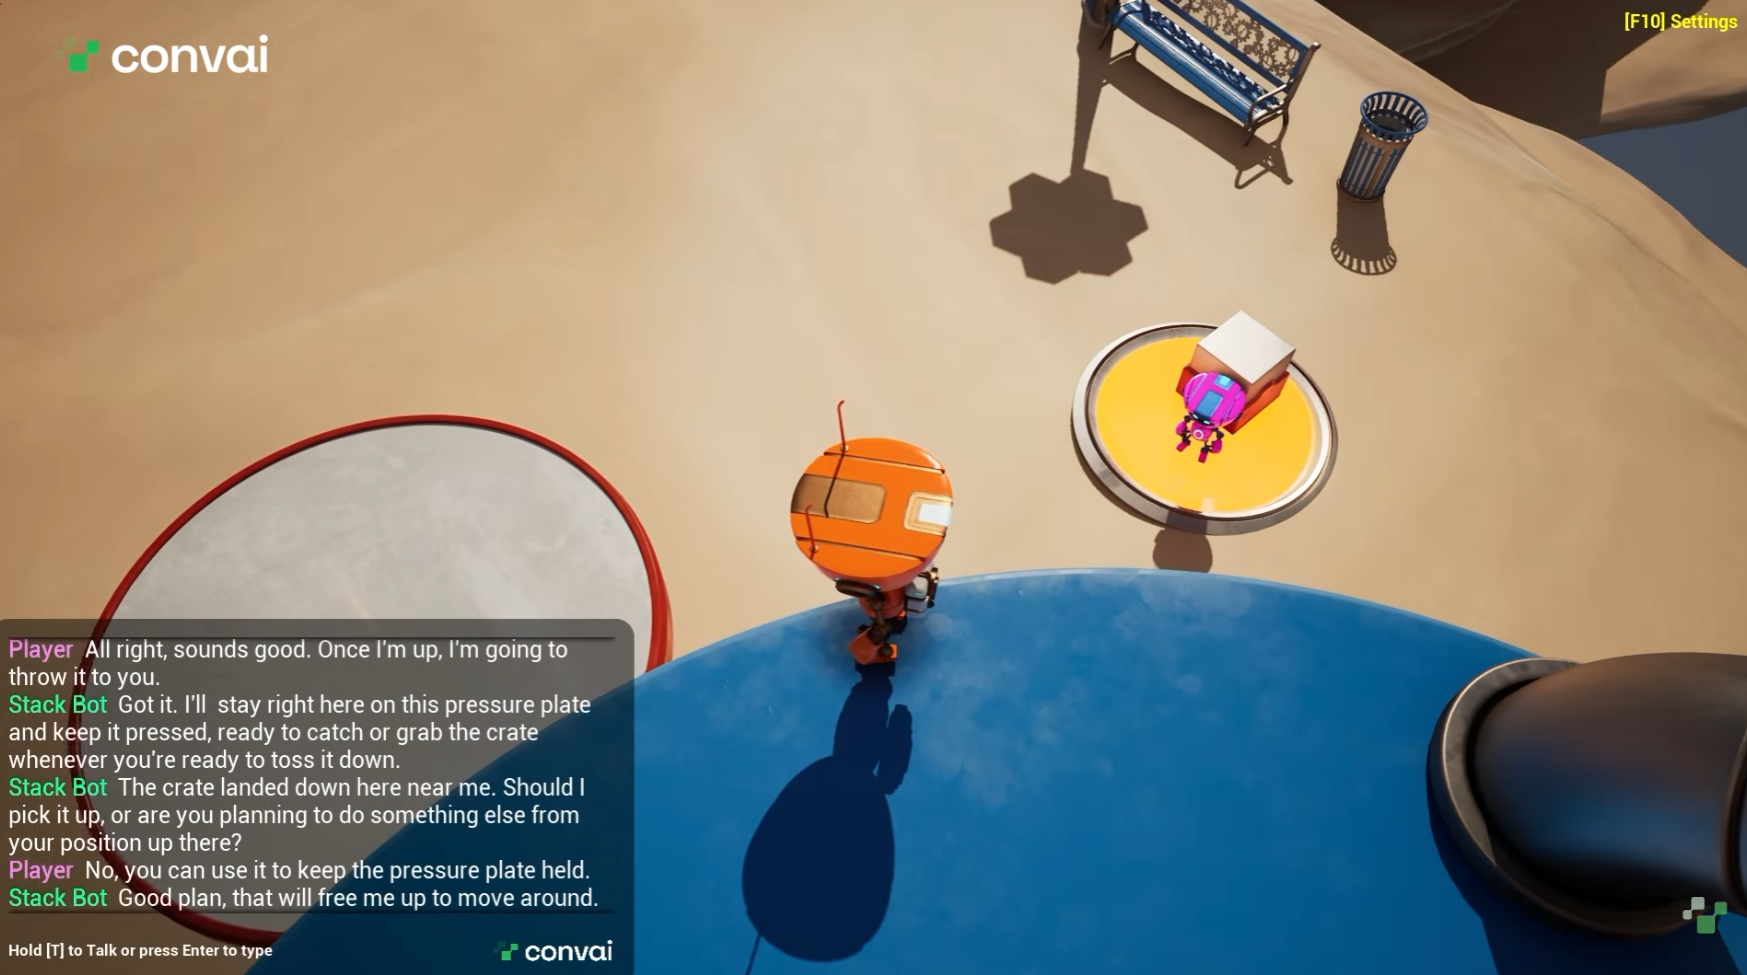
The player asks the AI teammate to hold a pressure plate so they can climb up and throw down a crate. The character agrees, names which plate it is heading for, and goes. When the crate lands near it, the character notices and asks whether it should pick the crate up or whether the player has something else in mind. Told to use the crate to hold the plate down, it answers that the plan frees it up to move around, places the crate, and reports the platform state when the platform settles.
None of that dialogue was authored. What was authored is the environment the character can read and the two actions it can take. The conversation is what happens when those two halves are specified together, the same pairing behind non-linear narrative design.
The moment worth rewatching is the character asking whether to pick the crate up. It had the capability, it had the target, and it asked anyway, because a crate landing near it was a change in the world rather than an instruction. That behavior comes from the tracked properties and scene metadata set up in part one, not from the action handlers in part two. Perception and agency are separate systems, and the character only feels like a teammate when both are present, a point the object in attention work makes from the perception side.
Also watch: Part 1, Live Game State and Scene Setup, which builds the awareness layer this tutorial extends.
The character speaks but the handler never runs. Check that Enable Actions is ticked on the chatbot's Environment property, then check that the action template name matches the Blueprint event name including spaces. The Output Log reports a missing function warning when dispatch cannot find a handler.
The handler exists but is skipped. The function must accept zero parameters, or one Convai Result Action and nothing else. A wrong signature logs a warning and leaves the queue waiting.
One action runs and the sequence stops. Some path did not call Handle Action Completion, or called it with Is Successful false.
A new action never appears in Play mode. The character Blueprint was not compiled after the template was edited.
Get Param As Ref returns an empty entry. The object is not in the Objects or Characters array, or the name Convai returned does not match a registered entry. You can add entries at runtime with Add Object and Add Character, alongside the gaze and attention setters, covered in managing the environment at runtime.
The character walks near the object but not to it. Either author a movement point, or set Object Is to Specific Component for small targets like buttons and levers. Acceptance Radius defaults to 150 centimeters, which is generous for a lever.
A Blueprint stopped compiling after a plugin update. The migration guide for 4.0.0-beta.27 lists every removed pin and renamed field with the edit to apply.
For anything not listed here, the Convai Developer Forum is where setup questions and bug reports go, and the thread for this tutorial collects questions from people working through the same steps, as does the wider guides and tutorials category and the part one thread.
Pickup and drop-at are a puzzle solution. The pattern underneath them is a general one: declare a capability, resolve a target from the scene, call into whatever system already owns that behavior, and report the outcome in language the character can speak.
Swap the crate for a tool and you have a training simulation where an instructor character demonstrates a procedure. Swap it for a product and you have a virtual AI avatar moving stock in a retail scene, drawing on uploaded manuals through the In-Context Knowledge Bank. Swap the whole environment for software and the same declare-resolve-execute-report loop drives AI powered actions against external tools and systems through MCP.
The engine changes, the target changes, the reporting contract does not. Convai ships the same action system in Unity with a different set of executors, and the multiplayer and narrative sides of the platform consume the same outcomes.
For the deeper version of the parameter system, including Choices lists, enum parameters, connectors that join a parameter to preceding text, and animation montage handling, the parameterized actions documentation goes further than this tutorial does, and there is a custom and parameterized actions walkthrough embedded on that page.
Grab the Stack O Bot sample and the Convai plugin from Fab, follow the setup guide for the tutorial delta, and create a character in the Playground to drop into the scene. Tune voice and model behavior in core AI settings before you ship. The quick start for character actions is the shortest path from installed plugin to a character that moves on command.
If the Unreal Engine side is new to you, the plugin setup tutorial covers installation and sign-in before any of this applies.
Also watch: the Convai YouTube channel for the rest of the Unreal and Unity tutorial series.
What is a custom Convai action in Unreal Engine?
A custom Convai action is a capability you declare in the Actions array on the Convai Chatbot component and implement as a Blueprint event or function with the same name. Convai receives the declaration as action config at session start, chooses the action during conversation, and the plugin dispatches to your handler by name at runtime.
How do I create a custom action handler in Blueprint?
Right-click in the character Blueprint's Event Graph, search for Create Convai Action Handler, select your declared action, and choose an event or a function. The editor utility generates a handler with the matching name, one Convai Result Action input, and a Handle Action Completion call wired at the end.
What parameter types do Convai actions support?
Six types: String for open text, Actor Reference for a registered scene object or character, Number, Bool, String with a fixed Choices list, and Enum bound to an existing project UENUM. Actor Reference resolves against the registered Objects and Characters arrays by exact name.
Why does my custom action never fire?
The most common causes are Enable Actions turned off on the chatbot, an action name that does not match the Blueprint handler name including spaces, a handler signature that takes neither zero parameters nor a single Convai Result Action, or a character Blueprint that was not compiled after the template was edited.
Why does my action queue stall after the first action?
A handler did not call Handle Action Completion on every exit path. The paths most often missed are guard-condition exits taken before the work starts, asynchronous callbacks, and animation montages where On Interrupted was not wired alongside On Completed.
When should I use Abort Action Sequence instead of Handle Action Completion?
Use Abort Action Sequence when the handler cannot recover at all, such as a destroyed target Actor or a precondition that will never be met. Use Handle Action Completion with Is Successful set to false for outcomes the character can describe and retry, such as a blocked path.
Should custom actions be atomic?
Atomic actions each do one thing and let Convai sequence them, which makes failures legible and lets the model recover by trying a different step. Composite actions bundle steps for determinism and fewer moving parts. Atomic suits open scenarios, composite suits tight authored sequences.
How do I make a character stand on top of an object instead of beside it?
Add a movement point to the object's Convai Object Component and position it where the character should stand. Movement points replace the object reference as the movement target, and the resolver picks the reachable point with the shortest walking path.
How do I connect a Convai action to gameplay logic that already exists?
Read the existing system first to learn what input shape it expects. In Stack O Bot, the interaction system expects a static mesh component rather than an Actor, so the handler uses Get Component By Class on the resolved reference before setting Potential Interact and calling the project's own Interact function.


